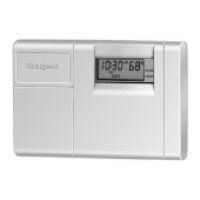
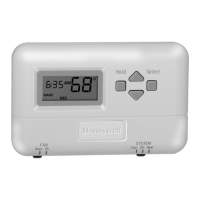
T8112 PROGRAMMABLE THERMOSTAT
68-0170
6
A Use two AA alkaline batteries; nonalkaline batteries will
not last as long.
B Make sure the thermostat is set to the Off position.
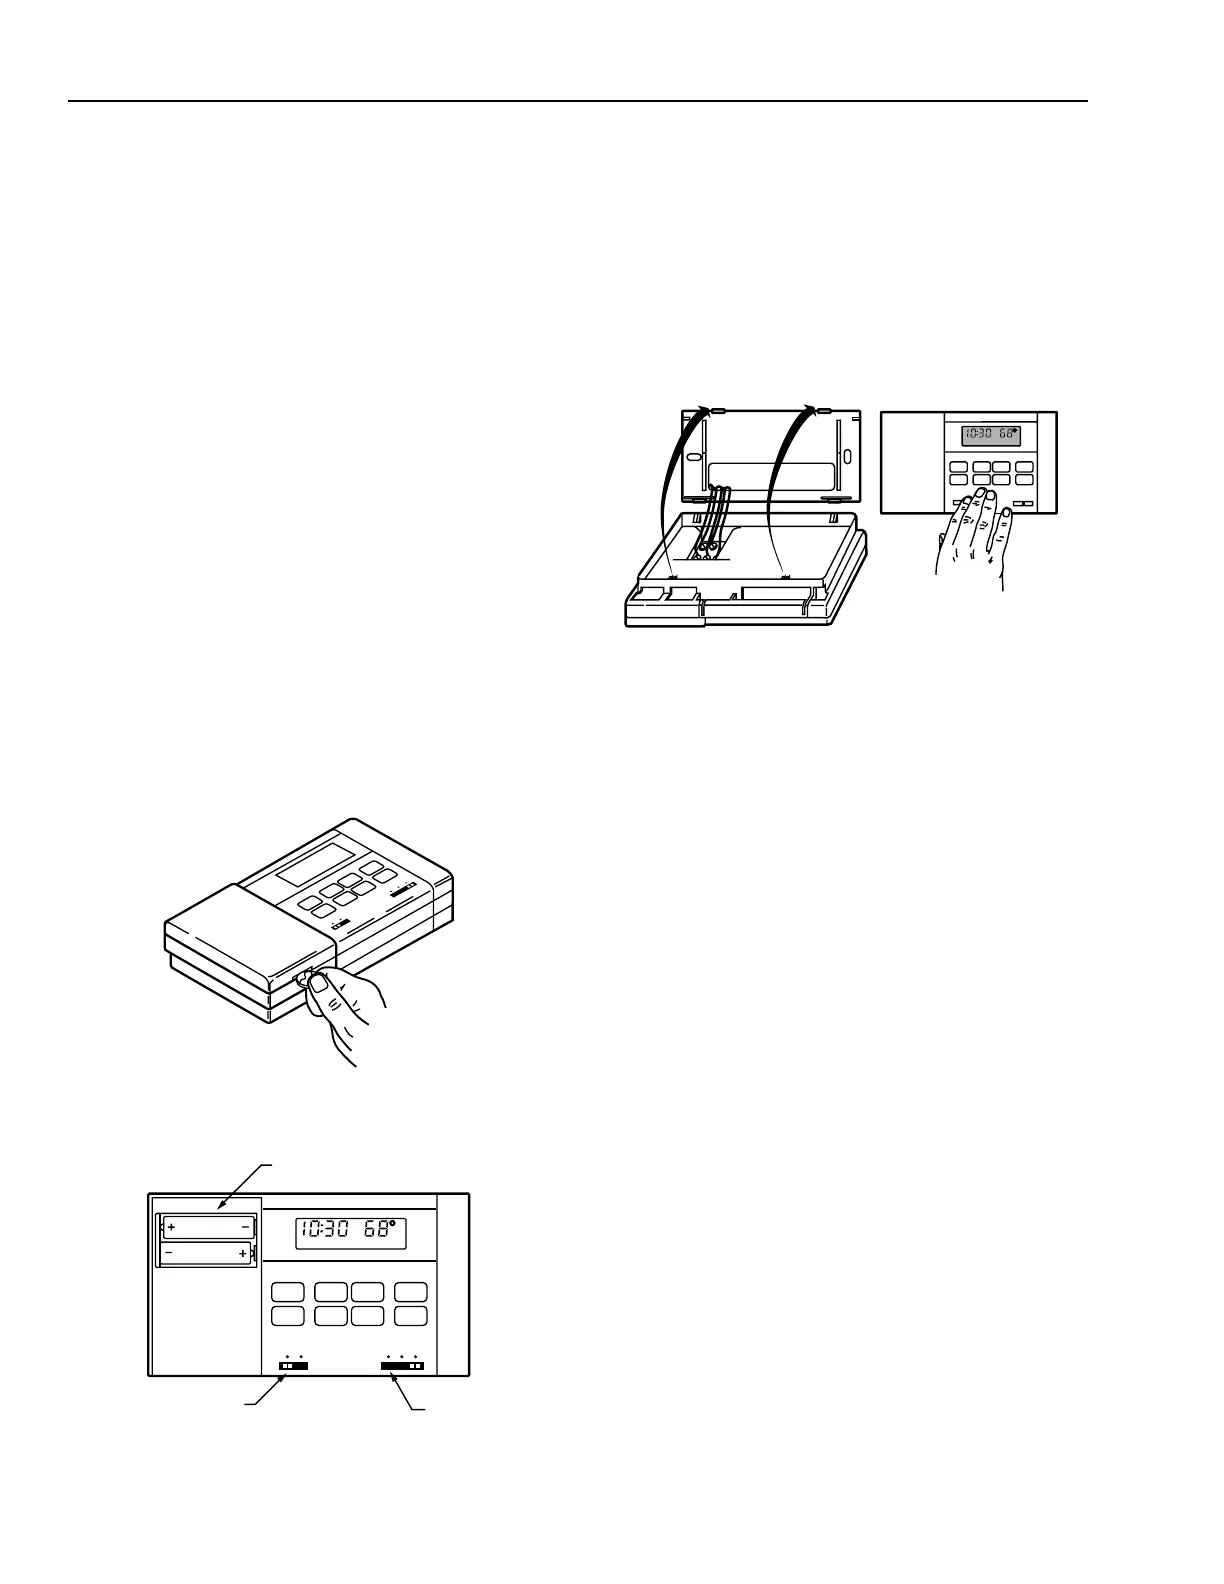
C Use a coin to remove the battery door (see Fig. 10).
D Install the new batteries as shown, making sure positive
and negative terminals are oriented correctly (see Fig. 11).
E Replace the battery door.
When the batteries are running low, a
bAt Lo
indicator will
flash for one to two months before batteries run out
completely. Replace the batteries as soon as possible after
the indicator starts flashing. If the batteries are not replaced
when the
bAt Lo
indicator is flashing, the indicator eventually
stops flashing. When the batteries are almost completely
dead,
bAt Lo
will stay on without flashing, indicating that the
thermostat and heating/cooling system have stopped
working. The thermostat will not function after the batteries
are completely dead, and the
bAt Lo
indicator disappears,
leaving a completely blank display.
To remove the batteries, press down on the left ends. When
the new batteries are installed within 20 to 30 seconds of
removing the old ones, the thermostat does not have to be
reprogrammed. If the display is blank, the batteries are dead
or incorrectly installed and the thermostat has to be
reprogrammed. See Owner’s Manual for reprogramming
instructions.
IMPORTANT
Although the thermostat has a low battery indicator,
replace the batteries once a year to prevent the
thermostat from losing time and programming due to
lack of battery power.
M5781
Fig. 10. Removing battery door.
Fig. 11. Installing batteries.
INSTALL TWO AA ALKALINE
BATTERIES AS SHOWN
M5782
Auto On
Fan
Cool Off Heat
System
FAN SWITCH
SYSTEM
SWITCH
TU
AM
LEAVE
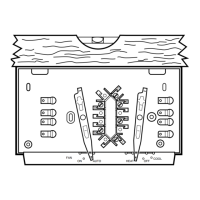
Mounting Thermostat
A Engage the tabs at the top of the thermostat and
mounting plate. See Fig. 12.
B Press the lower edge of the case to latch.
NOTE: To remove the thermostat from the wall, first pull out
the bottom of the thermostat and then remove the
top portion.
M5780
B.
PRESS LOWER EDGE
OF CASE TO LATCH.
A.
ENGAGE TABS AT TOP OF
THERMOSTAT AND MOUNTING PLATE.
TU
AM
LEAVE
Fig. 12. Mounting thermostat on mounting plate.
PROGRAMMING THE THERMOSTAT
Set the Current Time/Day
To set the time:
A Press and release the Clock/Day key once.
B Press the Time keys ▲ or ▼ until the current time
displays.
To set the day:
A Press and release the Clock/Day key again.
B Press the Time keys ▲ or ▼ until the current day
displays.
C Press the Run Program key.
Heating Program
To set the system switch to HEAT:
A Press and release the Schedule key once. WAKE,
Mon-Fri , and SET appear on the display.
B Press the Time keys ▲ or ▼ to program WAKE time,
and Temp keys ▲ or ▼ to program WAKE temperature
for Mon-Fri.
C Repeat this sequence for LEAVE, RETURN, and
SLEEP.
D Press the Schedule key until SAT, SUN, WAKE and
SET appear on the display.
E Press the Time keys ▲ or ▼ to program WAKE time,
and Temp ▲ or ▼ to program WAKE temperature for
Sat-Sun.
F Repeat this sequence for SLEEP.
Cooling Program
A Set the system switch to COOL and follow the same
procedure as for the Heating Program.
 Loading...