Installation Quick Guide
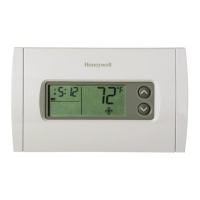
Your NEW thermostat may be programmed before or after installation (see reverse).
Items needed: three fresh AA alkaline batteries, pan head screwdriver,
drill, and level (optional).
1. Turn off Heating/Cooling system power.
2. Remove old thermostat from wall. Use enclosed labels to mark the wires as you
disconnect them. Label wires using letters above screw terminals, not wire colors.
3. Separate wallplate from new thermostat. Mount wallplate to wall with hardware
provided. Use level, if desired, and 3/16 in. drill bit in drywall or 7/32 in. drill bit in
plaster or wood.
4. Attach the system wires to matching screw terminals, using the label designations from
step 2. NOTE: If you have 5 wires remove factory installed jumper between R and Rc.
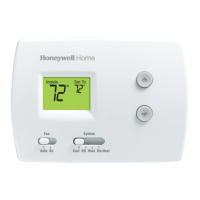
5. Install batteries into programmable thermostat.
6. Mount the thermostat to wallplate - insert top and snap in the bottom.
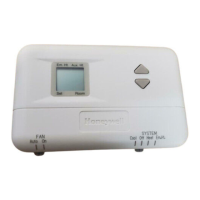
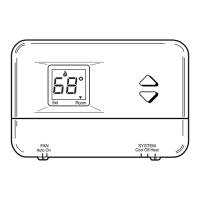
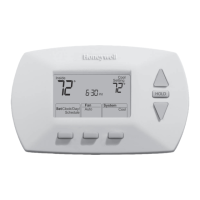
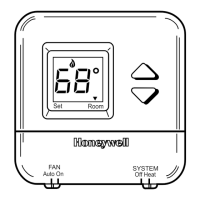
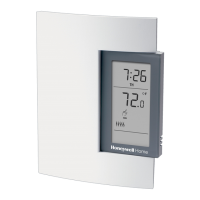
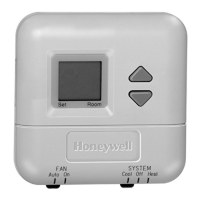
7. Set the thermostat System switch to Heat or Cool and the system will operate at
the factory programmed settings. See Programming Quick Guide (reverse) to
customize program.
Congratulations! You have finished installing your new Honeywell
programmable thermostat! For additional information refer to
Programming and Installation Instructions, visit our web site at
www.honeywell.com/yourhome, or call the 24-hour automated
information line at 1-800-468-1502.
R
W
Y
G
B
RRCOWYG
69-1643EF-1