3
NOTE: For best RedLINK
performance, mount thermostats at
least 2 feet apart.
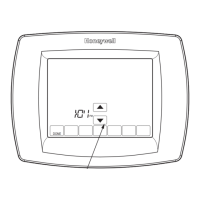
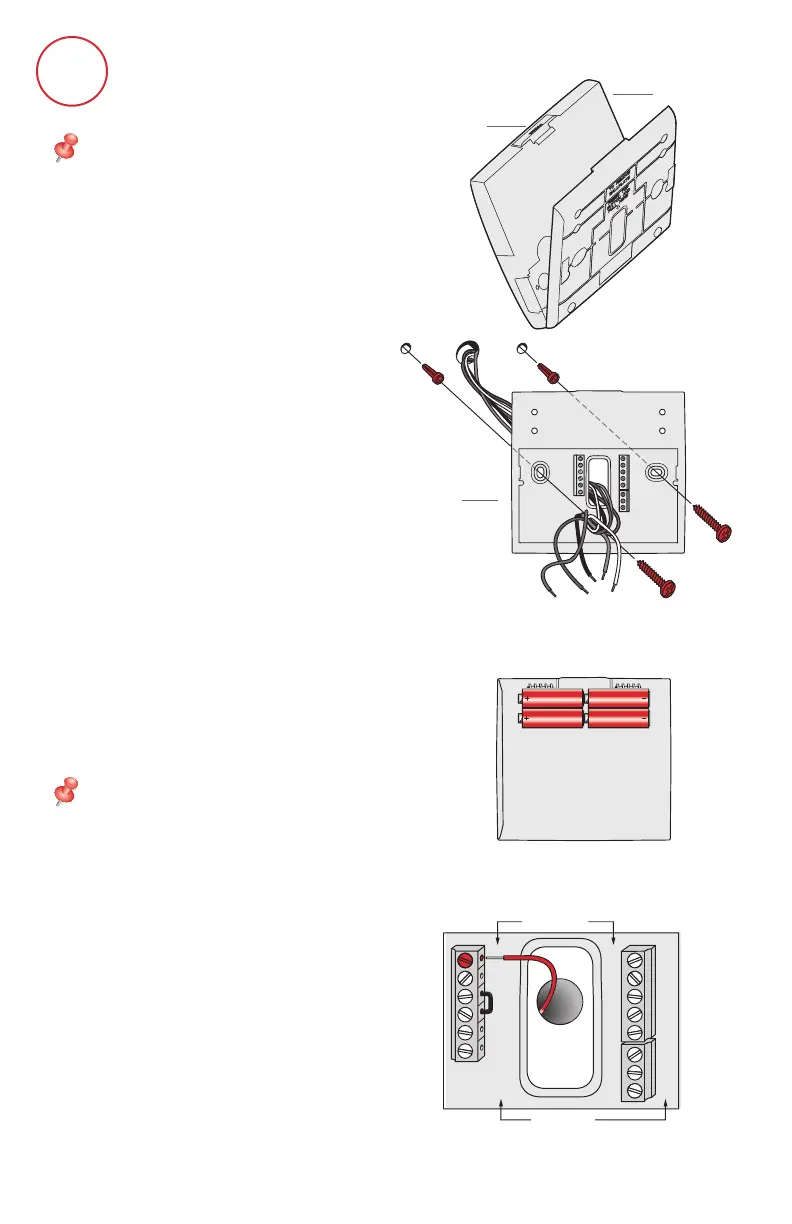
1.1 Separate wallplate from
thermostat.
If your thermostat has a button
along the top of the wallplate, press
button on top and pull to remove
the wallplate as shown. Updated
models do not have this button. On
those models pull evenly along the
sides and bottom of the thermostat
to separate it from the wallplate.
1.3 Connect power.
1.3a Insert supplied AA alkaline
batteries for primary or
backup power.
NOTE: When the thermostat is
NOT used with the Equipment
Interface Module or the
TrueZONE Wireless Adapter, a C
wire is required for RedLINK.
S1
S1
W
Y
G
W2
Y2
A
S1
S1
O/B
Y
G
AUX
-E
Y2
L/A
K
RC
R
U1
U1
U2
U2
C
HEAT PUMP
1.3b For 24VAC primary power,
connect common side of
transformer to C terminal.
1.2 Mount wallplate as shown.
Mount new wallplate using
screws and anchors included
with the thermostat.
Drill 3/16-in holes for drywall.
Drill 7/32-in holes for plaster.
Thermostat (back view)
Wallplate
(back view)
Wallplate
S1
S1
W
Y
G
W2
Y2
A
C
K
R
C
R
U1
U1
U2
U2
S1
S1
O/B
Y
G
AUX
-E
Y2
L/A
Thermostat
Button
1
Installing the thermostat
 Loading...