XNX Relay Board Installation Guide
6
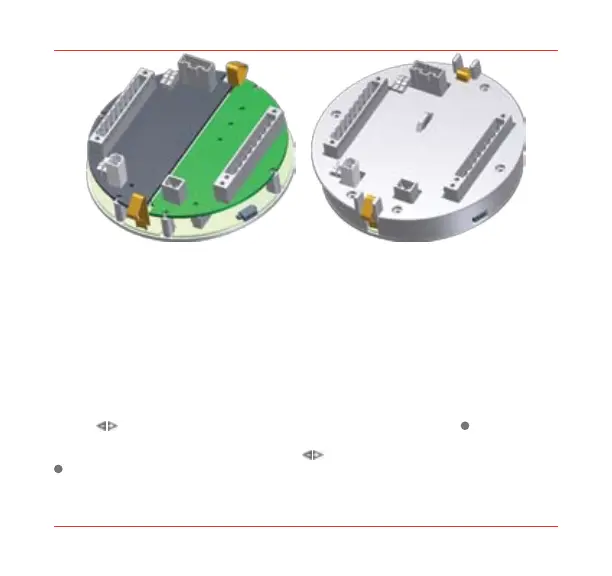
Slide the POD back into the XNX housing and replace the cover.11.
Note:
Before replacing the cover on the transmitter housing, coat the threads with anti-seize
compound to prevent corrosion buildup.
When the XNX completes the startup routine, as it attempts to enter monitoring 12.
mode, the XNX will show Fault 152 signifying that the XNX must be configured to
recognize the new option board.
Navigate the XNX to the Transmitter Data screens found under the Information Menu. In addition
to displaying the current transmitter configuration, Transmitter Data is also used to update the
configuration of the XNX when a new option board is added or removed. To add the new option,
use the
switches to navigate to the Option Revision screen, then swipe the
magnetic switch
on the front panel to display Accept New Option Screen. The screen will show the current option
(if any) and the newly installed option. Use the
switches to highlight the option then swipe the
magnetic switch on the front panel to accept the change. The XNX will update the part number
of the unit and the new option will be operational.

 Loading...