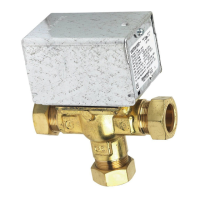
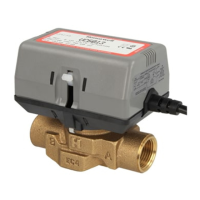
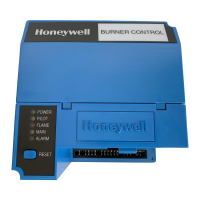
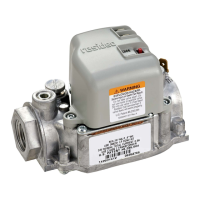
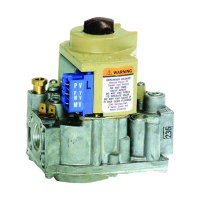
Y8610U INTERMITTENT PILOT RETROFIT KIT
68-0133—2
14
Fig. 18. S8610 normal operating sequence.
START
THERMOSTAT (CONTROLLER)
CALLS FOR HEAT
SPARK GENERATOR POWERED
First valve (pilot) operator opens
PILOT BURNER OPERATION
Pilot burner lights.
Module senses
flame current.
STAGE 1
TRIAL FOR
IGNIITION
STAGE 2
MAIN BURNER
OPERATION
END
MAIN BURNER OPERATION
Module monitors pilot flame
current.
THERMOSTAT (CONTROLLER)
SATISFIED
Valves close, pilot and main
burners are off.
POWER INTERRUPTION
System shuts off, restarts when power is
restored.
PILOT FLAME FAILURE
Main valve closes.
Module starts trial for ignition.
1
FLAME CURRENT SENSED
Spark generator off.
Second valve operator (main)
opens.
•
•
2
3
4
5
6
1
OR
M3308
After 90 seconds maximum, system shuts off and pilot
valve closes; trial for ignition restarts after minimum of
5 minutes (6 minutes nominal). Ignition, shutoff, wait
sequence repeats until pilot lights or call for heat ends.
TROUBLESHOOTING
IMPORTANT
1. The following service procedures are provided as a
general guide. Follow appliance manufacturer
service instructions if available.
2. Meter readings between gas control and ignition
module must be taken within the trial for ignition
period. Once the ignition module shuts off, wait for
retry or reset at the thermostat.
3. If any component does not function properly, make
sure it is correctly installed and wired before
replacing it.
4. The ignition module cannot be repaired; if it
malfunctions, it must be replaced.
5. Only trained, experienced service technicians should
service intermittent pilot systems.
Perform the Checkout (see Checkout section) as the first step
in troubleshooting. Then check the appropriate troubleshooting
guide (Fig. 19) and the schematic diagram (Fig. 22) to pinpoint
the cause of the problem. When troubleshooting indicates an
ignition problem, see the Ignition System Checks section to
isolate and correct the problem.
Following troubleshooting, perform the Checkout procedure
again to be sure system is operating normally.
Ignition System Checks
STEP 1: Check ignition cable.
Make sure:
❑ Ignition cable does not run in contact with any metal
surfaces.
❑ Connections to the ignition module and to the igniter or
igniter-sensor are clean and tight.
❑ Ignition cable provides good electrical continuity.
STEP 2: Check ignition system grounding.
Nuisance shutdowns are
often caused by a poor or erratic ground.
❑ A common ground, usually supplied by the pilot burner
bracket, is required for the module and the pilot burner/
igniter-sensor.
• Check for good metal-to-metal contact between the
pilot burner bracket and the main burner.
• Check the ground lead from the GND (BURNER)
terminal on the module to the pilot burner. Make sure
connections are clean and tight. If the wire is damaged
or deteriorated, replace it with No. 14-18 gauge,
moisture-resistant, thermoplastic insulated wire with
105°C (221°F) minimum rating.
— Check the ceramic flame rod insulator for cracks or
evidence of exposure to extreme heat, which can
permit leakage to ground. Replace the pilot burner/
igniter-sensor and provide a shield, if necessary.
— If the flame rod or bracket are bent out of position,
restore to correct position.

 Loading...
