
E
Edwin PalmerAug 2, 2025
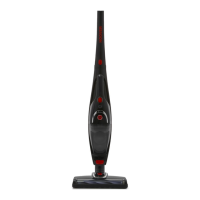
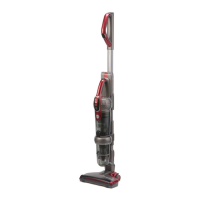
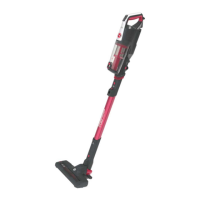
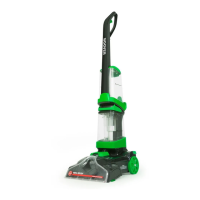
Why does my Hoover Vacuum Cleaner have reduced suction?
- IicummingsAug 2, 2025
Reduced suction in your Hoover Vacuum Cleaner can be due to several reasons: * The dust canister might be full, so empty it. * The filter could be blocked; clean or replace it. * There might be a blockage in the airway, so clear it.