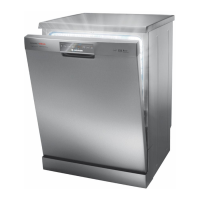
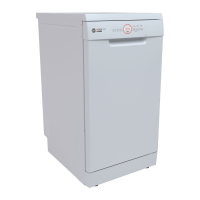
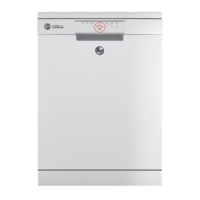
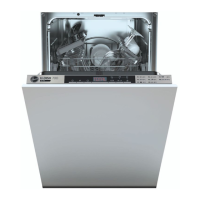
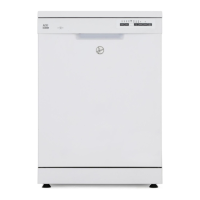
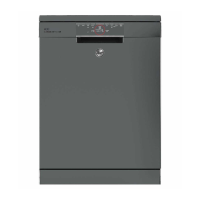
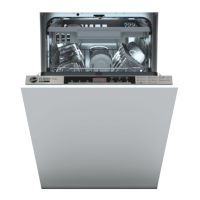
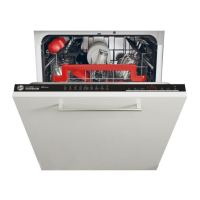
This document outlines the operation, maintenance, and installation of a HOOVER dishwasher, specifically models HDP 2D945W-86 and HDP 2D945X-86. It serves as an instruction manual to ensure proper use, care, and longevity of the appliance.
Function Description
The HOOVER dishwasher is designed for household use to clean dishes, cutlery, and cookware efficiently. It features multiple wash programs tailored for different levels of soiling and types of items. The appliance incorporates a water softener system to manage water hardness, which is crucial for optimal cleaning results and preventing limescale deposits. Detergent and rinse aid dispensers are integrated to ensure effective washing and drying. The dishwasher also includes a filtering system to trap food particles and prevent them from recirculating or blocking the drain.
Key operational functions include:
- Program Selection: Users can choose from various wash cycles, such as Intensive, Normal, ECO, Glass, Daily, Rapid, and Soak, depending on the load and desired cleaning intensity.
- Delay Start: A delay start function allows users to set a delayed start time for the wash cycle, ranging from 1 to 24 hours, offering flexibility in scheduling.
- Express Option: This feature can be activated for certain programs (Rapid/Soak) to potentially shorten the wash cycle.
- Salt and Rinse Aid Indicators: The control panel provides visual indicators to alert users when the salt and rinse aid dispensers need refilling, ensuring continuous optimal performance.
- Error Codes: The dishwasher displays error codes on the screen to indicate specific malfunctions, aiding in troubleshooting.
Usage Features
To achieve the best performance and ensure the safety of the appliance and its users, several usage features and guidelines are provided:
Prior to First Use:
- Water Softener Setting: The water softener must be manually adjusted according to the local water hardness. This involves a specific sequence of button presses to select the appropriate hardness level (H1-H6).
- Salt Loading: Approximately 1.5kg of dishwasher salt should be added to the salt container, followed by filling it with water. This should be done just before starting a complete washing program to prevent corrosion.
- Rinse Aid Loading: The rinse aid dispenser should be filled with dishwasher-specific rinse aid. The rinse aid regulator can be adjusted from 1 to 6 to control the amount dispensed, influencing drying performance and preventing spots.
- Detergent Loading: Detergent, either powder, liquid, or tablet form, must be placed in the designated dispenser. The amount varies based on the dirtiness of the dishes.
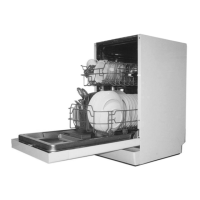
Loading the Dishwasher:
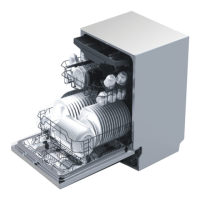
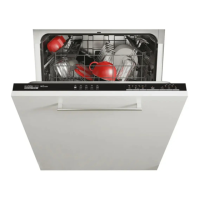
- Basket Organization: Dishes should be loaded carefully. Cups, glasses, pots, and pans should be faced downwards. Curved items should be loaded aslant to allow water to run off. All utensils must be stacked securely to prevent tipping and ensure spray arms can rotate freely.
- Cutlery Placement: Cutlery should be placed in the cutlery basket with handles down, except for knives and other sharp utensils, which should be placed with points down or horizontally in the upper basket to prevent injury.
- Upper and Lower Baskets: The lower basket is suitable for large and heavily soiled items, while the upper basket is for more delicate and lighter items. The height of the upper basket can be adjusted to accommodate taller items.
- Folding Spikes: Both upper and lower baskets may have folding spikes to allow for better stacking of pots and pans.
- Overloading Prevention: Avoid overloading the dishwasher, as this can hinder cleaning performance and increase energy consumption.
Starting and Modifying a Wash Cycle:
- Initiation: After loading and adding consumables, close the door, press the Power button, select the desired program using the Program button, and then press the Start/Reset button.
- Program Change: A running program can only be modified if it has been running for a short time. If detergent has already been released or water drained, the detergent dispenser must be refilled. The program can be canceled by pressing the Start/Reset button for more than 3 seconds, allowing a new program to be selected.
- Adding Forgotten Dishes: Dishes can be added during a cycle before the detergent cup opens. This involves opening the door slightly, waiting for spray arms to stop, adding items, and then closing the door.
End of Wash Cycle:
- Completion Alert: The dishwasher buzzer will sound upon completion.
- Unloading: Wait approximately 15 minutes after the cycle ends before unloading to allow dishes to cool and dry better. Unload the lower basket first to prevent water from dripping onto lower items.
Maintenance Features
Regular maintenance is essential for the dishwasher's efficiency and longevity.
Filtering System:
- Components: The filtering system consists of a coarse filter, a flat (main) filter, and a microfilter (fine filter).
- Cleaning: The filters should be cleaned regularly, ideally after each wash cycle, by rinsing them under running water. The larger food particles trapped in the coarse filter should be removed. The entire filter assembly should be cleaned once a week using a cleaning brush.
- Reassembly: Ensure the filter parts are correctly reassembled and reinserted into the dishwasher. Operating the dishwasher without filters or with improperly replaced filters can reduce performance and damage dishes.
Caring for the Dishwasher:
- Control Panel: Clean the control panel with a lightly dampened cloth and dry thoroughly. Avoid sharp objects, scouring pads, or harsh cleaners.
- Exterior: Use a good appliance polish wax for the exterior.
- Door: Clean the edge around the door with a soft, warm, damp cloth. Do not use spray cleaners near the door lock or electrical components to prevent damage. Avoid abrasive agents or paper towels on stainless steel surfaces to prevent scratching.
- Seals: Periodically clean the door seals with a damp sponge to prevent food residue buildup, which can cause odors.
Cleaning the Spray Arms:
- Regular Cleaning: Spray arms should be cleaned regularly to prevent hard water chemicals from clogging the jets and bearings.
- Removal: The upper spray arm can be removed by rotating its nut clockwise. The lower spray arm can be pulled upward.
- Washing: Wash the spray arms in soapy, warm water and use a soft brush to clean the jets. Reinstall them after thorough rinsing.
Protect Against Freezing:
- Winterization: During winter, if the dishwasher is not in use, take frost protection measures. This includes cutting off electrical power, turning off and disconnecting the water supply, draining water from the inlet pipe and valve, and soaking up any remaining water in the sump with a sponge.
General Maintenance Tips:
- After Every Wash: Turn off the water supply and leave the door slightly ajar to prevent moisture and odors from being trapped.
- Removing the Plug: Always remove the plug from the socket before cleaning or performing maintenance.
- Long Periods of Non-Use: If the dishwasher will not be used for an extended period, run an empty wash cycle, remove the plug, turn off the water supply, and leave the door slightly open.
- Moving the Appliance: If the appliance needs to be moved, keep it in a vertical position. If absolutely necessary, it can be positioned on its back.