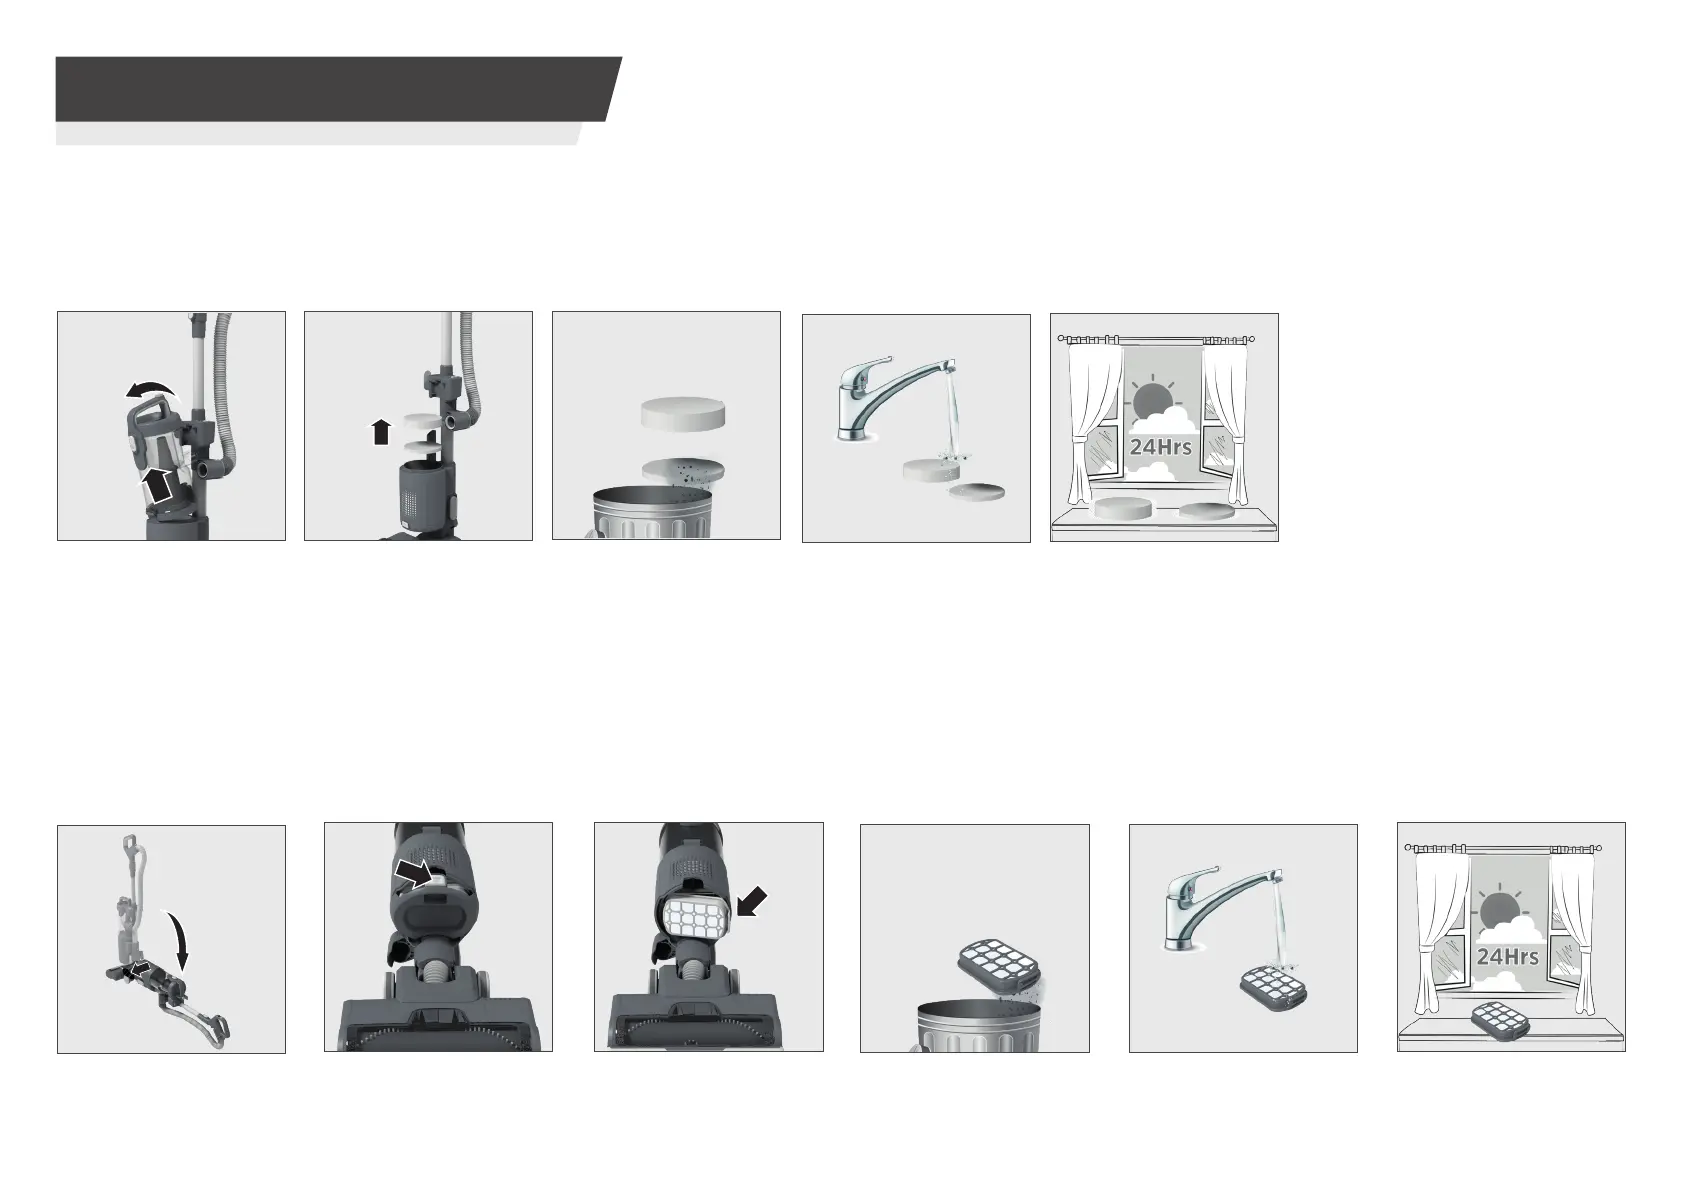
P9
STEP 2: Push the
exhaust lter cover
release button upwards.
Remove the exhaust
lter cover from your
cleaner.
STEP 3:
Press the
exhaust lter release
latches and remove the
lter.
STEP 6:
Leave the lter
to dry for 24Hrs before
re-tting.
STEP 5: Clean the lter
using lukewarm water.
STEP 4:
Remove any
excess debris from the
lter.
To ret the exhaust lter to your cleaner, follow the instructions above in reverse.
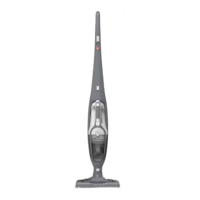
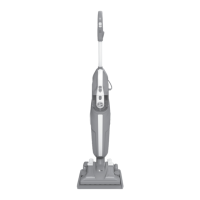
STEP 1:
Lay down main
product placing your
foot onto the nozzle
and pulling the handle
backwards completely
on the ground.
Cleaning the exhaust lter
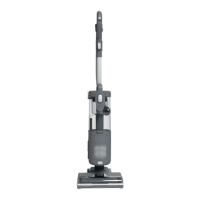
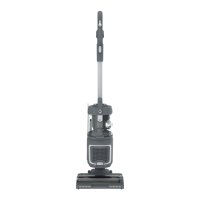
4. CLEANER MAINTENANCE
4.3 FILTERS
To ret the pre-motor lters (foam lter being on top) to your cleaner, follow the instructions above in reverse.
Cleaning the pre-motor lters
STEP 2: Remove both
pre-motor lters from
the main product unit.
STEP 1:
Remove the dust
bin assembly from your
cleaner.
STEP 6:
Leave the lters
to dry for 24Hrs before
re-tting.
STEP 5:
Clean the lters
using lukewarm water.
STEP 3:
Remove any
excess debris from the
lters.
IMPORTANT: Do not ret the lters until they are completely dry.
IMPORTANT: for optimum performance, always keep your lters clean.
We recommend that the lters should be washed at least once a month.