Do you have a question about the Hoover HO9DC3B308IN and is the answer not in the manual?
This document provides user instructions for Hoover ovens, covering safety, installation, operation, and maintenance.
The oven generates moisture during cooking, which may condense on the cavity or door glass; this is normal and dissipates as the oven reaches cooking temperature. To minimize this, preheat the oven for 10-15 minutes before placing food inside. Cooking vegetables in a lidded container is recommended over an open tray. Avoid leaving food in the oven for more than 15-20 minutes after cooking.
The appliance and its accessible parts become hot during use, especially when the grill is active. Exercise caution and keep children at a safe distance. Always switch off the appliance before replacing the bulb to prevent electric shocks. To avoid accidental resetting of the thermal interruption device, do not power the oven via an external switching device like a timer or a regularly switched circuit.
Children under 8 years old should be supervised continuously and kept away from the appliance. Children should not play with the appliance. Individuals aged 8 or older, or those with limited physical, sensorial, or mental capacities, may use the appliance if supervised or instructed on safe operation and potential risks. Cleaning and maintenance should not be performed by unsupervised children.
Do not use rough, abrasive materials or sharp metal scrapers to clean the oven door glass, as these can scratch the surface and cause the glass to shatter. The oven must be switched off before removing any removable parts; reassemble them according to instructions after cleaning.
Only use the meat probe recommended for this oven. Do not use a steam cleaner for cleaning.
Connect the oven to a supply cable with a plug capable of handling the indicated voltage, current, and load, and equipped with an earth contact. The socket must be suitable for the load and have a functional earth contact (yellow-green conductor). This connection should be made by a qualified professional. If the socket and plug are incompatible, a qualified electrician should replace the socket. Both plug and socket must comply with current installation norms. An omnipolar breaker, capable of handling the maximum connected load and compliant with legislation, can also be used for connection. The yellow-green earth cable must not be interrupted by the breaker. The socket or breaker should be easily accessible after installation.
Disconnection can be achieved by an accessible plug or by incorporating a switch in the fixed wiring according to wiring rules. If the power cable is damaged, it must be replaced by a special cable or bundle from the manufacturer or customer service. The cable type must be H05V2V2-F. A qualified professional should perform this replacement. The earth conductor (yellow-green) should be approximately 10 mm longer than other conductors. For repairs, contact Customer Care and request original spare parts. Non-compliance with these instructions can compromise safety and void the warranty.
Remove any spilled material before cleaning. A prolonged power supply failure during cooking may cause a monitor malfunction; contact customer service in such cases. The appliance must not be installed behind a decorative door to prevent overheating. When placing a shelf, ensure the stop is directed upwards and towards the back of the cavity, and insert the shelf completely.
Do not line oven walls with aluminum foil or single-use protection, as direct contact with hot enamel can cause melting and deterioration. Never remove the oven door seal. Do not refill the cavity bottom with water during cooking or when the oven is hot. No additional operation or setting is required for the appliance to operate at rated frequencies.
Regular cleaning after each use helps maintain oven cleanliness. Avoid using the oven at very high temperatures to prevent excessive dirt and strong smells; extending cooking time and lowering the temperature slightly is preferable. Use only dishes and baking molds resistant to very high temperatures, in addition to the supplied accessories.
Manufacturers are not obligated to carry out installation. If assistance is needed for faults due to incorrect installation, it is not covered by the guarantee. Installation must follow instructions by professionally qualified personnel to avoid harm or injury. The oven can be installed high in a column or under a worktop. Ensure good ventilation in the oven space for proper air circulation, cooling, and protection of internal parts. Make openings as specified on the last page for the type of fitting.
The appliance is labeled according to European Directive 2012/19/EU (WEEE). WEEE contains polluting substances and base elements that can be reused. Proper treatment is essential to remove pollutants and recover materials. Individuals can contribute by not treating WEEE as domestic waste and taking it to dedicated collection areas. In many countries, domestic collections are available for large WEEE. When purchasing a new appliance, the old one can be returned to the vendor free of charge if it is of an equivalent type and has the same functions.
To save energy and respect the environment, avoid pre-heating the oven and try to fill it. Open the oven door infrequently to prevent heat dispersion. Switch off the oven 5-10 minutes before the planned end of cooking time to use residual heat. Keep seals clean to prevent heat dispersal. If you have an hourly tariff, use the "delayed cooking" program to shift cooking to reduced tariff times.
By placing the CE mark, compliance with relevant European safety, health, and environmental requirements is confirmed.
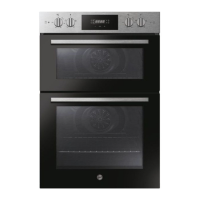
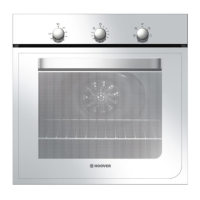
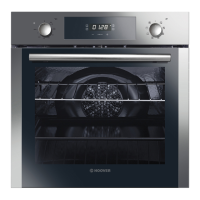
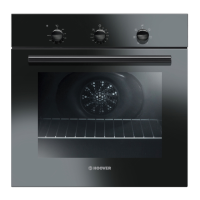
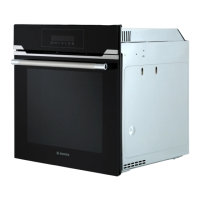
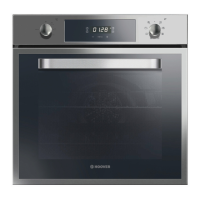
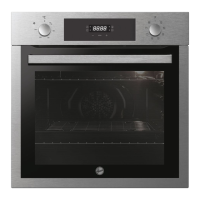
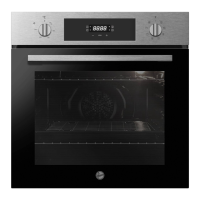
The oven features a control panel, shelf positions (with lateral wire grids if included), a metal grill, a drip pan, a fan (behind a steel plate), and an oven door.
Accessories include a metal grill for baking trays and plates, and a drip tray to collect residues during grilling. Lateral wire grids are located on both sides of the oven cavity and hold metal grills and drip pans.
Before first use, clean the oven. Wipe external surfaces with a damp soft cloth. Wash all accessories and wipe inside the oven with hot water and washing-up liquid. Then, set the empty oven to maximum temperature for about 1 hour to remove any lingering smells of newness.
The display shows a timer, cooking time, end of cooking, and timer display. LCD adjustment controls are present. There are thermostat and function selector knobs for both upper and lower cavities, along with corresponding signal lamps.
Upon installation or power interruption, the display will pulsate and show "12:00". The first step is to set the correct time: push the central button four times, then use the "-" and "+" buttons to set the time, and release all buttons. The oven will only operate once the clock is set.
The oven offers various cooking modes:
Regular cleaning extends the appliance's lifecycle. Allow the oven to cool before manual cleaning. Avoid abrasive detergents, steel wool, or sharp objects to prevent damage to enamelled parts. Use only water, soap, or bleach-based detergents (ammonia).
Glass Parts: Clean the glass window with absorbent kitchen towel after each use. For stubborn stains, use a detergent-soaked sponge, wring it out well, and rinse with water. Oven Window Seal: Clean with a slightly damp sponge if dirty. Accessories: Clean with a wet, soapy sponge, then rinse and dry. Avoid abrasive detergents. Drip Pan: After grilling, remove the pan, pour out hot fat, and wash with hot water, sponge, and washing-up liquid. For greasy residues, immerse the pan in water and detergent, or wash in a dishwasher or with a commercial oven detergent. Never return a dirty pan to the oven.
Removal and Cleaning of Side Racks:
Removal of the Oven Window:
Removal and Cleaning of the Glass Door:
Changing the Bulb:
This procedure uses steam to help remove fat and food particles.
Oven Fitted Under Worktop: Ventilation requirements must follow the provided drawing. Always remove the rear panel of the housing unit. The oven should have 50-80 mm clearance at the back and 30 mm at the top.
Oven Fitted Between Furniture (B: 720): The diagram shows dimensions for fitting the oven between furniture units, including side views with specific measurements for width, height, and depth, ensuring proper integration and ventilation.
| Type | Built-in |
|---|---|
| Oven Type | Electric |
| Energy Class | A |
| Number of Functions | 8 |
| Control Type | Mechanical |
| Number of Cooking Levels | 5 |
| Thermostat | Yes |
| Timer | Yes |
| Interior Light | Yes |
| Door Glass | Double |
| Grill | Yes |
| Convection | Yes |
| Defrost Function | Yes |
| Voltage | 220-240 V |
| Frequency | 50 Hz |
| Weight | 30 kg |
| Dimensions (H x W x D) | 595 mm x 595 mm x 568 mm |