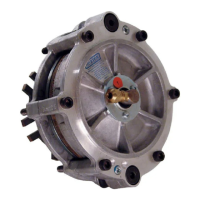
7. LubricatethenewO-ringSealandO-ringsealcontactsurfaces
oftheAirChamberwiththeo-ringlubricantsuppliedintheRepair
Kit;then,installthenewO-ringSealintotheAirChamber.
8. PressthenewPistonintotheAirChamber.
NOTE
If you are installing a new Drive Sleeve, continue with Step 9. If
you are not installing a new Drive Sleeve go to Step 15.
Steps 4-8
Air
Chamber
O-ring
Seal
Piston
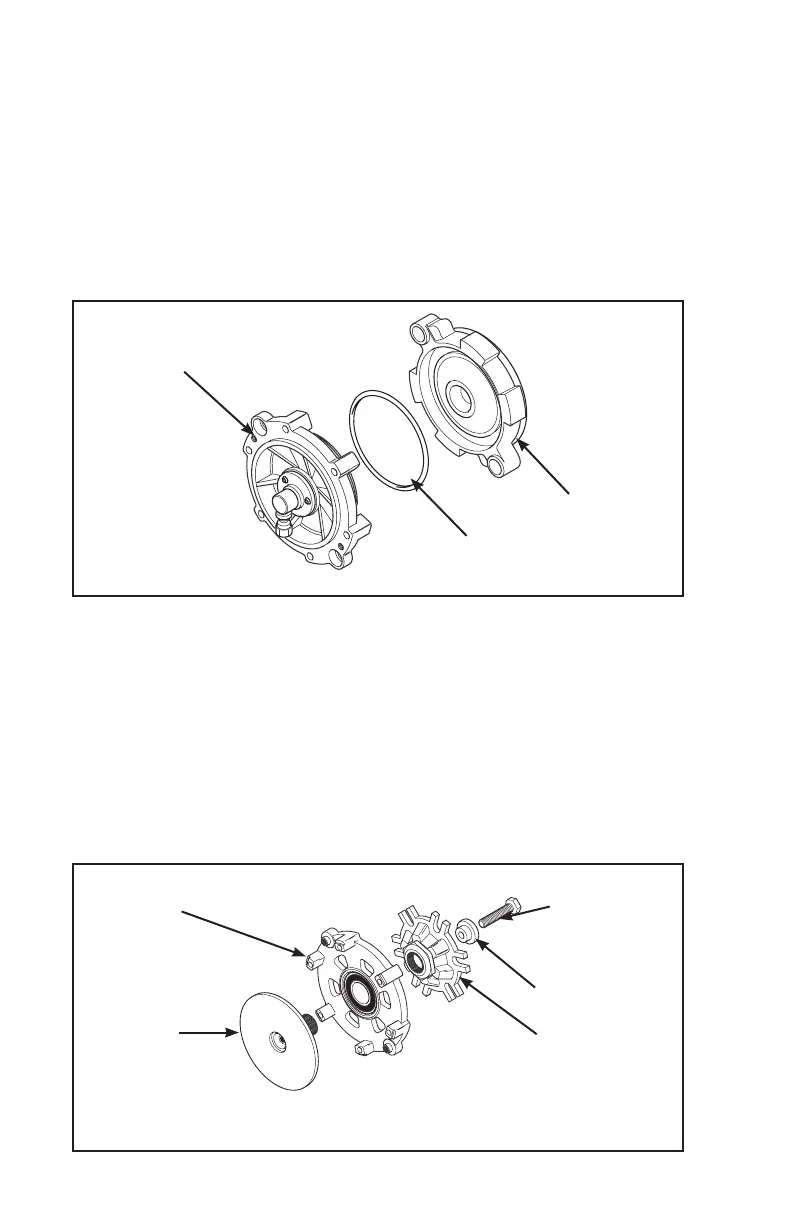
9. RemovetheHex.HeadCapScrewandWasher;then,slidethe
Mounting Bracket and Hex. Bracket off the splined hub of the
Friction Disc.
10. Slide the Friction Disc out of the Drive Sleeve.
11. Slide the Friction Disc into the new Drive Sleeve.
12. Slidethe Mounting Bracket and Hex. Bracket onto the splined
hub of the Friction Disc. Install the new Washer.
Steps 9-12
Hex. Head
Cap Screw
Washer
Mounting Bracket
and
Hex. Bracket
Drive
Sleeve
Friction
Disc
6