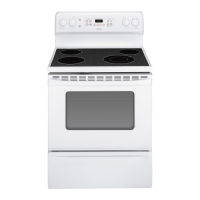
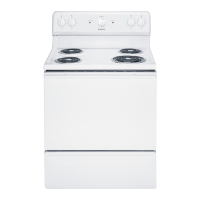
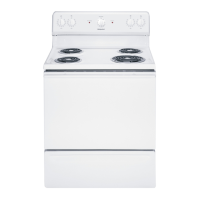
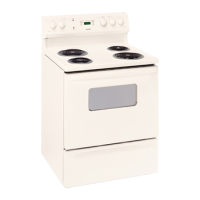
USING YOUR OVEN
(continued)
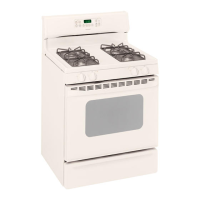
Shelf Positions Hide-A-Way Oven Door Latch
The oven has four shelf
supports, identified in this
illustration as A (bottom),
B, C and D (top).
Shelf positions for cooking
are suggested in the Baking,
Roasting and Broiling
sections.
The Hide-A-Way door latch is for use with
self-cleaning only.
To use the Hide-A-Way door latch, lift the cooktop
and pull the door latch handle into the lock position.
Make sure you pull the handle out enough to fully
extend it or it will not slide into the lock position.
After a clean cycle, when the oven has cooled,
lift the cooktop and push the lock handle back into
the bracket.
When you lower the cooktop the Hide-A-Way door
latch will not show, and the oven is prevented from
being locked accidently.
Oven Light
Use the switch on the control panel to turn the light on and off.
C
A
B
D
BAKING
Do not lock the oven door with the door
latch during baking. The latch is used for self-
cleaning only.
NOTE: When the oven is hot, the top and outside
surfaces of the range get hot too.
Your oven temperature is controlled very accurately
using an oven control system. It is recommended that
you operate the oven for a number of weeks using the
time given on recipes as a guide to become familiar
with your new oven’s performance. If you think an
adjustment is necessary, see the Adjust the Oven
Thermostat section. It lists easy Do It Yourself
instructions on how to adjust the thermostat.
How to Set Your Range for Baking
To avoid possible burns, place the shelves in the
correct position before you turn the oven on.
1. Turn the OVEN SET knob to BAKE and the
OVEN TEMP knob to the desired temperature.
2. Check food for doneness at the minimum time
on the recipe. Cook longer if necessary.
3. Turn the OVEN SET knob to OFF and then
remove the food from the oven.
OFF
BROIL BAKE
CLEAN TIMED BAKE
OVEN SET OVEN TEMP
CLEAN
BROILWARM
200 500
250 450
400300
350
16