2
Welcome to Hougen
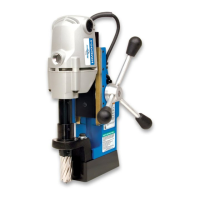
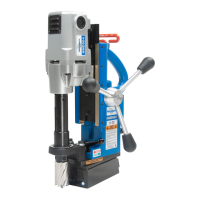
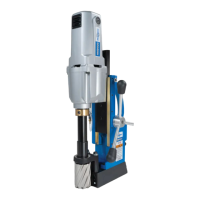
Congratulations on your purchase of the Hougen
®
Portable Magnetic Drill. Your model is designed to produce superior holes quickly and
efciently. Through constant innovation and development, Hougen is committed to provide you with hole producing tools and products to
help you be more productive.
Before attempting to operate your new Portable Magnetic Drill, please read all instructions rst. These include the Operator’s Manual and
Warning Label on the unit itself. With proper use, care, and maintenance, your model will provide you with years of effective hole drilling
performance. Once again, thank you for selecting our product and welcome to Hougen.
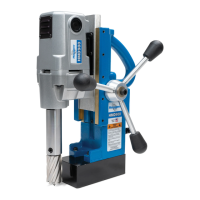
Cutter Type........................Hougen "12,000-Series" and
Copperhead™ Cutters
Hole Capacity................... 7/16" to 1-1/2" (12mm - 38mm)
Depth of Cut......................2" (50mm)
Motor.................................450 RPM, 8A, 920W (115V)
Net Weight........................27.7 lbs. (12.6 kg)
Specications
HOUGEN
®
PORTABLE MAGNETIC DRILL
HMD900 MODEL
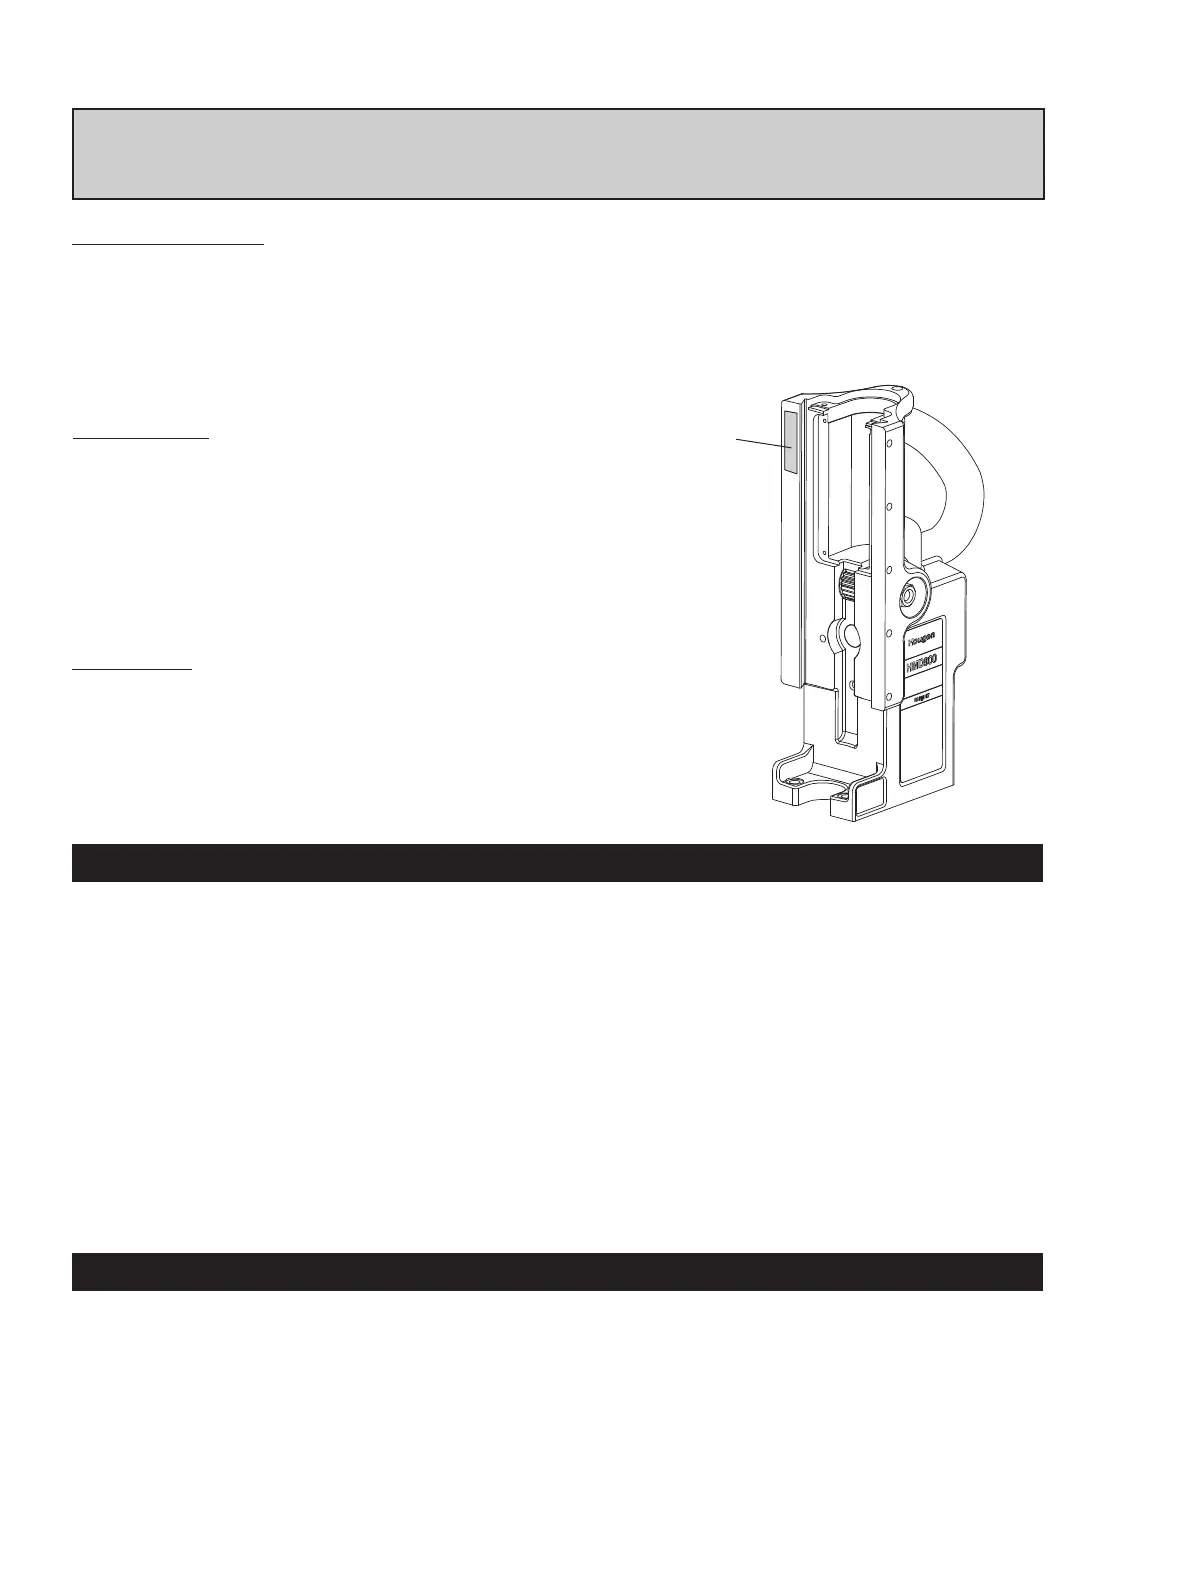
Serial Number
& Part Number
Label
Please refer to the Serial/Part number label on your housing
to direct you to the correct breakdown.
Part Number
0900101 HMD900 115V
1. Open shipping carton and remove the literature and
hardware packages.
2. Read and Follow All Instructions before attempting
to operate your new Magnetic Drill.
3. Please visit Hougen.com to register your unit. It is important that
Hougen Manufacturing, Inc. have a record of product
ownership.
4. Open hardware package and check contents:
04558 Feed handles (3)
04532 Feed handle knobs (3)
40222 Set screw for cutter installation (2)
10730 Safety chain
09405 7/32" Hex wrench
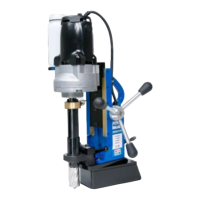
5. Using the handle of Magnetic Drill, lift unit out of the
shipping box.
6. Remove all packing and securing material from the drill
unit.
7. Screw the three knobs into the three feed handles and
then screw handles into the hub assembly. Do not over
tighten or may strip the knobs.
8. Your Magnetic Drill was factory adjusted prior to shipping.
Check to make sure that all gib adjustment screws, motor
mount screws, and magnet mounting screws are snug and
have not vibrated loose in transit.
9. Your new Magnetic Drill comes complete with arbor
mounted. The 3/4" diameter arbor bore ts all 3/4"-shank
"12,000-Series" Hougen Cutters and Copperhead Carbide
Tip Cutters.
Reread all Safety Warnings listed in the Operator’s Manual
and on the drill unit to avoid injury. Follow all operating
procedures.
Control Panel Breakdown 8
Motor Breakdown 9
Maintenance 10
Adjustment of Gibs 10
Hints & Remedies for Holemaking 11
Commercial / Industrial Limited Warranty 12
Authorized Warranty Repair Centers 12
Welcome to Hougen 2
Safety Instructions 3-4
Safety Chain Instructions 4
Operation of Controls 5
Installing Hougen Cutters 5
Operating Instructions 5
HMD900 Assembly Breakdown 6-7
Motor Slide Assembly Breakdown 7
UNPACKING YOUR NEW MAGNETIC DRILL
INDEX