2-9
Installing the HP 5400R zl2 Switches
Installation Procedures
Installing the HP 5400R zl2
Switches
■ The modules can be “hot swapped”, installed after the switch is already
powered on, and normally will be immediately operational. See “Hot
Swapping the Switch Module” on
page 2-27.
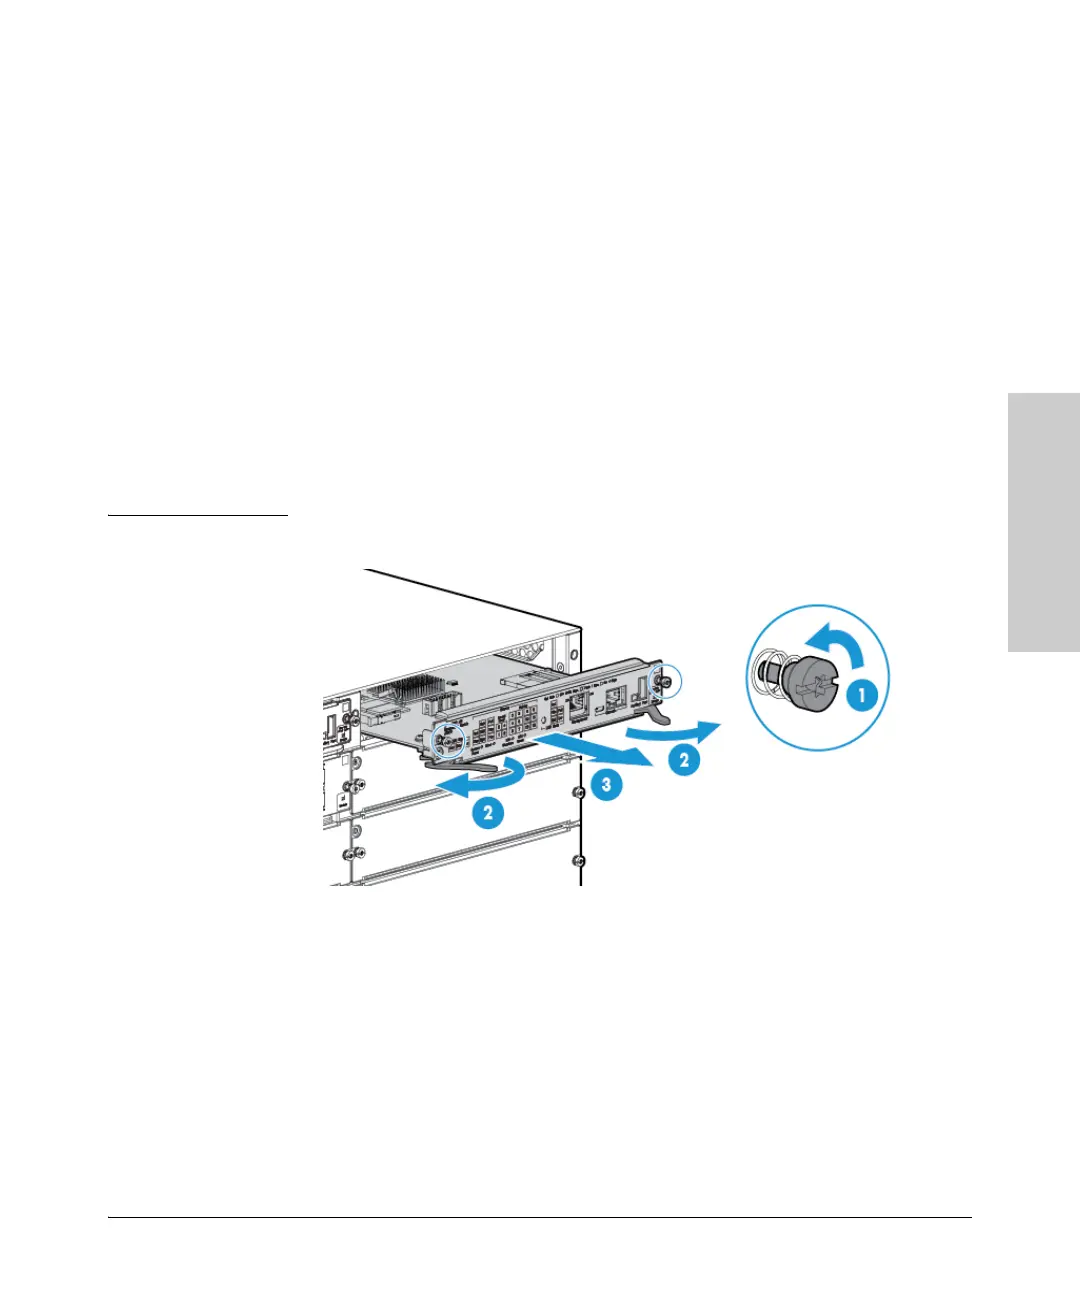
■ Ensure you fully insert the modules. That is, press the module into
the slot using the extractor handles, until the bulkhead on the module is
contacting the front face of the switch chassis.
■ Once the module is fully inserted, screw in the two retaining screws to
secure the module in place. The screws should be tightened until they are
secure, but not overtightened.
■ If you do not use one or more of the slots, ensure the slot cover plate is
still attached over the slot for safe operation and proper switch cooling.
For safety, you should not have more than one module slot uncovered at
a time.
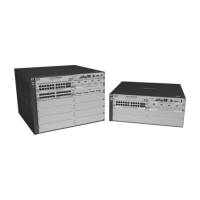
■ Although these procedures show the 6-slot chassis, the procedures are
the same for the 12-slot chassis.
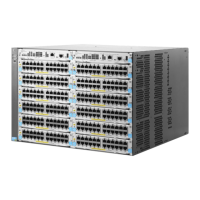
Figure 2-1. Module being installed in a chassis
1 Retaining Screw
2 Open Ejector handle
3 Management Module
 Loading...