11
1. Connect one end of the car charger to the USB connector of the
camcorder. USB port input: DC 5V / 1A.
2. Plug the other end of the car charger to the cigarette lighter
socket of your vehicle. Once the vehicle engine is started, the
camcorder automatically powers on. Car charger input: DC 12 /
24V.
2.4 Initial Settings
Before using the camcorder, we recommend you setup the correct
Date and Time.
N
ote: Please note that if you press the button during recording, the system
will stop recording and enter OSD menu. Make sure the recording is already stopped
then continue operating the menu.
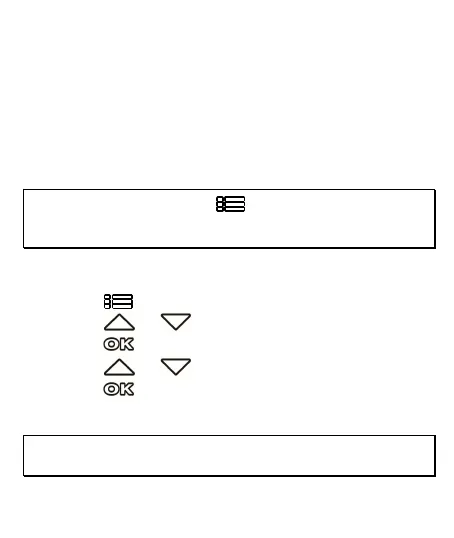
2.4.1 Set the Date / Time
To set the correct date and time, do the following:
1.
Press the button to enter the OSD menu.
2.
Press the or button to select Date / Time, and then
press the
button for entering function menu.
3.
Press the or button to adjust the value, and then
press the button to set the next field.
4.
Repeat step 3 until the date and time setting is completed.
Note: To ensure the accuracy of the video file time, please reset the date and time
when not in use over 7 days.