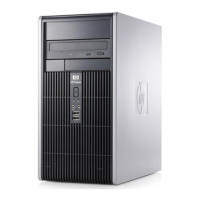
14. Install the four mounting screws that secure the hard drive to the cage. Make sure that the blue
rubber grommets remain attached to the cage behind each screw.
Figure 2-30 Installing the Hard Drive Mounting Screws
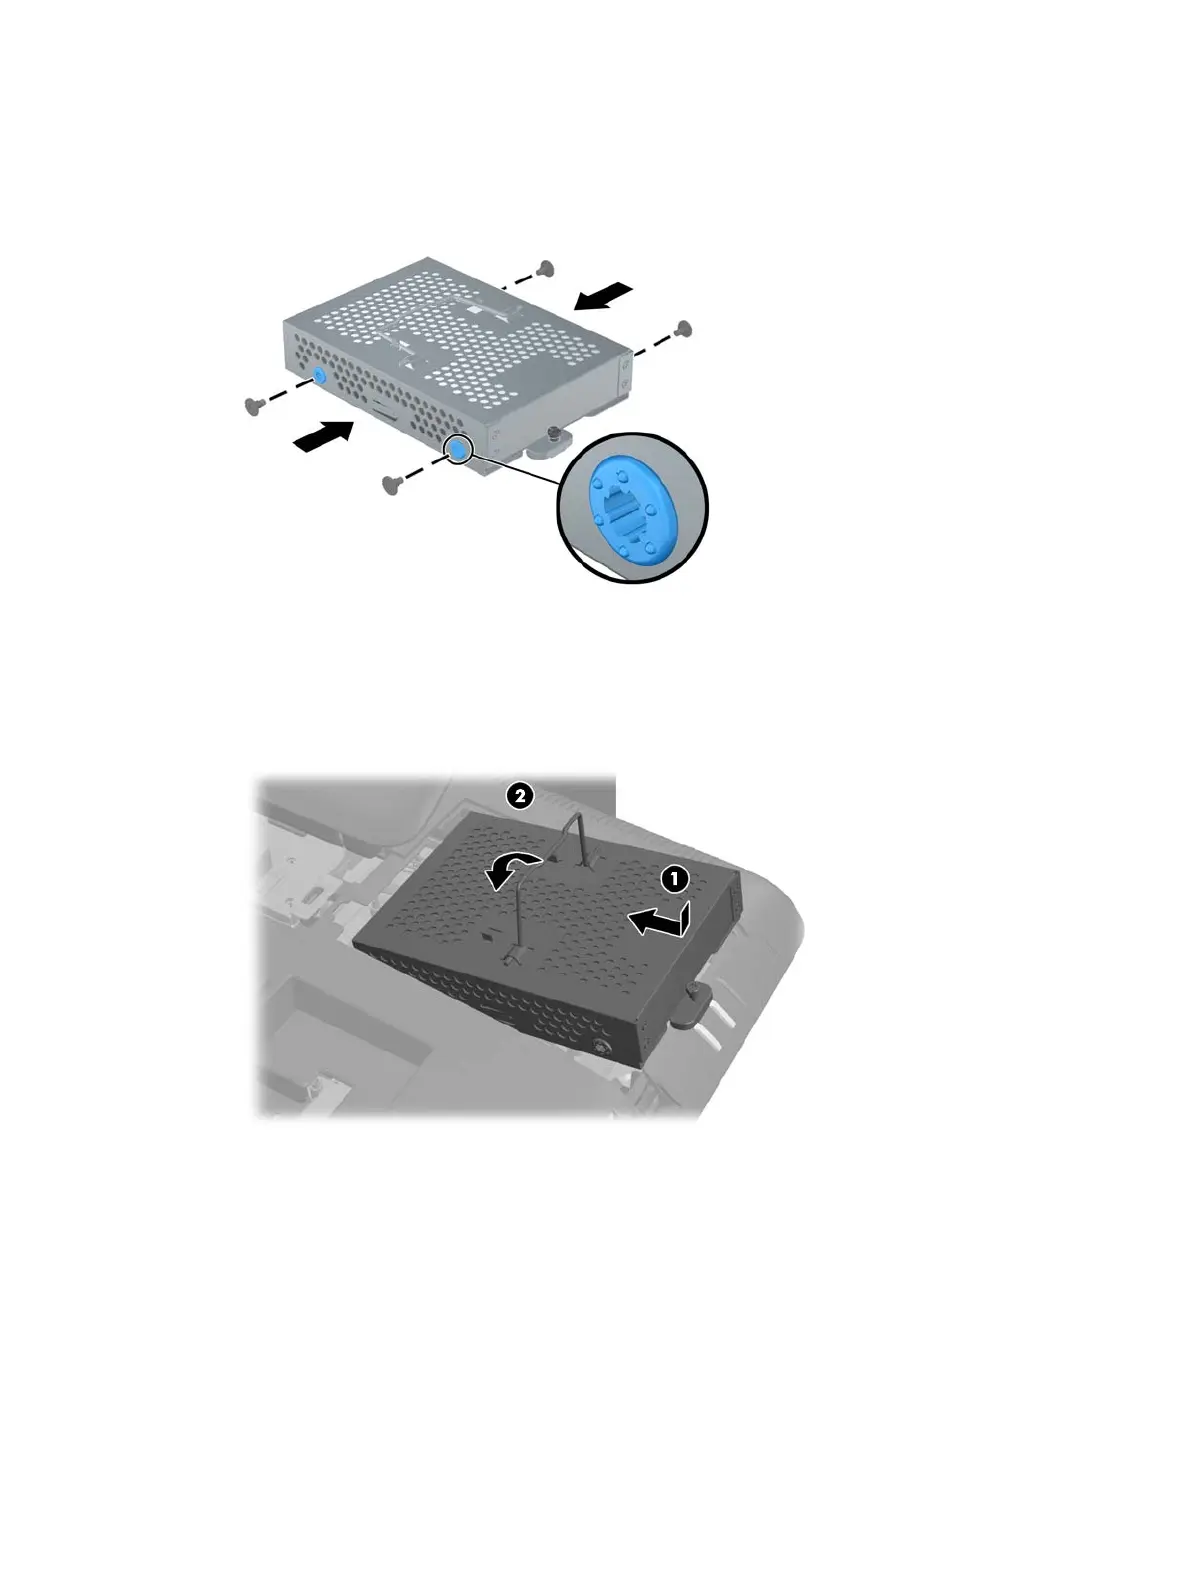
15. Set the hard drive cage down into the bay so that the tabs on the bottom of the cage align with
the slots on the chassis and slide the cage toward the center of the computer (1) so that the
connector on the rear of the drive is securely seated. Rotate the handle on the cage down (2) and
lock it into the clips on top of the cage.
Figure 2-31 Installing the Hard Drive Cage
Replacing the Hard Drive
25

 Loading...