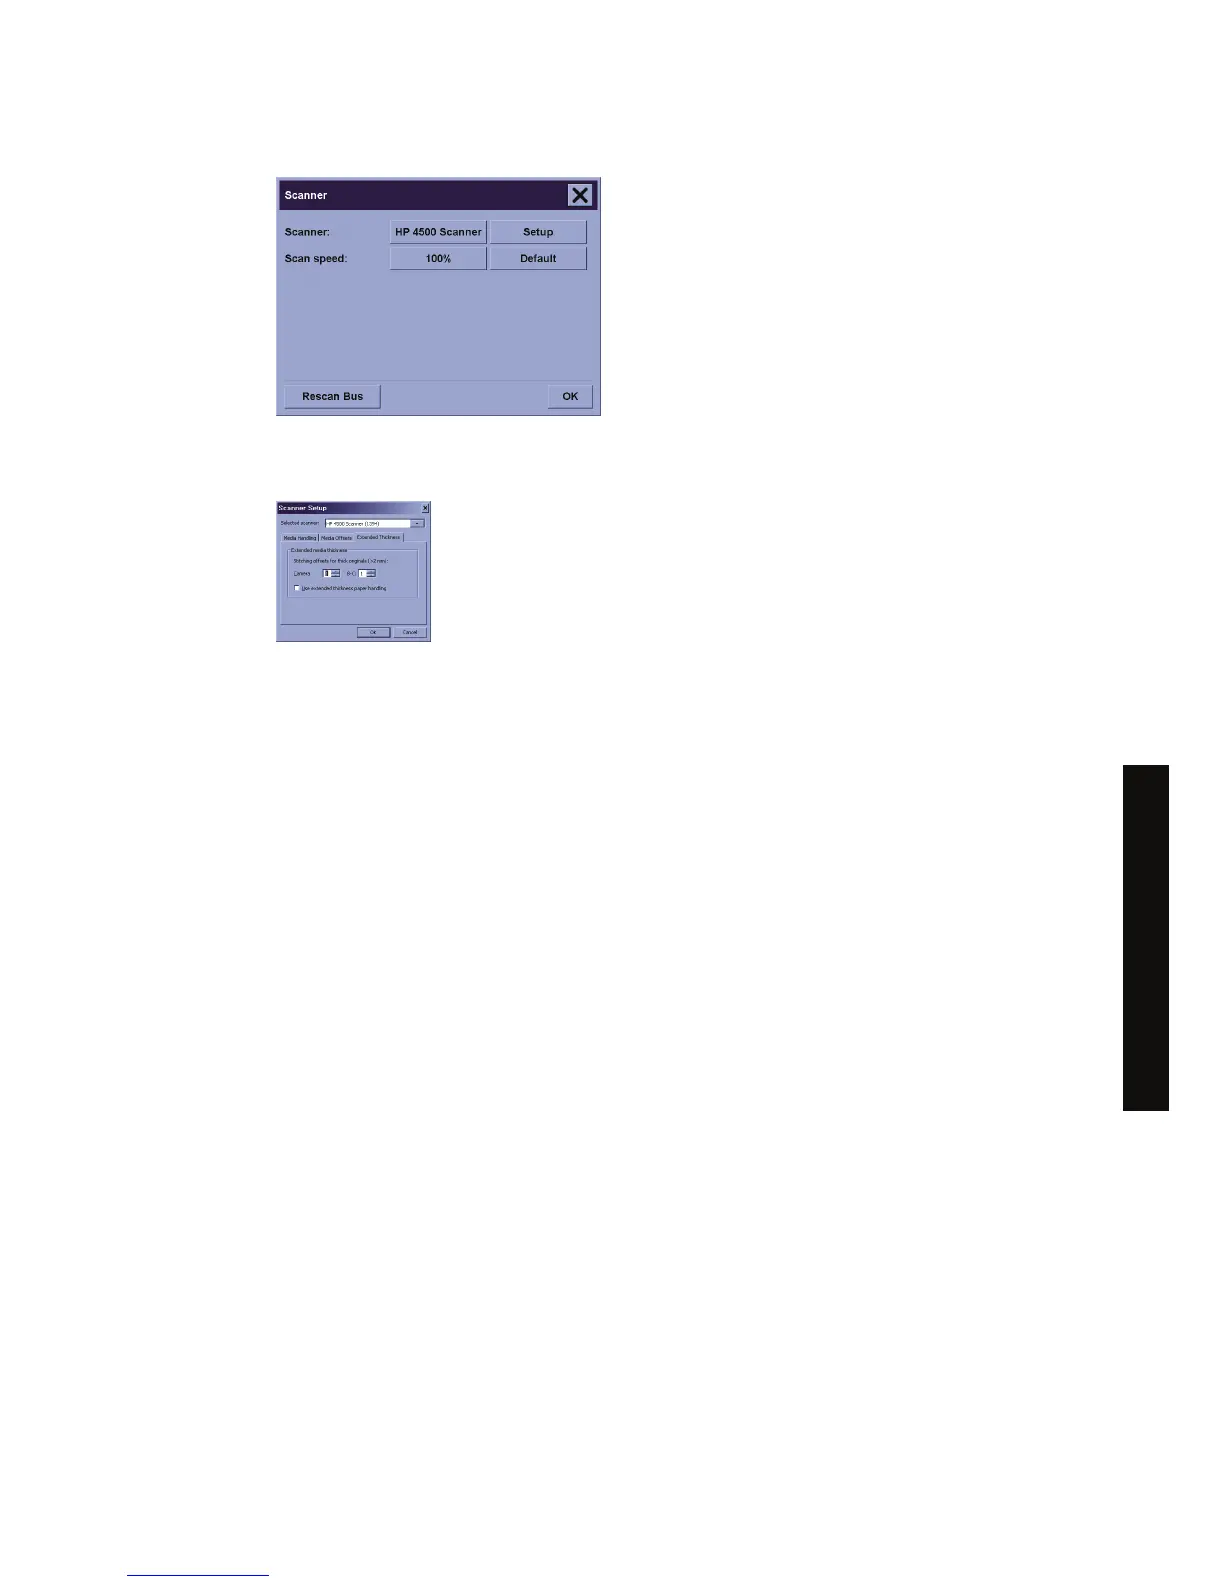
3. In the Scanner dialog, press the Setup button.
4. Select the Extended Thickness tab, and check the box labeled “Use extended thickness paper
handling”.
5. Change the value for each of the scanner’s cameras. Normally, only positive values should be used.
6. Make test scans and readjust the values until you are satisfied that the lines are stitched correctly.
7. Click OK to accept your settings.
Repeat this procedure until you are satisfied with the results.
To return the insertion slot height to its normal position:
1. Remove all material from the insertion slot.
2. Press the Automatic Thickness Adjustment Control key.
3. Press and hold the arrow down key until the insertion slot has stopped adjusting itself.
Try to avoid leaving the insertion slot set above minimum height for long periods of time. The scanner
periodically performs an automatic self-adjustment procedure, but only when the insertion slot height is
at minimum.
Adjust color
If you press the Type of Original button in the Copy or Scan tab, the Type of Original Setup box gives
you various options to adjust the colors of your scanned images.
ENWW Adjust color 113
How do I... (scanner topics)
[4500]
 Loading...
