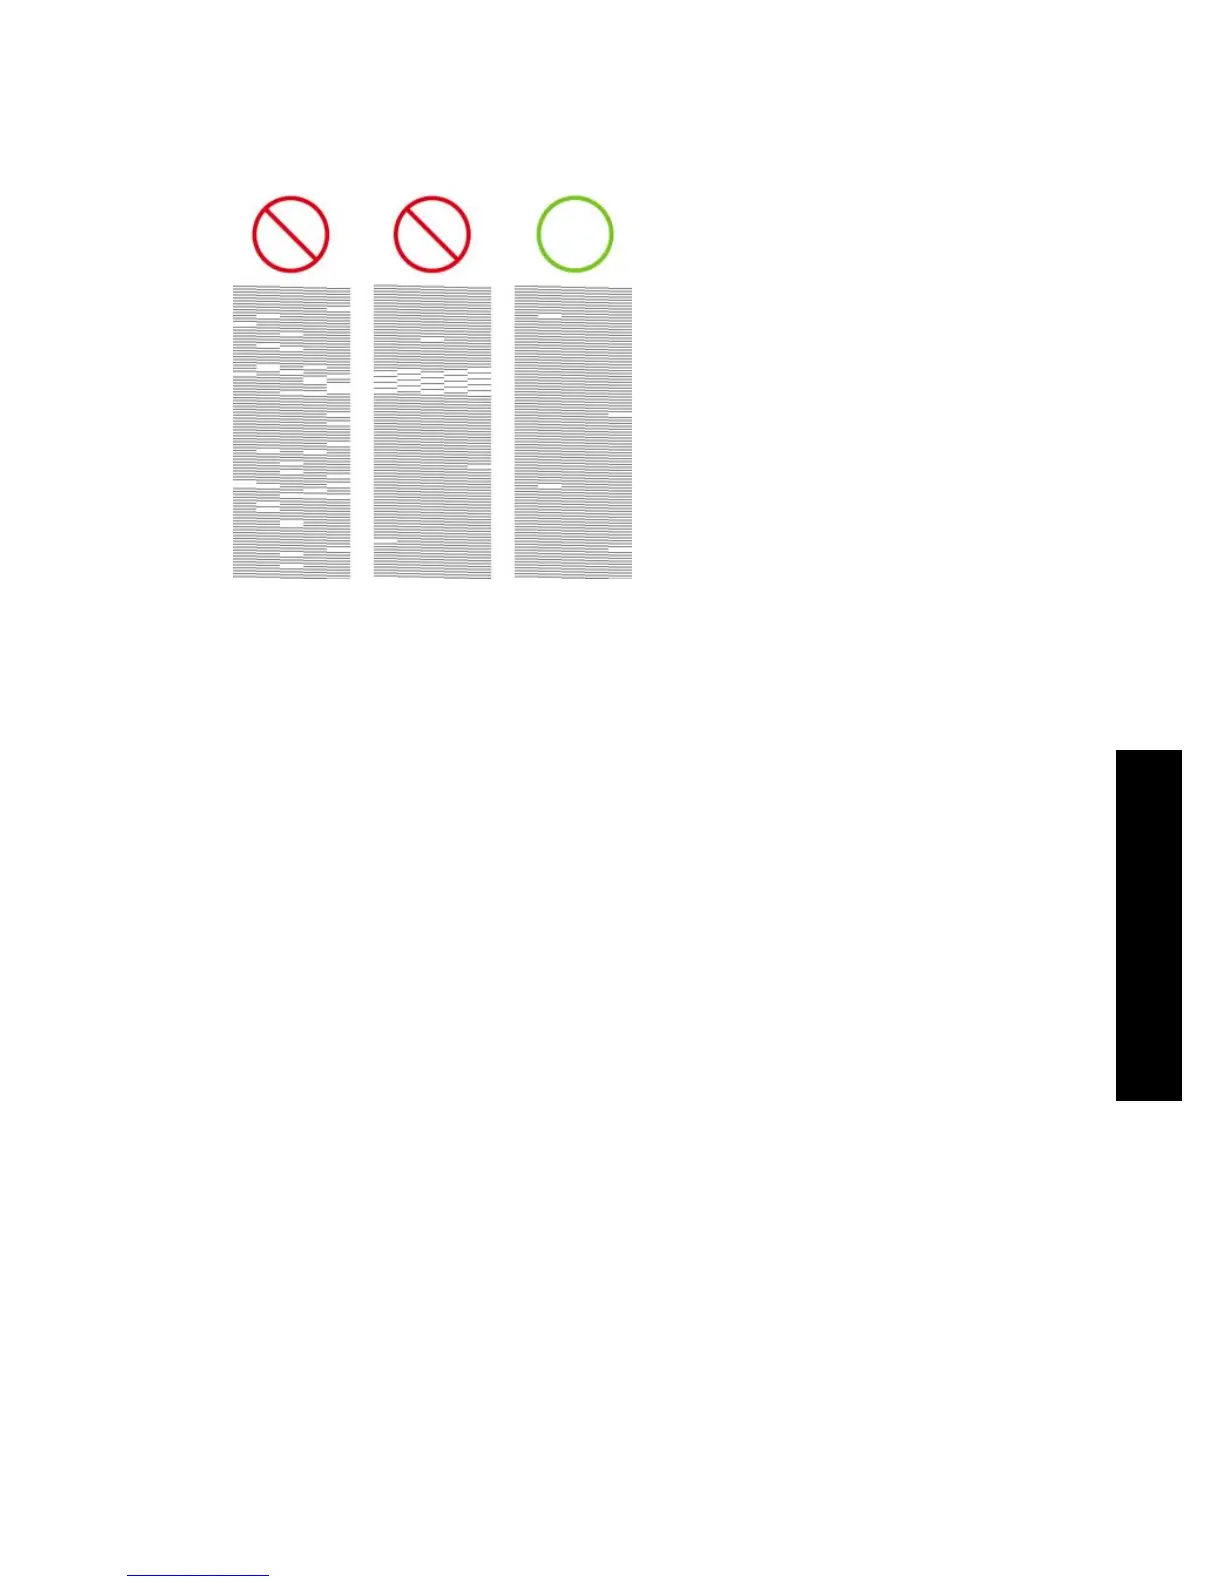
Here are three examples of a black rectangle in close-up, showing the fine lines of
which it is made:
In the first two examples above, there are so many missing lines that the printhead
may be faulty. In the third case there are only a few missing lines, which are
acceptable, because the printer can compensate for such minor problems.
Corrective action
If part 3 shows a problem with one printhead, but part 2 shows no problem, there is no
immediate need to take any corrective action, because the printer is able to
compensate for the problem and maintain print quality. However, if part 2 also shows
a problem, continue as follows:
1. Clean the printheads. See How do I recover (clean) the printheads?.
2. If there is no improvement in print quality, replace the printhead that shows the
problem. See How do I remove a printhead? and How do I insert a printhead?.
How do I proceed if I still have a problem?
If the entire Image Diagnostics Print contains no defects and you still experience print
quality problems, here are some things to check:
● Try using a higher print quality option. See How do I choose print quality settings?
and How do I change the print quality?.
● Check the driver you are using to print with. If it is a non-HP driver, go to
http://www.hp.com/go/designjet/ and download the correct HP driver.
● If you are using a non-HP RIP, its settings may be incorrect. Refer to the
documentation that came with the RIP.
● Check that your printer's firmware is up to date. See How do I update my printer's
firmware?.
● Check that you have the right settings in your software application.
● If you are seeing a problem only at the top of the page, see The problem is a
defect near the start of a print.
181
How do I use the Image
Diagnostics Print?
 Loading...


