120 Chapter 4 Service Tests, Utilities & Calibrations
Tests, Utilities & Calibrations
Introduction
This chapter explains how to use the Service Tests, Utilities and Calibration. Each part is shown step by
step in order that it is displayed on the Front Panel. If the Test, Utility or Calibration should fail and display
a system error, we explain where to go in the Service Manual to either troubleshoot the error of fix it
directly.
Diagnostics - Self Test
Whenever the Printer is switched ON, it automatically performs a series of internal self tests and
mechanical initialization sequences. If any of the parts fail during this test, a system error will display and
you should consult “System Error Codes and Warnings - Explanation” on page 75.
Phone Support
Some of the tests, utilities and calibrations are simple to perform and there are parts of this chapter that
a Call Agent can use to fix the printer over the phone by asking the customer to perform some of the
procedures shown here. These procedures have a telephone icon in the corner of the page.
Remember that the Key combination for the Customer to Enter the Service Tests and Utilities is different
from the one that the Customer Engineer will use.
Service Tests
Entering the Diagnostic Service Tests Menu
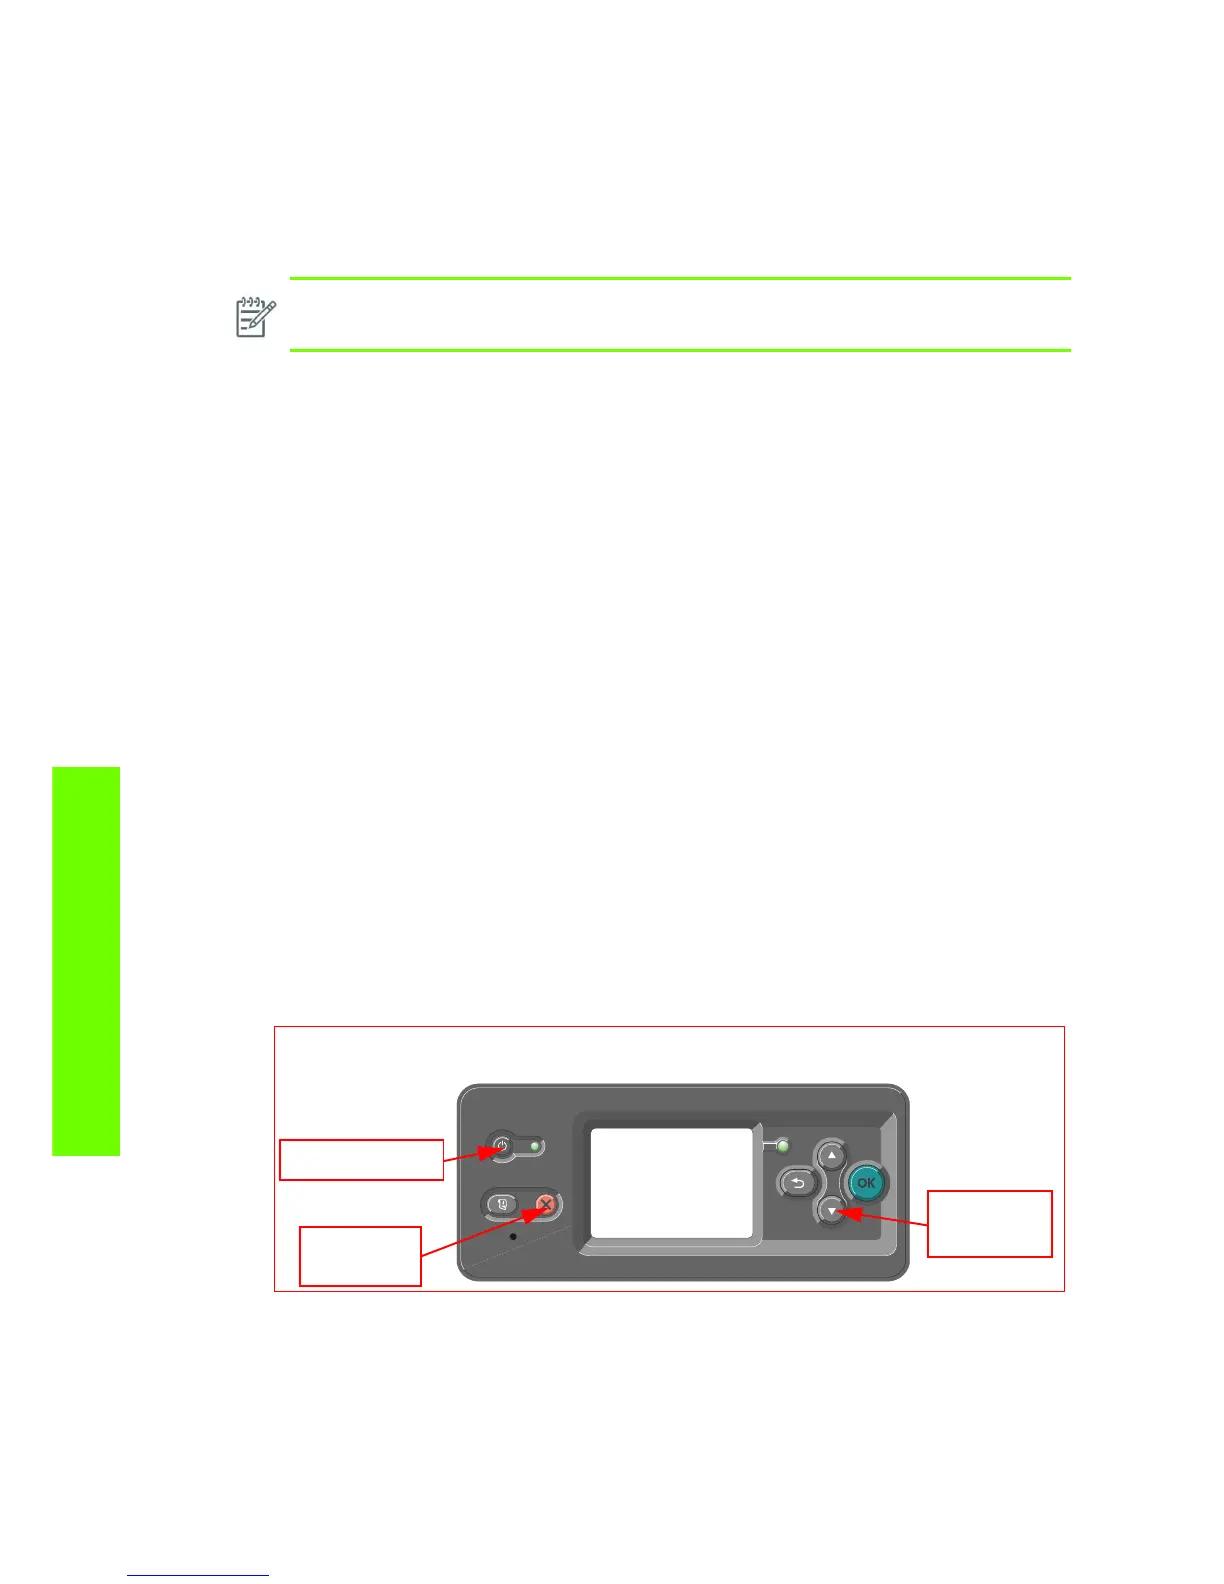
1. Make sure the printer is switched OFF from the power switch on the front of the printer and NOT
from the power switch on the back of the printer.
2. For Call Agents who will request the User to Perform certain troubleshooting action, hold the Down
arrow key and the Cancel key down and switch the printer ON using the front power switch. Wait
until you hear one beep (usually after 5 seconds) before releasing ALL three keys.
NOTE: If possible, always perform the related Service Test on a component that you are
about to replace, to confirm it has failed.
 Loading...