Install the stacker
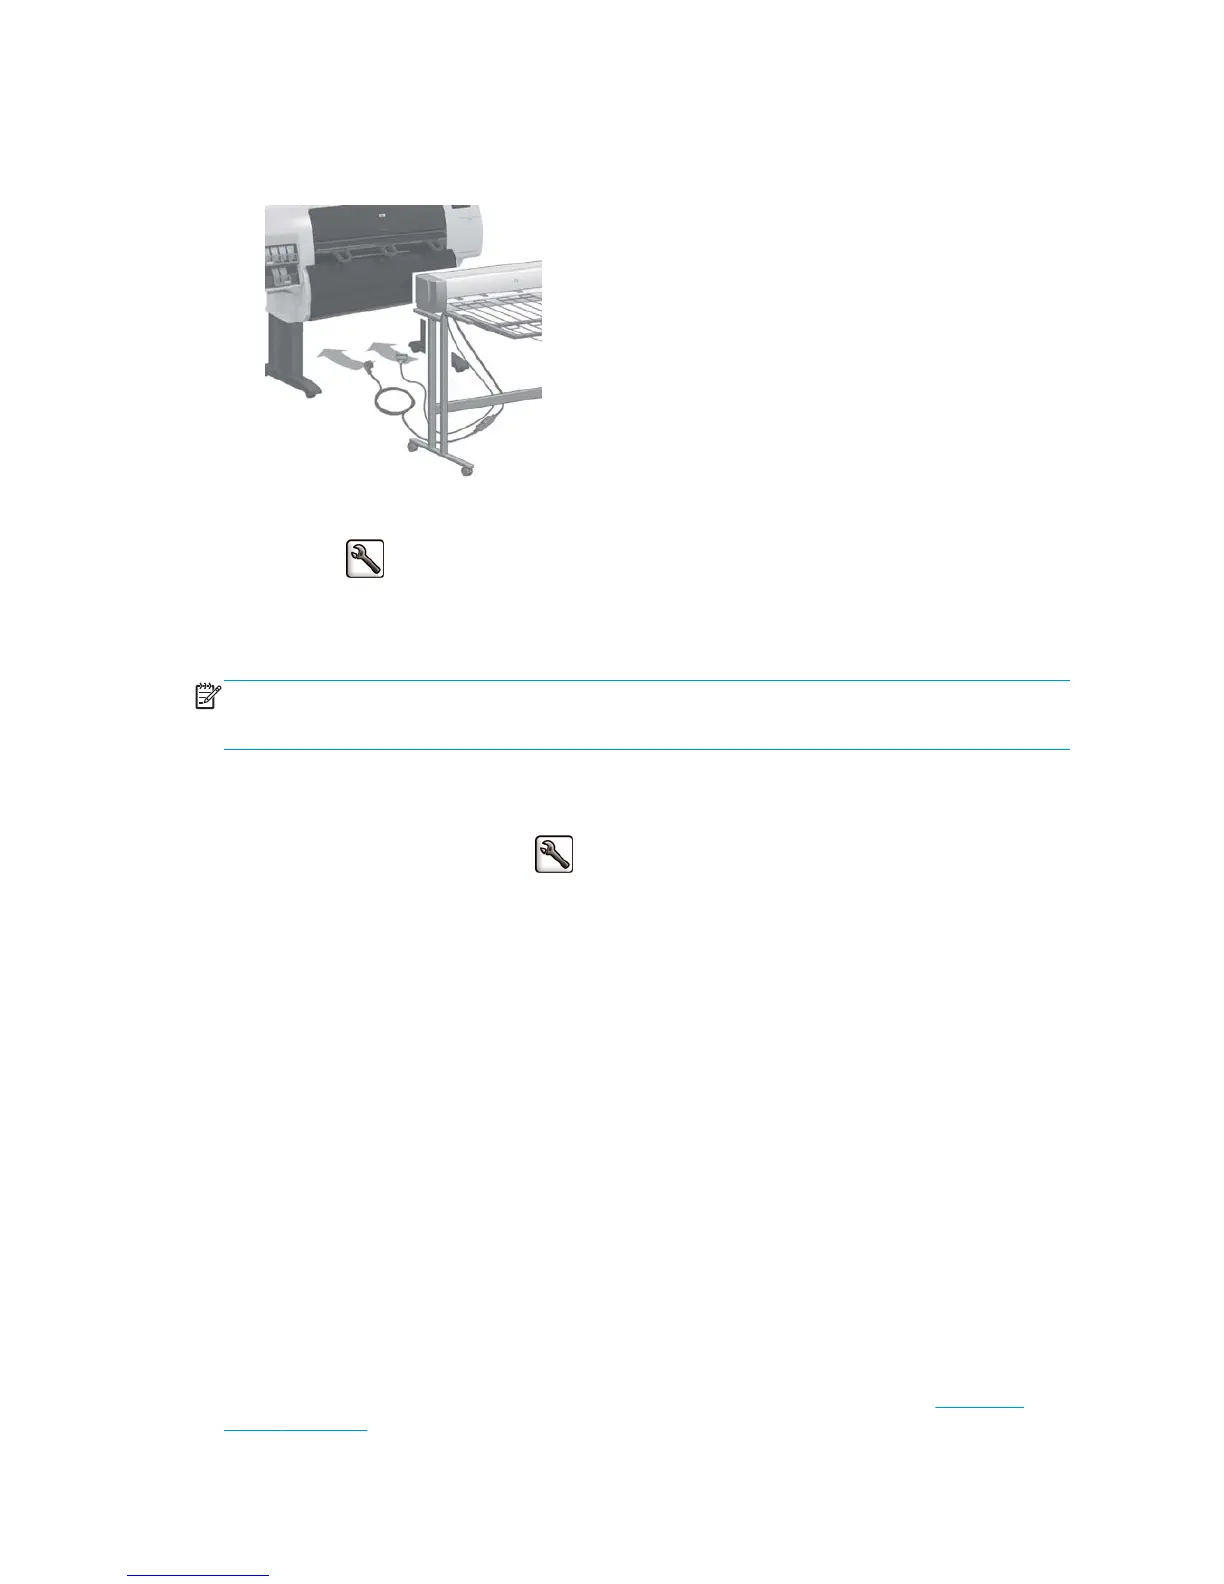
1. Connect the cables between the stacker and the printer.
2. Switch on the stacker.
3.
Select the
icon on the printer's front panel, then Accessories > Stacker > Install stacker. The front
panel will prompt you to attach the stacker to the printer.
4. There are two latches on the stacker that engage with the printer deflectors. To attach the stacker to
the printer, attach first one side and then the other (because less force is required that way).
NOTE: The stacker operates on cut sheets of paper. When it is switched on, the cutter is automatically
enabled. It cannot work if the cutter is turned off or if the printing material cannot be cut (canvas, for
example).
Uninstall the stacker
1.
To uninstall the stacker, select the
icon on the printer's front panel, then Accessories > Stacker >
Uninstall stacker.
2. The front panel will then prompt you to detach the stacker from the printer. Pull the stacker from one
side to detach it on that side, then detach the other side.
3. Disconnect the stacker cables.
Choose paper for the stacker
The stacker can handle cut sheets of paper between 420 mm (A3 portrait) (16.5 in) and 1189 mm (A0
portrait) (46.8 in) in length. Shorter prints will be enlarged to the minimum length with extra white space;
longer prints risk falling off the stacker.
Some printing materials are not compatible with the stacker, including:
●
Matte and clear film
●
Glossy paper (except instant-dry glossy paper, which may be used)
●
Heavyweight coated paper
●
Canvas
When printing in Fast mode on Translucent Bond, Vellum or Natural Tracing Paper, there could be some ink
transfer marks in highly inked areas. Select Normal or Best mode to avoid this problem. See
Select print
quality on page 77.
70 Chapter 7 Use of the stacker ENWW
 Loading...