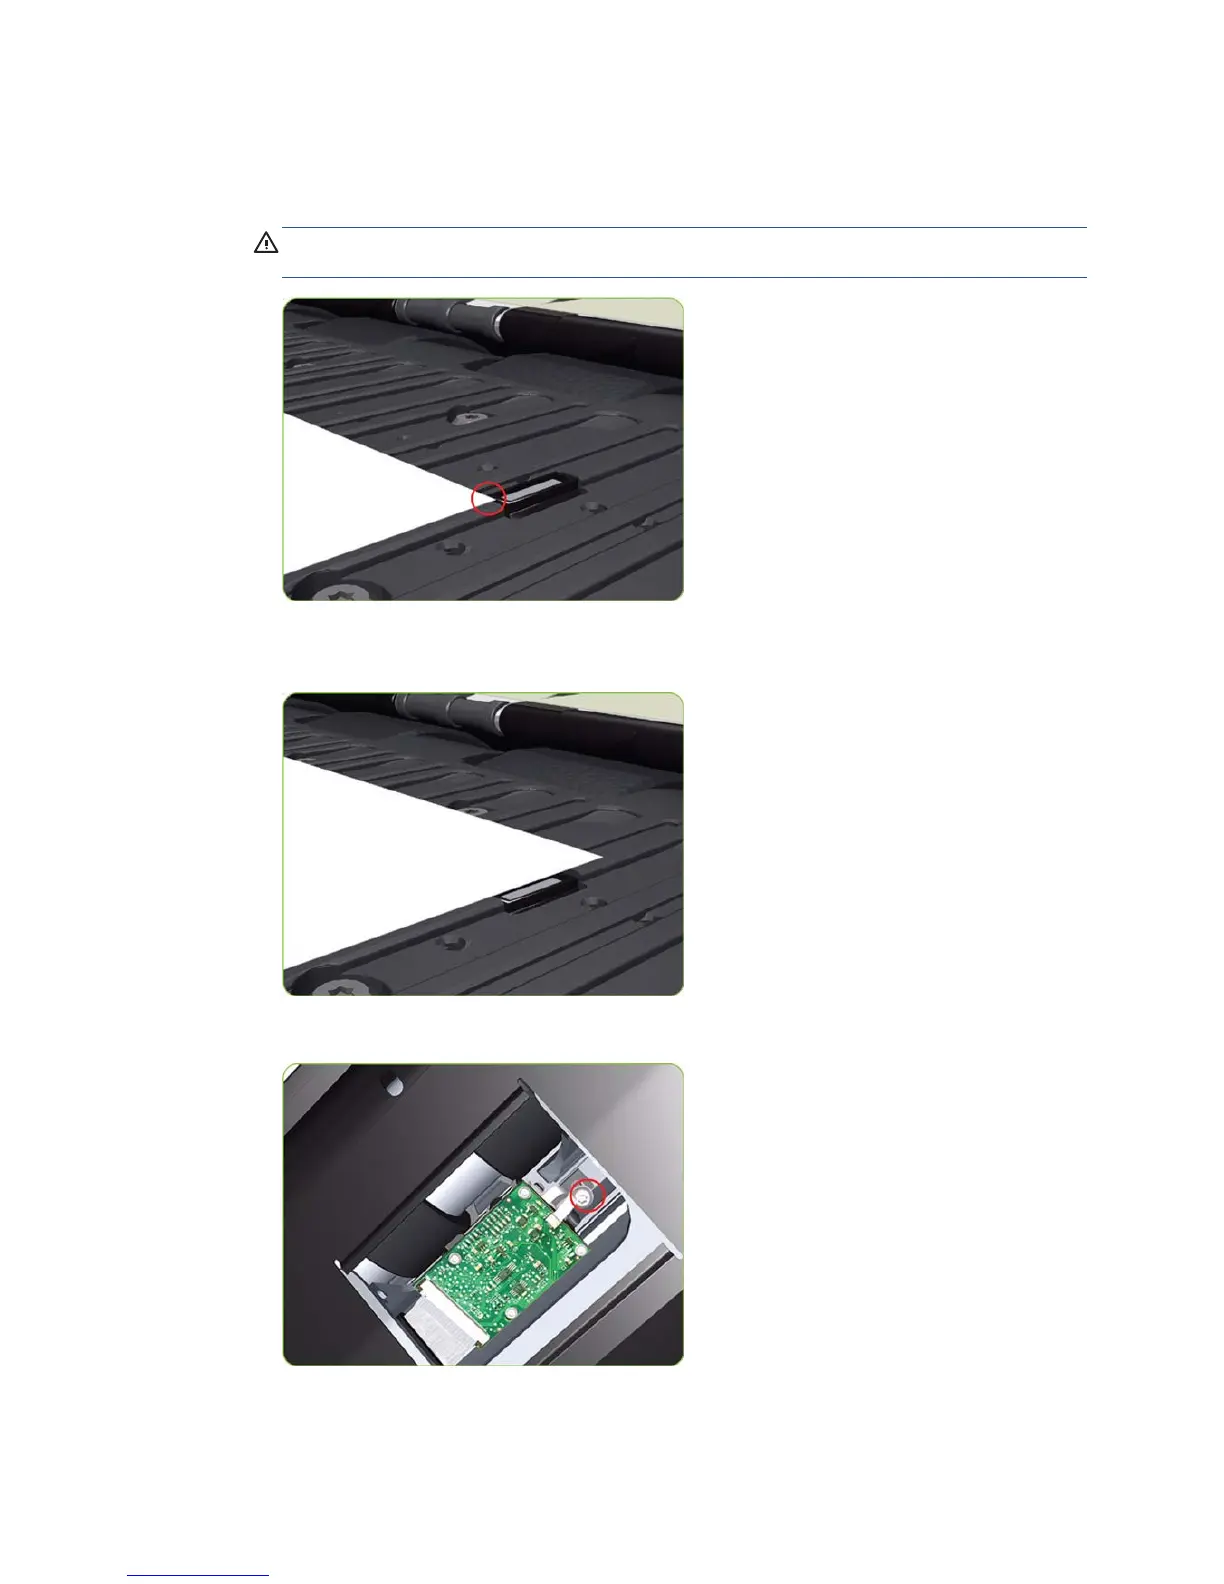
4. Carefully push the OMAS fully up into its mounting so that the OMAS window protrudes slightly
ABOVE the Center Platen (approximately 0-2 mm). To ensure the OMAS is correctly positions,
slide a sheet of paper over the Platen Ribs until it is stopped by the OMAS. This ensures the
OMAS is protruding slightly above the platen.
CAUTION: Make sure the OMAS is pushed completely up into its mounting or you will
encounter an error during the OMAS calibration because it will not be able to focus on the paper.
5. Slide a sheet of paper over the OMAS window, if the paper is not stopped by the OMAS, repeat
step 4 to ensure the OMAS is pushed fully up into its the mounting.
6. FULLY tighten the T-20 vertical attachment screw.
ENWW
Disassembly order
357
 Loading...