Carriage Assembly 339
Removal & Installation
Carriage Assembly
Removal
1. Remove the Right Cover
⇒
See page 264
.
2. Remove the Front Panel
⇒
See page 292
.
3. Remove the Primer Assembly
⇒
See page 294
.
4. Remove the Left Cover
⇒
See page 270.
5. Remove the Encoder Strip
⇒
See page 331
.
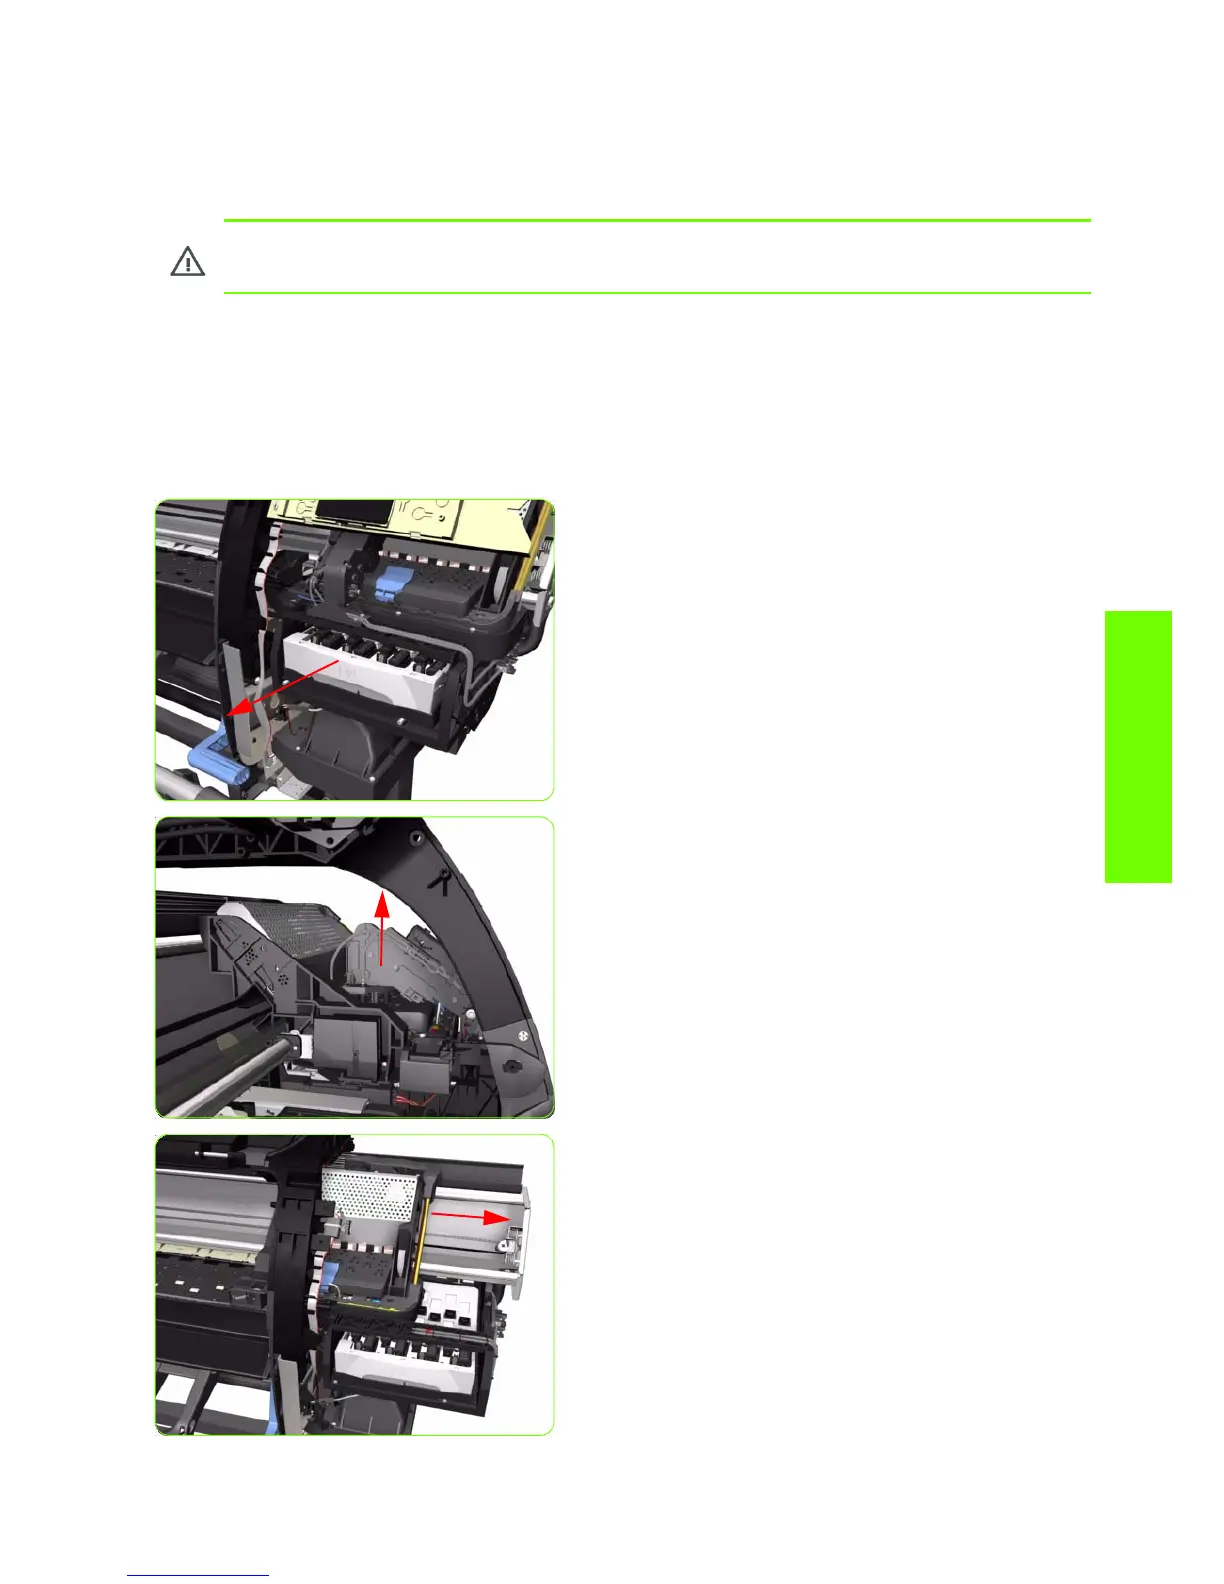
6. Pull out the Printhead Maintenance Cartridges tray.
7. Lift the Primer and hold the Primer to its maximum
position to avoid damaging it when you move the
Carriage Assembly in the next step.
8. Move the Carriage Assembly to the extreme right of the
Printer.
WARNING!: Switch off the printer and remove the power cable.
 Loading...