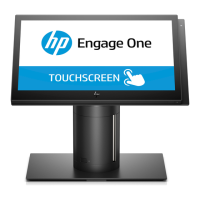
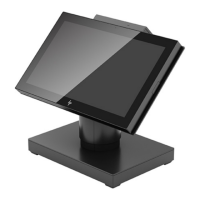
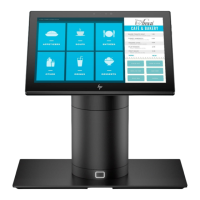
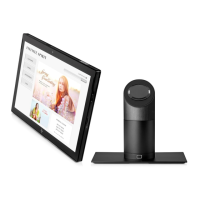
Installing a security screw on the Engage One head unit and
VESA mount
You can insert a tamper-resistant security screw into the computer’s VESA mount with a T-10 screwdriver to
prevent access to the computer head unit’s release button.
1. Press the rear cover release tab (1) on the VESA bracket, and then pull the rear cover o the VESA
bracket (2). Then remove the security screw (3) from inside the VESA bracket, and then replace the rear
cover (4).
2
. Press the head unit onto the VESA mount (1) if it is not already attached, and then install the security
screw (2) in the release button hole on the VESA mount.
Removing and replacing the column printer
1. Prepare the computer for disassembly (Preparation for disassembly on page 19).
2. Remove the receipt paper from the printer.
3. Disconnect the printer and system power sources and any attached devices.
4. Place the computer with the display panel face down on a at surface covered by a soft clean cloth, and
then remove the I/O connectivity base (Attaching an I/O connectivity base to the Engage One
on page 20)
5. Remove the USB-C power cable.
6. Loosen the captive screw that secures the stand base to the printer base plate (1).
Installing a security screw on the Engage One head unit and VESA mount 35
 Loading...

