Removal and replacement procedures
Maintenance and Service Guide 4–45
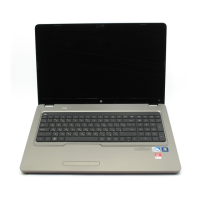
Remove the system board:
1. Disconnect the RJ-11 connector cable 1 from its mounting clip in the base enclosure.
2. Disconnect the optical drive connector cable 2 from the system board.
3. Disconnect the Bluetooth cable 3 from the system board.
4. Disconnect the USB cable 4 from the system board.
5. Disconnect the power connector cable 5 from the system board.
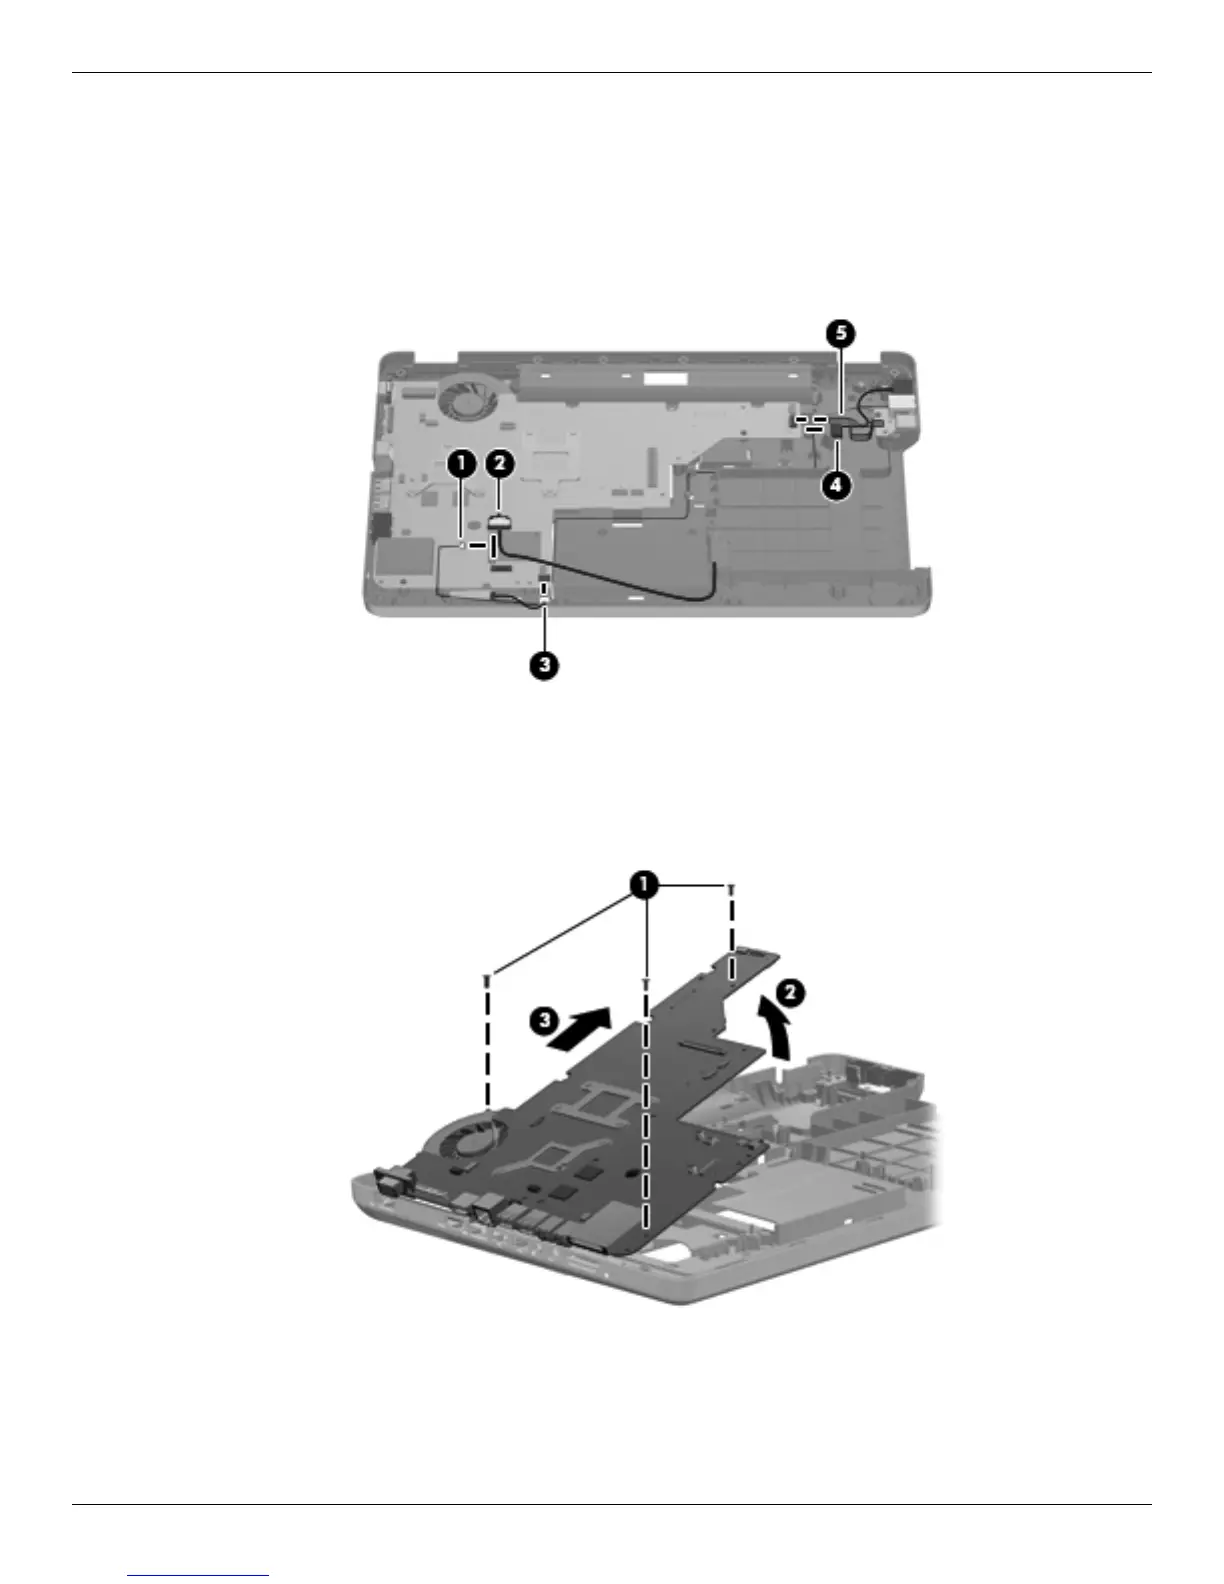
6. Remove the three PM2.5×4.0 screws 1 that secure the system board to the base enclosure.
7. Grasp the right edge 2 of the system board and lift it up to a 45-degree angle.
8. Pull it away from the base enclosure 3 at that angle.
Reverse this procedure to install the system board.
 Loading...