Removal and Replacement
Internal Assemblies
Paper Guide/Top Oblique Roller Assembly
The assembly is held in place by one self-tapping screw, two plastic
alignment tabs, and a plastic latch tab.
●
Note
It is not necessary to remove the Printer Cover,
although the front alignment tabs (Figure 6-24,
callout 2) are more easily accessible with the
cover removed. a
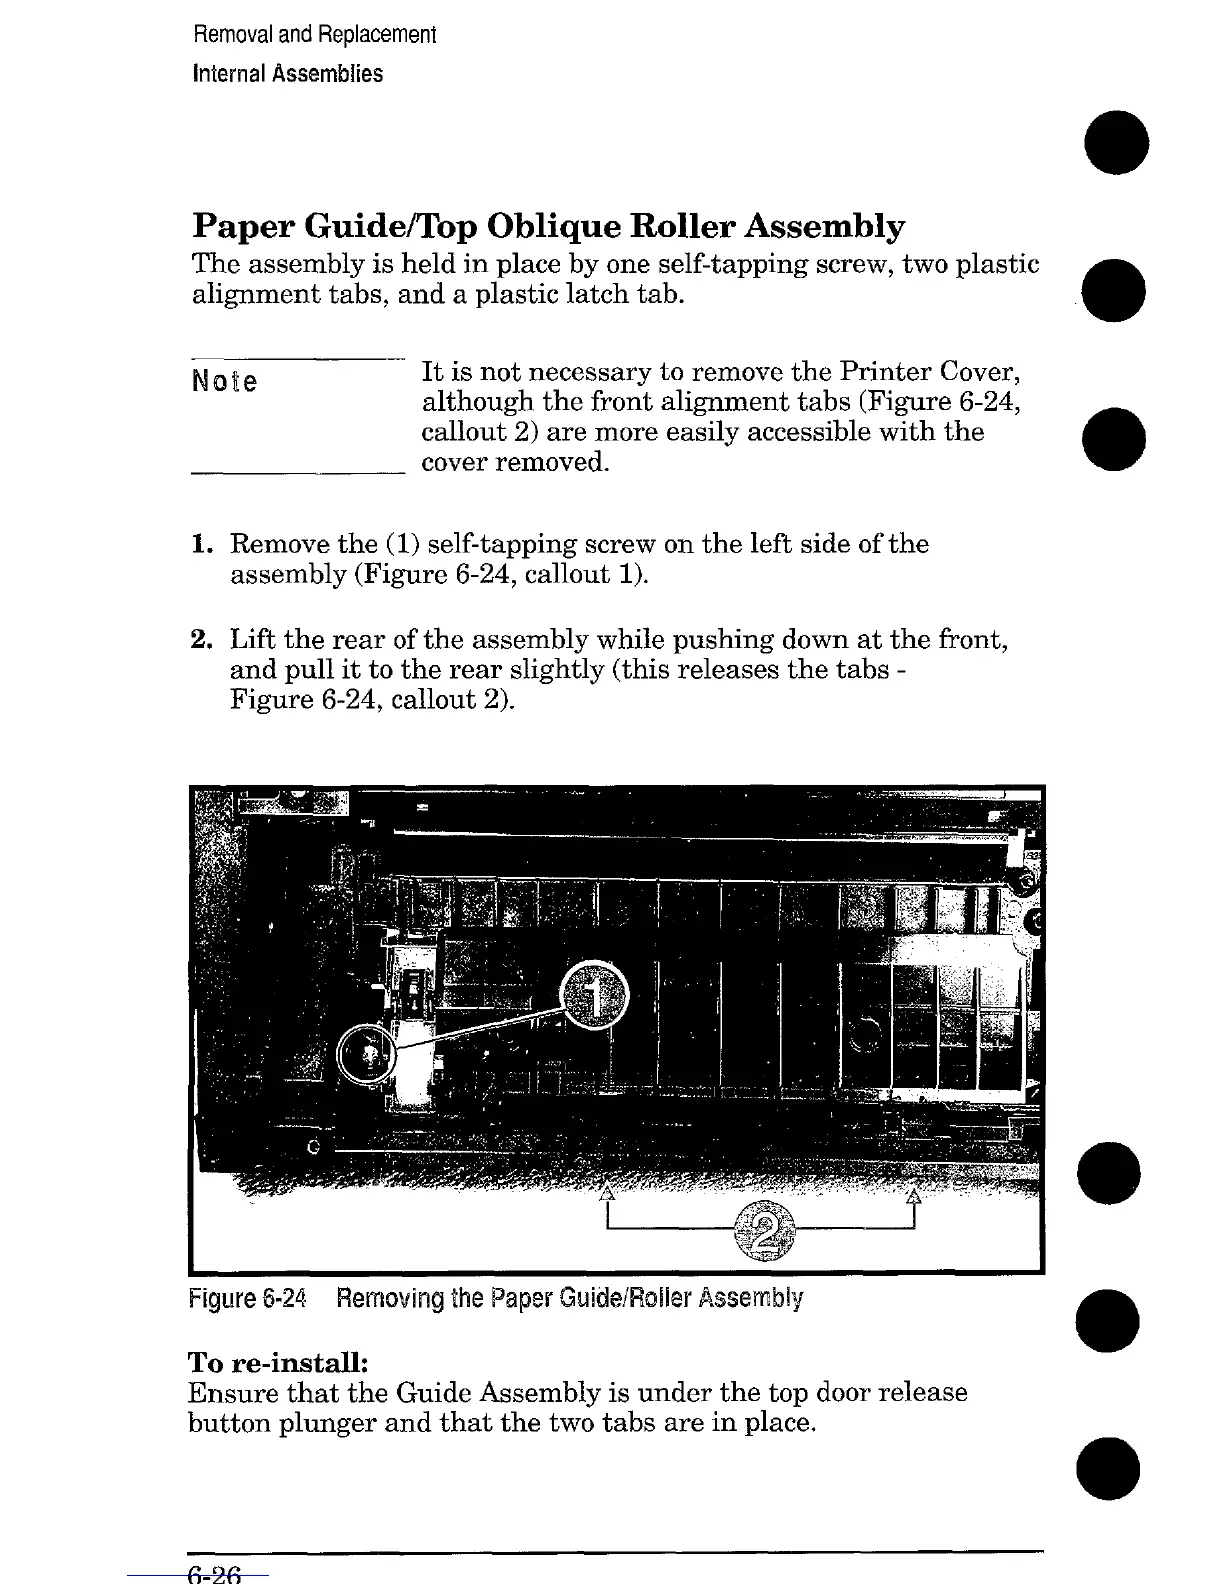
1. Remove the (1) self-tapping screw on the left side of the
assembly (Figure 6-24, callout 1).
2. Lift the rear of the assembly while pushing down at the front,
and pull it to the rear slightly (this releases the tabs -
Figure 6-24, callout 2).
$?jJ--J
-“
Figure 6-24 Removing the Paper Guide/Roller Assembly
Tore-install:
Ensure that the Guide Assembly is under the top door release
button plunger and that the two tabs are in place.
●
6-26
 Loading...