Fuser Exit Roller Assembly
1 Remove Printer Covers, Delivery Assembly (Figures 6-9 and 6-10), Fuser Pressure
Plate (Figure 6-11), and Heating Element (Figures 6-13 through 6-15), Pressure
Roller (Figure 6-16), and Face-Up/Face-Down Lever (Figure 6-17).
2 Remove the gear from the left end of the roller shaft by pressing down on the
catching mechanism with the small flathead screwdriver and pulling the gear away.
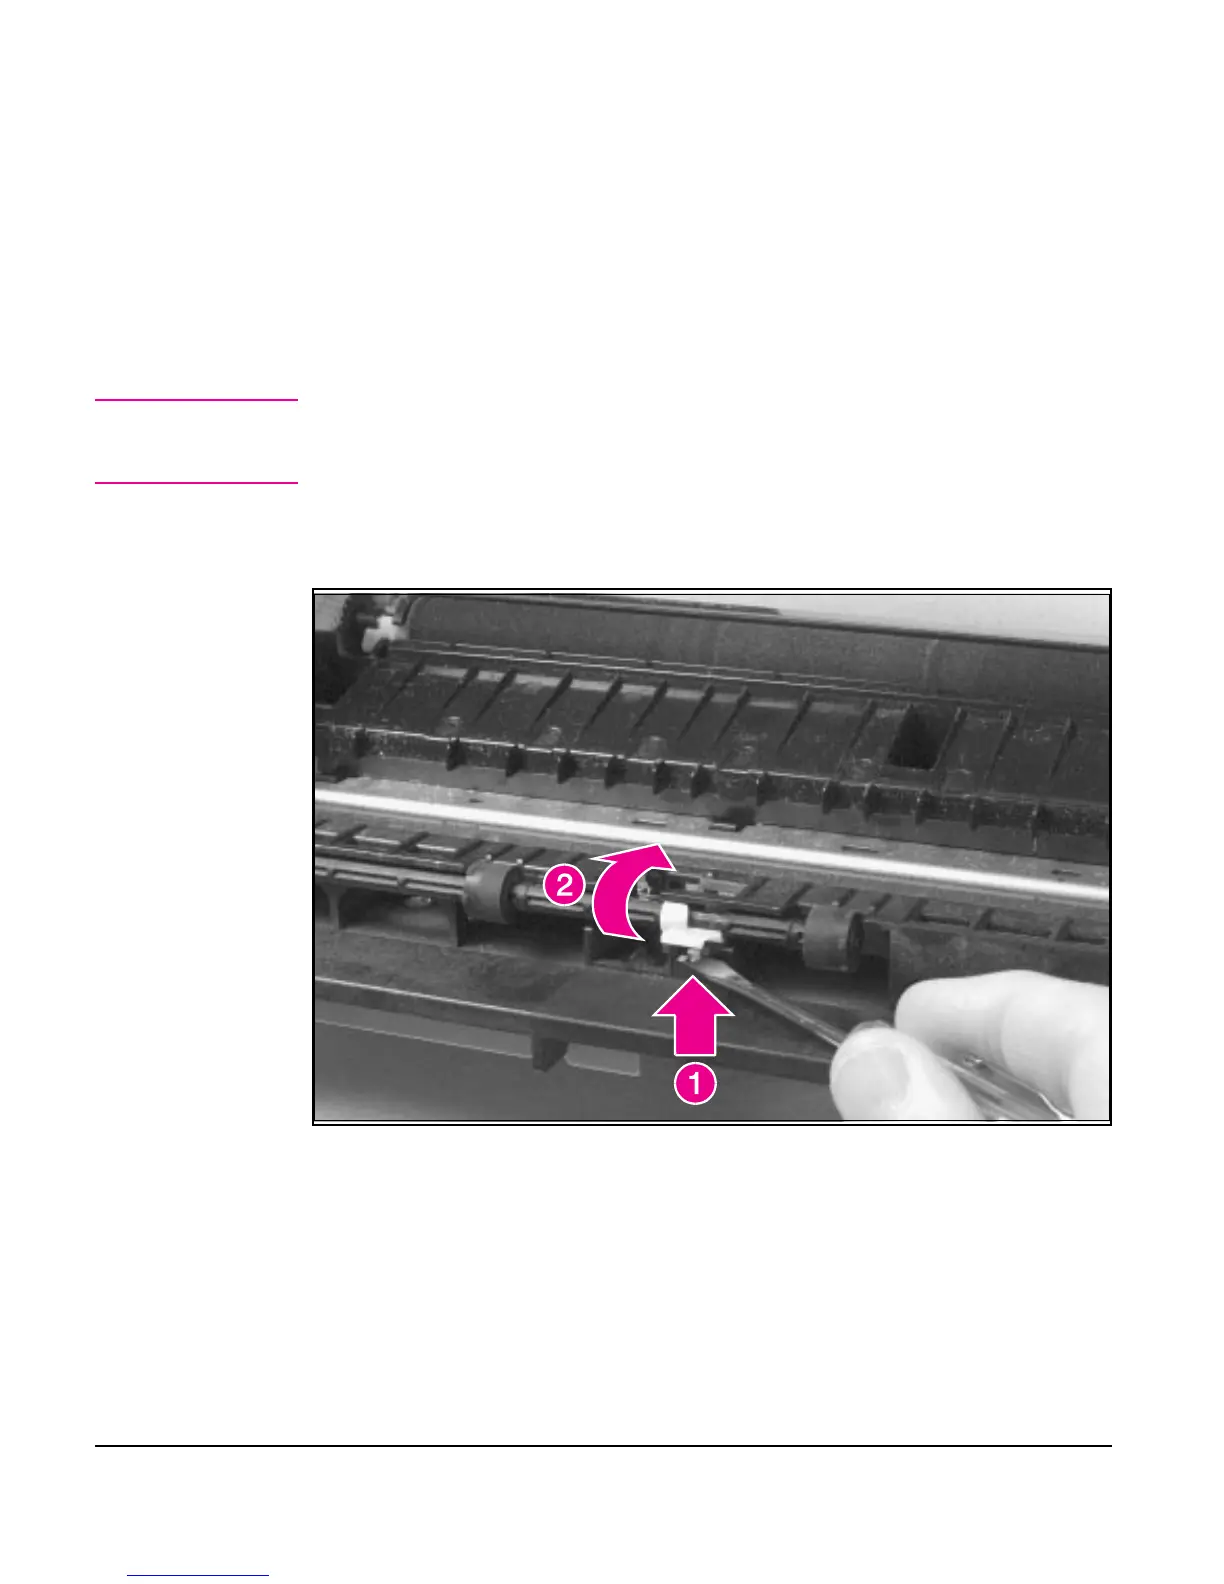
3 Remove the Exit Roller Assembly by pressing the small, white tab upward (Figure
6-18, callout 1) and rotating it around (Figure 6-18, callout 2).
Note While the shape of the white tab was changed for the HP LaserJet 6L, these
procedures for Fuser Exit Roller Assembly removal remain unchanged. Figure 6-18
shows the white tab from an HP LaserJet 5L.
4 Slide the Exit Roller Assembly forward and out to the right of the printer.
Fuser Exit Roller Removal
Figure 6-18
6 - 22 Removal and Replacement
 Loading...