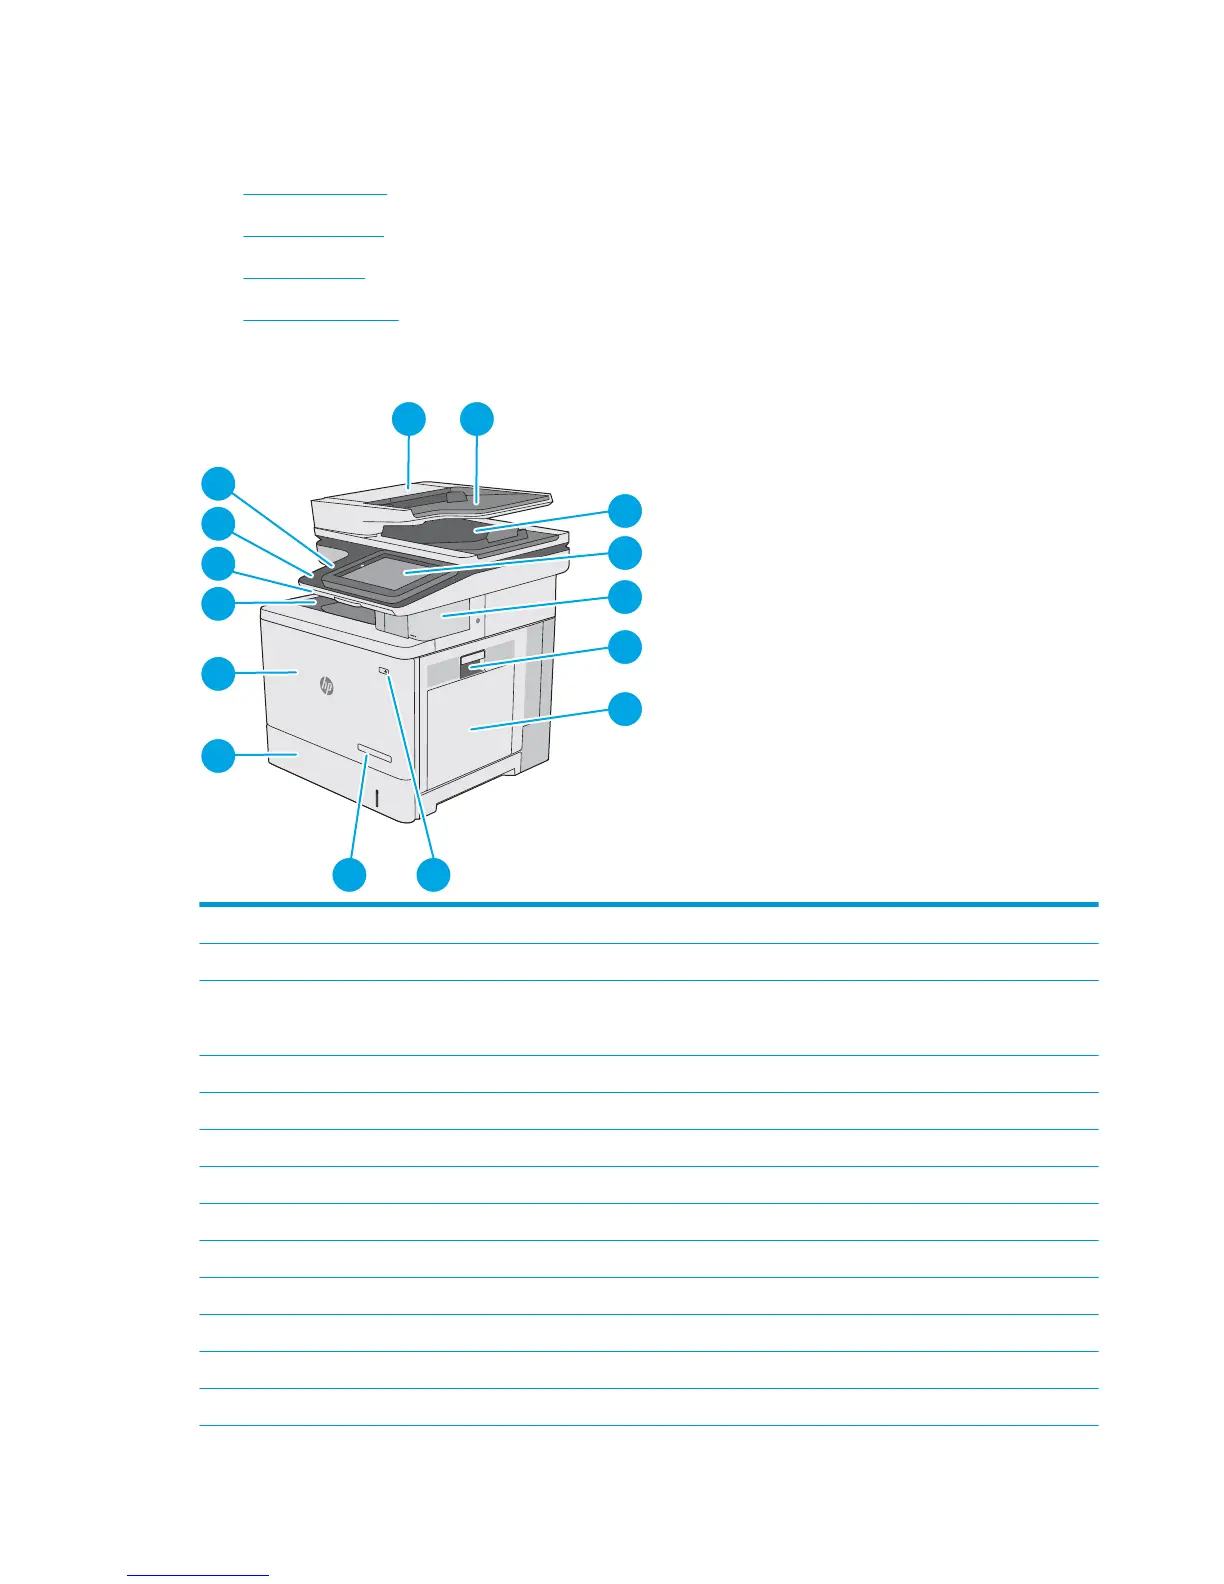
1 Document-feeder cover (access for clearing jams)
2 Document-feeder input tray
3 Document-feeder output bin
NOTE: When feeding long paper through the document feeder, extend the paper stop at the right side of the output bin.
4 Control panel with color touchscreen display (tilts up for easier viewing)
5 Convenience stapler (f, c, and z models only)
6 Right door (access to the fuser and for clearing jams)
7 Tray 1
8 On/o button
9 Model name
10 Tr
ay 2
11 Front door (access to the toner cartridges)
12 Standard output bin
13 Physical keyboard (c and z models only) Pull the keyboard straight out to use it.
2 Chapter 1 Printer overview ENWW
 Loading...