4. Carefully separate the sensor assembly (callout 1) from the product, pass the wire harness through the
hole in the chassis, and then remove the assembly.
NOTE: Pass the connector and wire harness through the hole in the chassis. See Figure 1-106 Remove
the color-misregistration sensor assembly PCA (2 of 4) on page 79.
Figure 1-108 Remove the color-misregistration sensor assembly PCA (4 of 4)
Reinstall the color-misregistration sensor assembly
TIP: You might have to attempt this reinstall procedure several times before you successfully pass the
connector through the hole in the chassis.
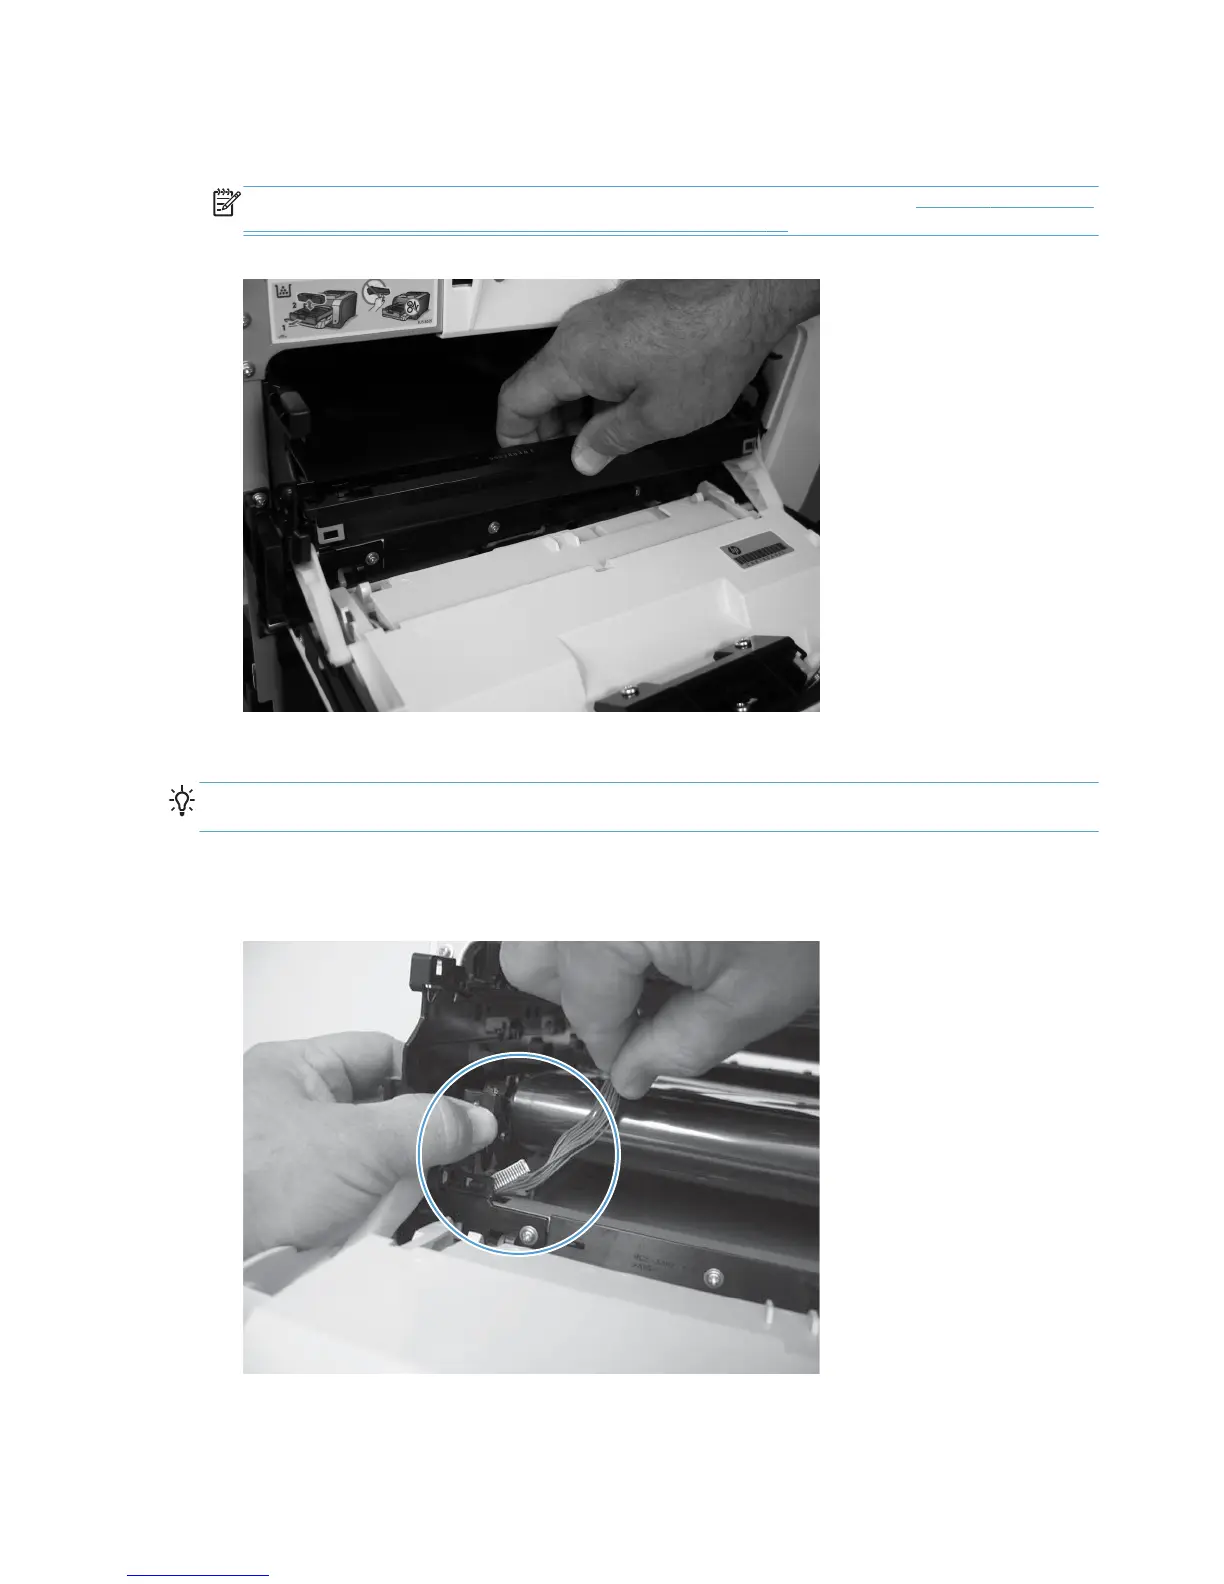
1. Push the sensor assembly wire-harness connector into the hole in the chassis from the ITB side of the
product.
Figure 1-109 Reinstall the color-misregistration sensor assembly PCA (1 of 2)
80 Chapter 1 Removal and replacement ENWW
 Loading...