Rear cover
Before proceeding, remove the following components:
●
Paper-delivery tray. See
Paper-delivery tray (output bin extension) on page 21.
●
Left cover. See
Left cover on page 22.
●
Right cover. See
Right cover on page 25.
●
Front cover. See
Front cover on page 28.
●
Scanner assembly. See
Scanner assembly on page 30.
●
Cartridge door . See
Cartridge door on page 33.
●
Top cover. See
Top cover on page 36.
Remove the rear cover
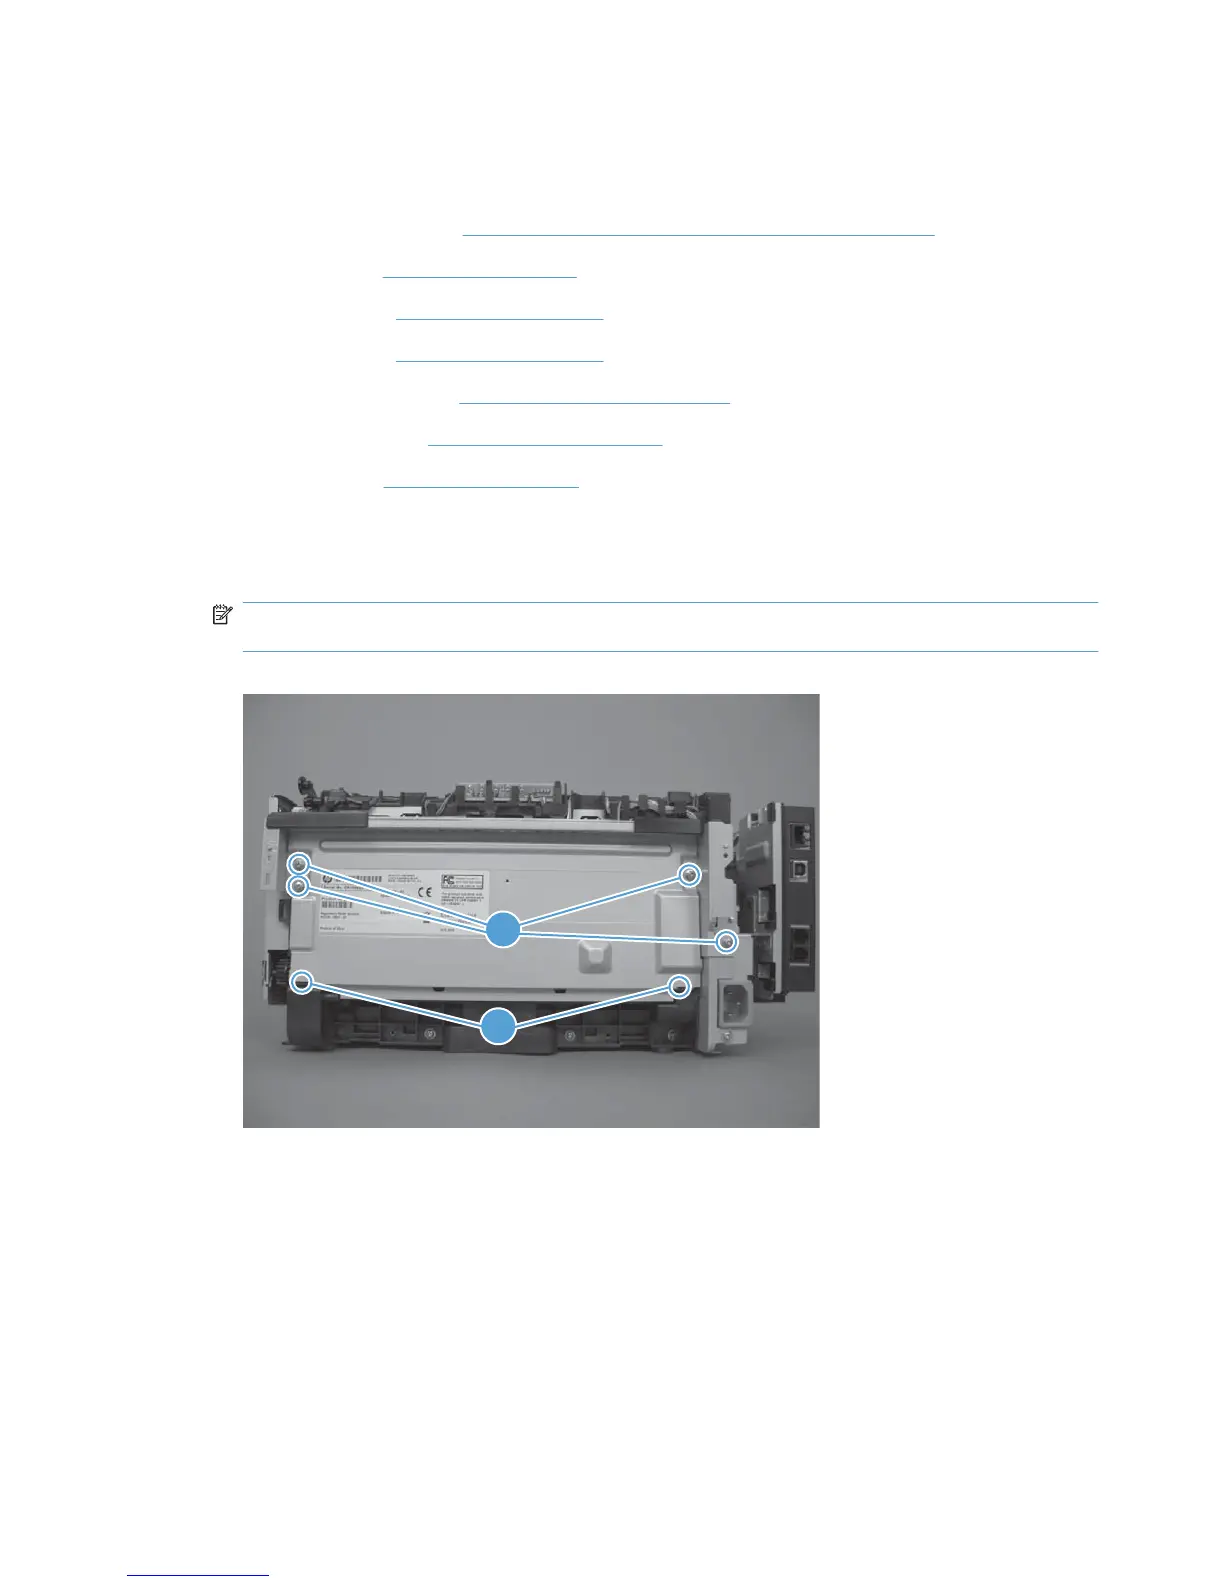
1. Remove four screws (callout 1) and release two tabs (callout 2).
NOTE: One screw has a tooth washer. Make sure this screw is installed in the correct position
when the cover is reinstalled.
Figure 1-54 Remove the rear cover (1 of 2)
1
2
38 Chapter 1 Removal and replacement ENWW