HP Omnibook XE4100/XE4500 Removal and Replacement 2-39
Removing Other Components
(HP Authorized Service Providers Only)
Required Equipment
• Small Phillips screwdriver.
• Small flat-blade screwdriver.
Removal Procedure
1. Unplug the AC adapter, if present, and remove the battery.
2. Remove the assemblies and follow the additional steps listed in the table below.
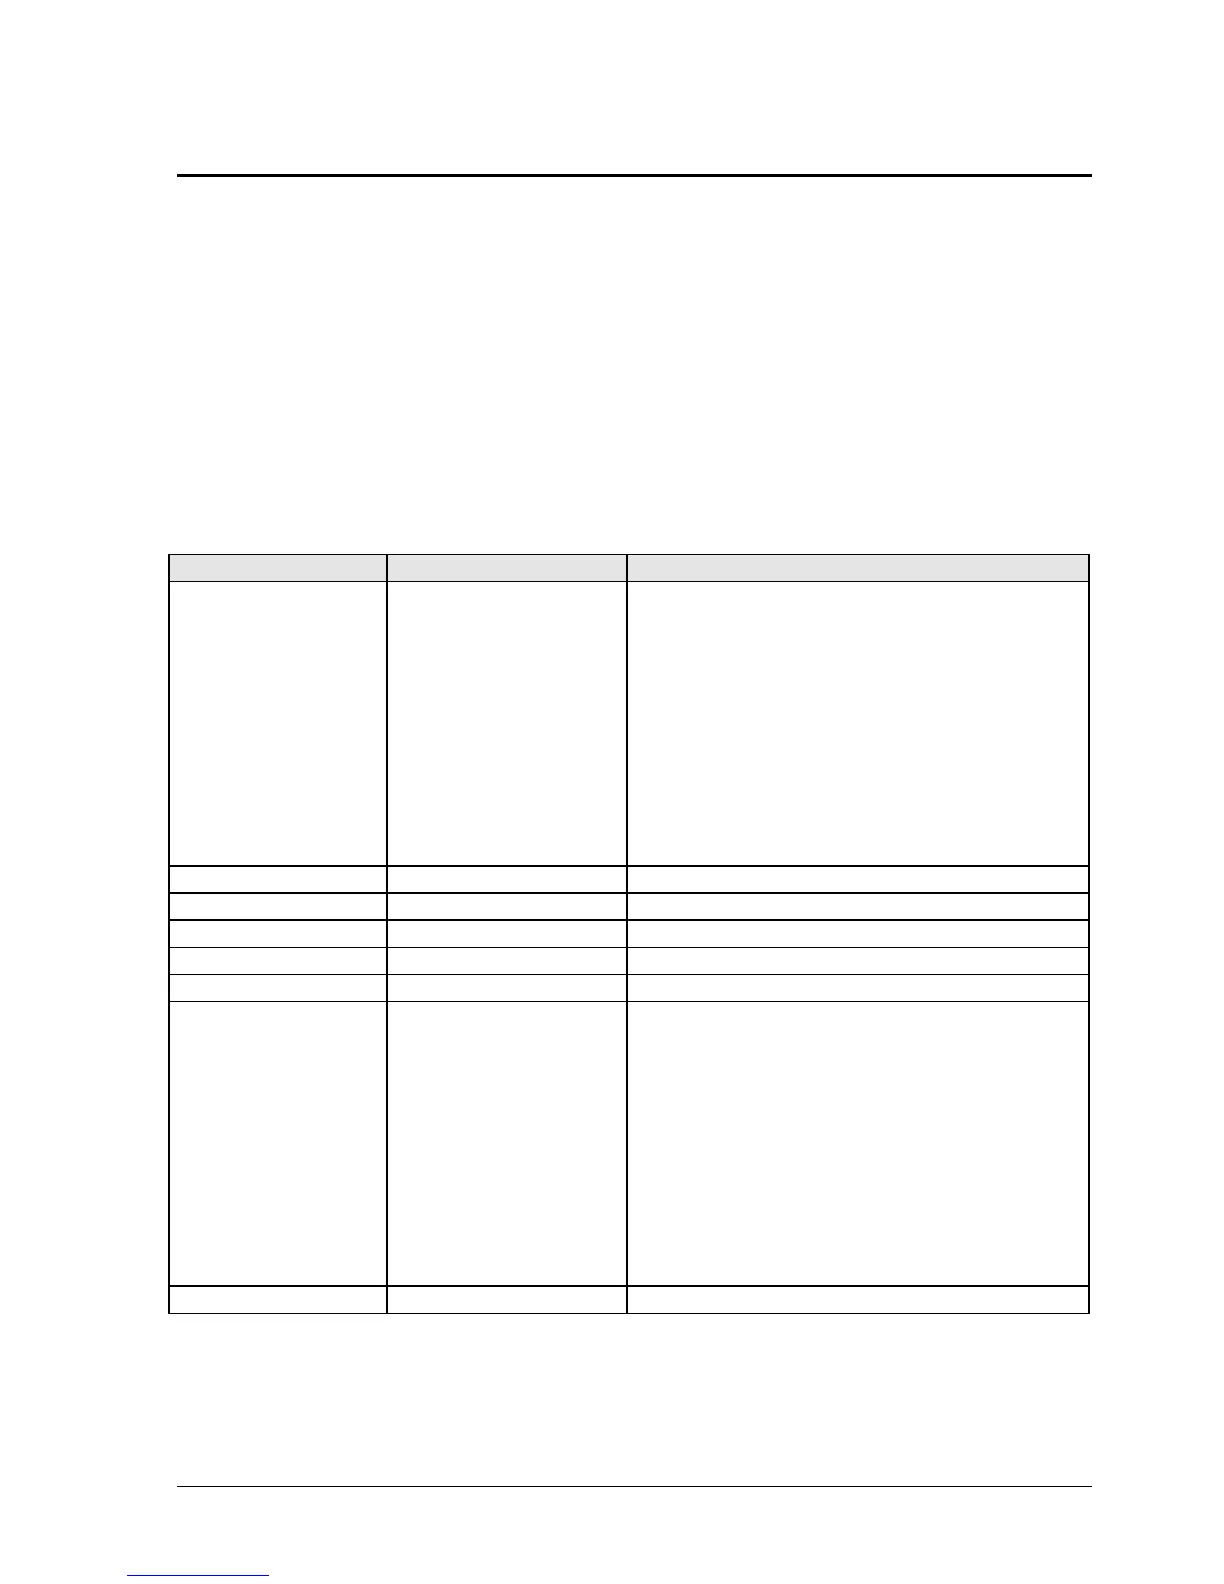
Table 2-5. Removing Omnibook XE4100/XE4500 Components
Component Removal Procedure Additional Steps
Battery, CMOS
Keyboard cover
(page 2-10).
Speaker (page 2-12).
Switchboard PCA
(page 2-13).
Keyboard (page 2-13).
CD/DVD (page 2-16).
Display (page 2-17).
Top case (page 2-20).
Heatsink (page 2-27).
Floppy (page 2-22).
Motherboard (page 2-31).
Reassembly Notes: After replacing the CMOS
battery, set the correct time and date using the BIOS
Setup utility or Date/Time in the Control Panel.
Case, bottom
See page 2-35.
Case, top
See page 2-20.
CD/DVD drive
See page 2-16.
CPU module
See page 2-29.
Display assembly
See page 2-17.
Doors, PCMCIA
Keyboard cover
(page 2-10).
Speaker (page 2-12).
Switchboard PCA
(page 2-13).
Keyboard (page 2-13).
CD/DVD (page 2-16).
Display (page 2-17).
Top case (page 2-20).
Heatsink (page 2-27).
Floppy (page 2-22).
Motherboard (page 2-31).
See page 2-35.
Floppy drive
See page 2-22.
 Loading...


