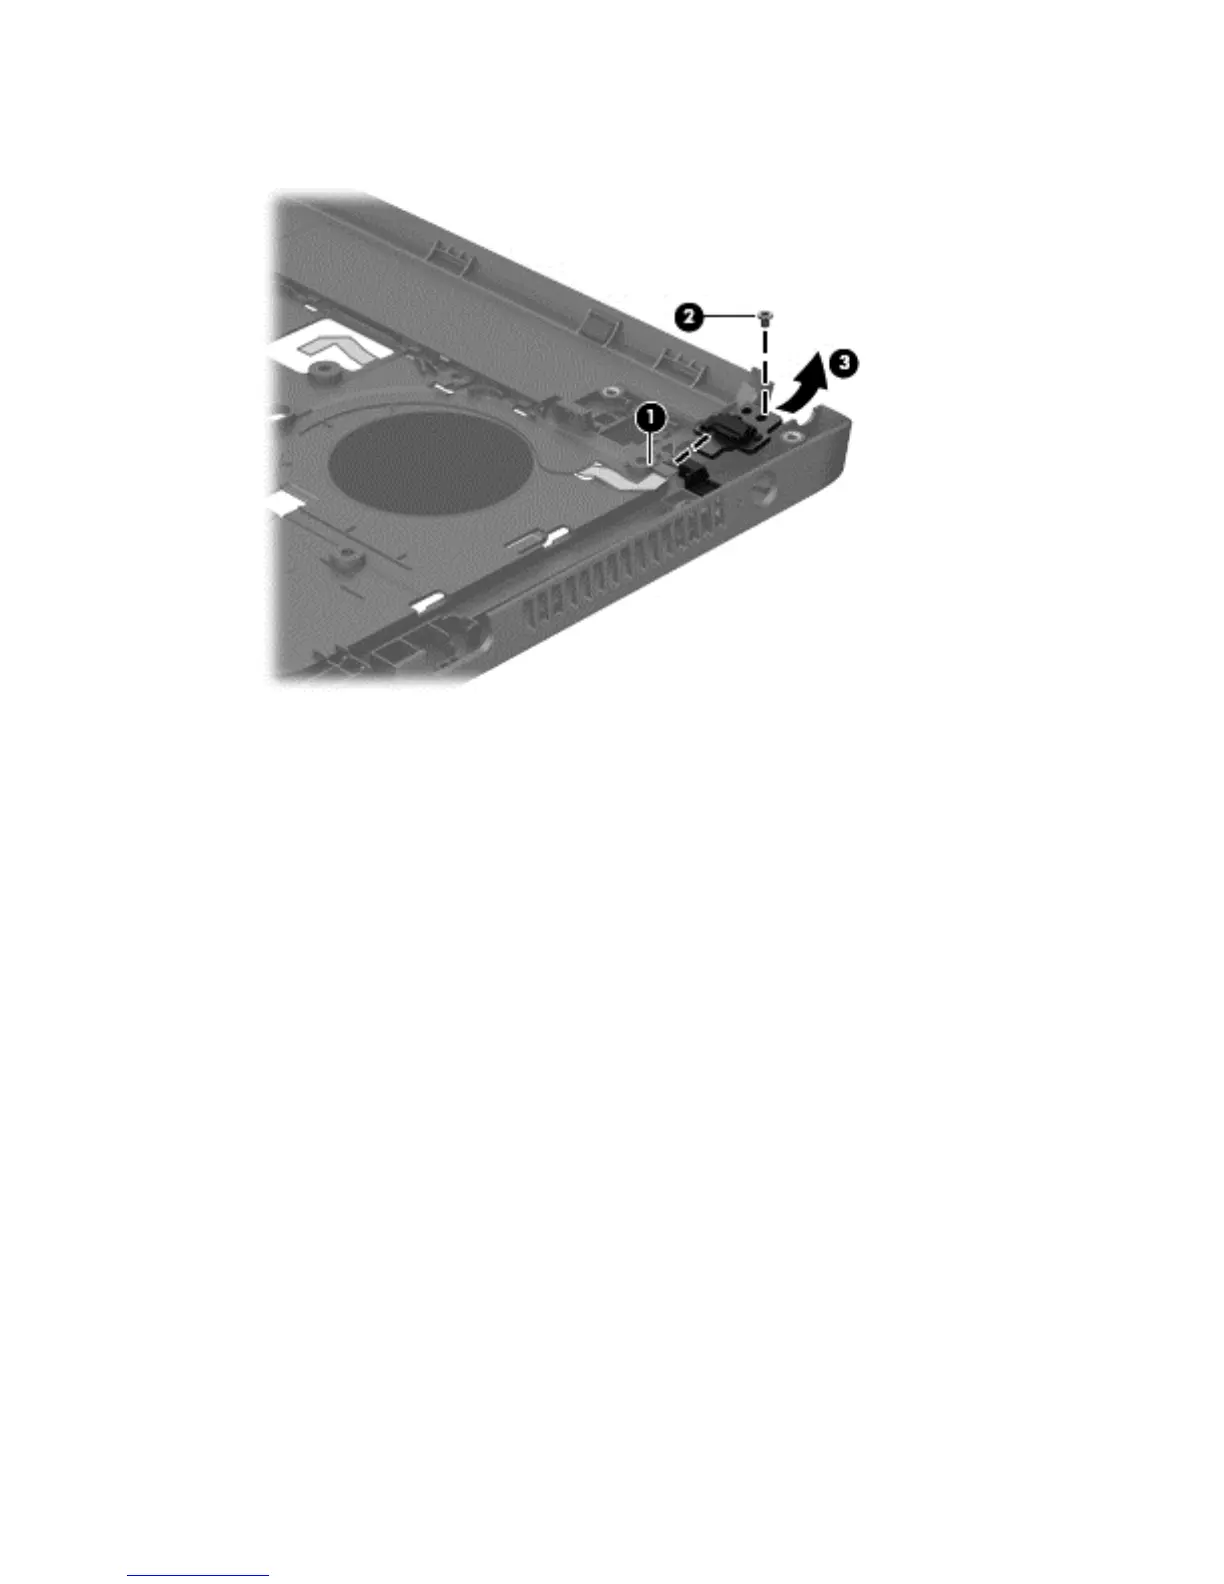
4. Lift the top side of the board up at an angle, and then lift board out from under the tab to remove it
from the top cover (3).
Reverse this procedure to install the power button board.
When installing the power button board, insert the bottom of the board into the slot, and then rotate board
down into place. If the cable is connected to the board, it blocks the view of the tab on the board and the slot
it inserts into.
Component replacement procedures 61

 Loading...