10
ProCurve Switch vl Modules
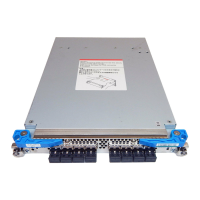
Installing the Modules
Caution Use only supported genuine ProCurve mini-GBICs with your switch. Non-
ProCurve mini-GBICs are not supported, and their use may result in product
malfunction. Should you require additional ProCurve mini-GBICs, contact
your ProCurve Networking Sales and Service Office or authorized dealer.
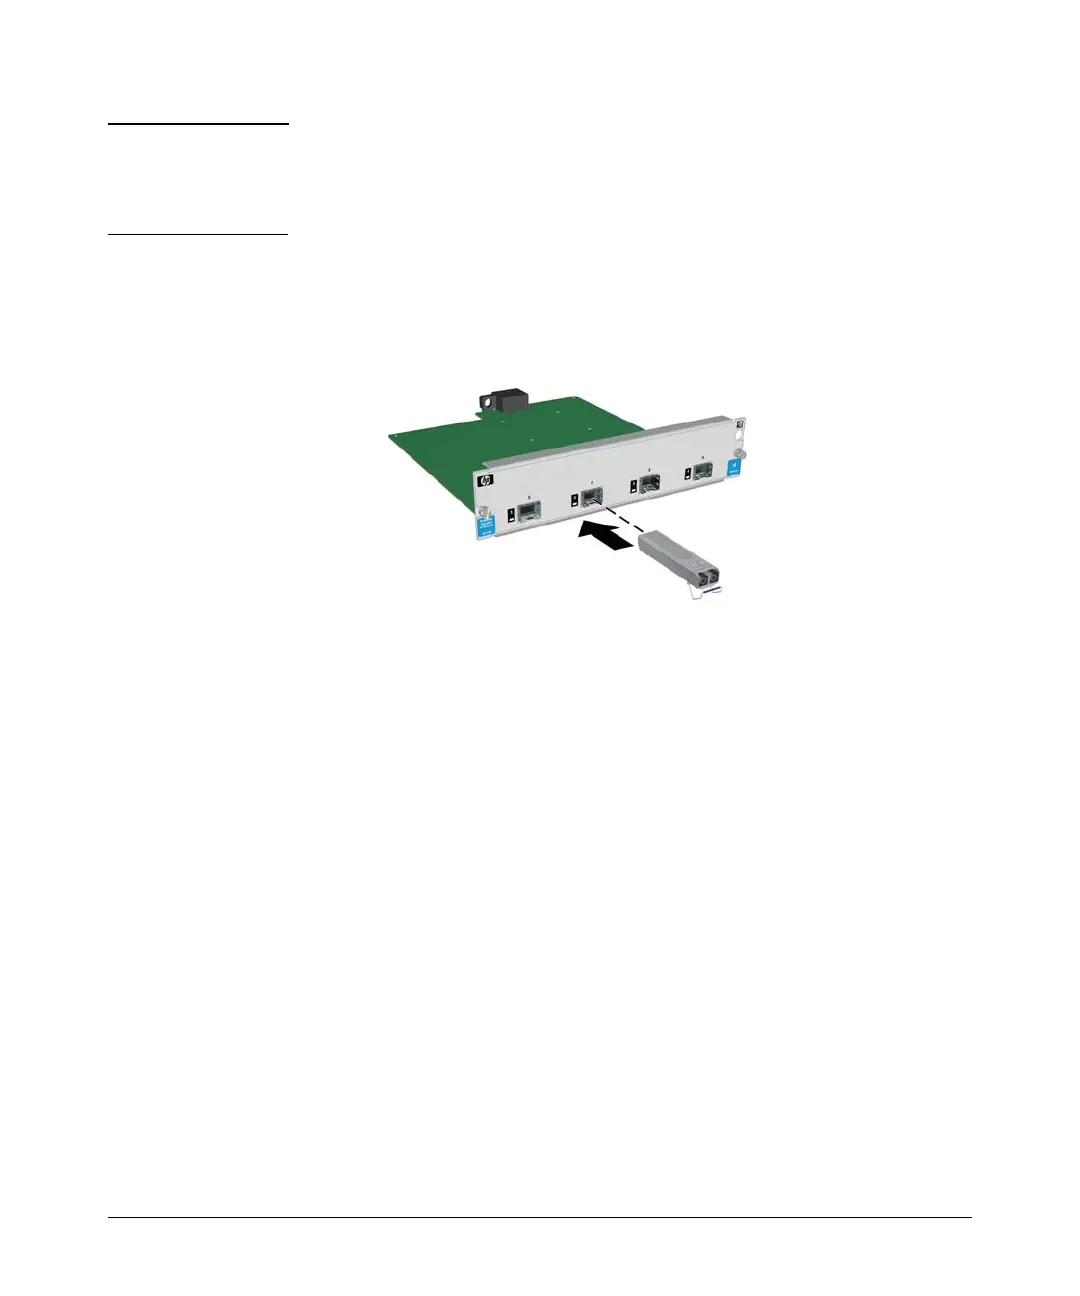
Installing the mini-GBICs:
Hold the mini-GBIC by its sides and gently insert it into any of the slots in the
module until the mini-GBIC clicks into place.
Figure 6. Installing/removing a mini-GBIC
Removing the mini-GBICs:
The network cable should be disconnected from the mini-GBIC before
removing it from the module.
Depending on when you purchased your ProCurve mini-GBICs, it may have
either of three different release mechanisms: a metal latch, a wire bail, or a
plastic collar around the mini-GBIC.
To remove the mini-GBICs that have the plastic collar, push in the plastic collar
toward the switch until you see the mini-GBIC release from the switch (you
can see it move outward slightly), and then pull the mini-GBIC from the slot.
To remove the mini-GBICs that have the wire bail or metal latch, lower the
bail or latch until it is approximately horizontal, and then using the bail or
latch, pull the mini-GBIC from the slot.
 Loading...