After taking the second shot, the yellow block moves 4.
to the end of the guidance bar, and the OK button
option will appear at the bottom right of the LCD
screen. If you wish to stitch 3 images, go to step 5, or,
you can press the OK button to stitch the two
shots together. The camera will complete the stitch
and display (if auto review is enabled) the final image
on the LCD.
As with step 3, move the 5. icon to overlap the
yellow block, and then you can get the third shot and
the combined image is generated automatically.
The following settings are fixed in Photo Stitch mode:
Flash: Forced Off•
Drive mode: Off•
Focus mode Auto focus•
AF Area: Wide•
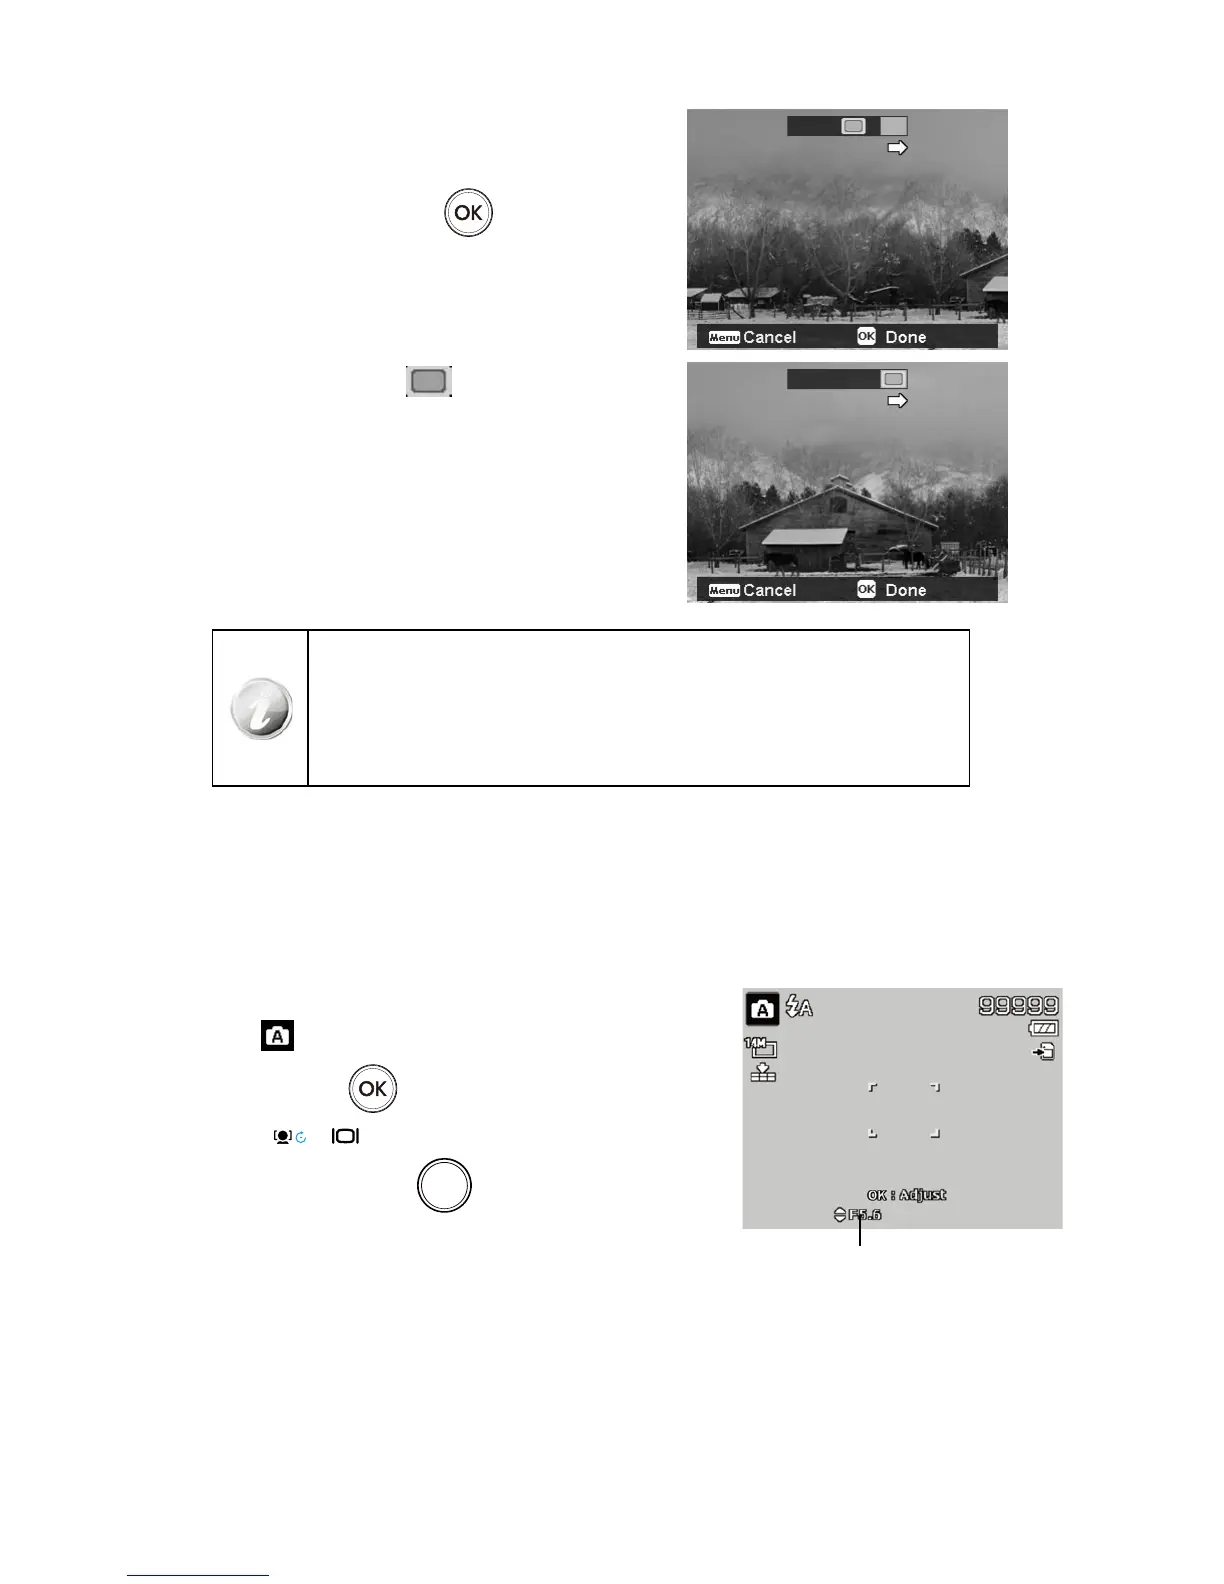
Using Aperture Priority Mode
This mode is designed for control the aperture value by user and let camera decide the shatter speed. The main
impact that aperture had on images was with regards to Depth of Field. (DOF)
Choose lager aperture, only one subject in focus but the background nice and blurred. (Shallow DOF)•
Choose smaller aperture, an image with everything in focus. (Great DOF)•
To set Aperture values
Select 1. from the Scene Mode submenu.
Press 2. OK button
to enter the adjust mode.
Use the 3.
or keys to select the aperture value options.
Press the 4. Shutter button
to capture the image.
Displays the aperture value
Using Shutter Priority Mode
This mode is designed for capturing moving subjects. A faster shutter speed is required to freeze a motion (flying
birds), while the slower shutter speed creates a sense of motion (water flowing).