EasyManuals Logo

HP TouchSmart 9300 User Manual

HP TouchSmart 9300
20 pages
To Next Page IconTo Next Page
To Previous Page IconTo Previous Page
Page #12 background imageLoading...
Page #12 background image
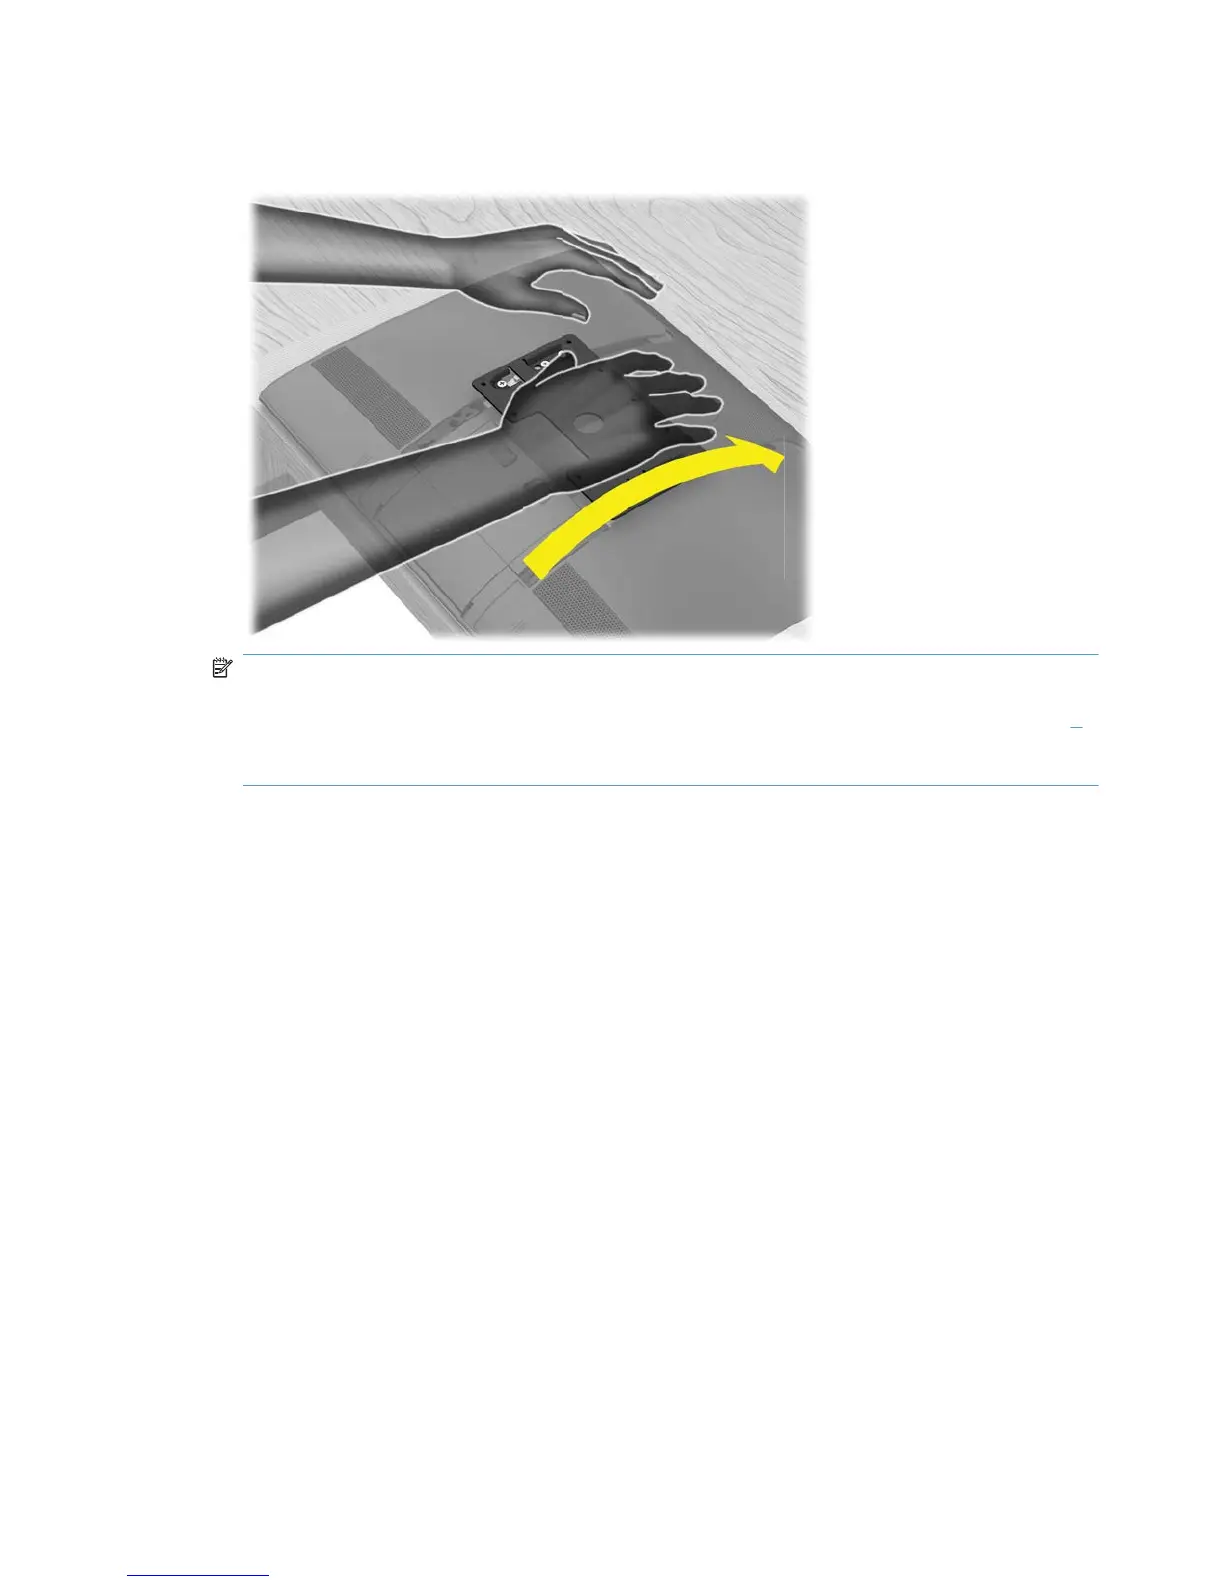
3. Slide the VESA adapter plate upward until it locks into place. You will hear a click when the VESA
adapter plate is locked in place.
NOTE: If you do not hear the click or the plate does not lock in place, it means the two brake
screws were not sufficiently tightened when the computer stand was removed. Unscrew the four
screws on the VESA adapter plate and remove it, then retighten the two brake screws (see step
4
in previous section). Replace the VESA adapter plate by installing and tightening the four screws,
then slide the plate up until it locks in place.
8 Chapter 1 Preparing your HP TouchSmart PC for wall-mounting Wall-Mounting your HP TouchSmart

Other manuals for HP TouchSmart 9300

Questions and Answers:

Question and Answer IconNeed help?

Do you have a question about the HP TouchSmart 9300 and is the answer not in the manual?

HP TouchSmart 9300 Specifications

General IconGeneral
Resolution1920 x 1080
AudioIntegrated High Definition Audio
Storage1TB HDD
Display23-inch
Operating SystemWindows 7
Networking10/100/1000 Gigabit Ethernet
Wireless802.11b/g/n
PortsUSB 2.0, Headphone, Microphone, Ethernet

Related product manuals