Step 1—Preparing for component installation
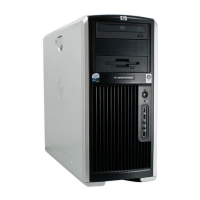
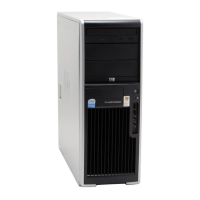
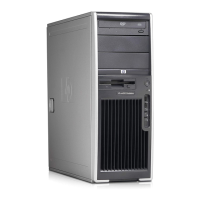
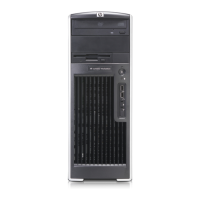
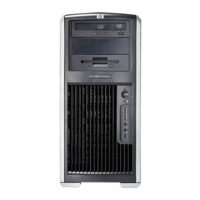
NOTE: Workstation models vary. All illustrations are examples only.
Accessing the internal components of the workstation
1. If you need help preparing the workstation for this installation, consult the removal and replacement
procedures in the service guide for your workstation at
http://www.hp.com/support/
workstation_manuals.
NOTE: For the HP Workstation series, these procedures are also available in the User
Guide on the Documentation and Diagnostics CD that shipped with your workstation.
2. Power down the workstation, and then disconnect the power cord.
3. Power down all external devices, and then disconnect them from the workstation.
4. Remove the side access panel.
Removing components
1. If present, remove the card support to enable access to the expansion slots and system board
connectors.
2. Select a PCIe-x16 expansion slot.
a. Open the expansion slot retention clamp
.
b. Remove the applicable expansion slot covers
2
.
NOTE: The FX5800 graphics card occupies two expansion slots on the system board. HP
recommends placing the keyed components of the card in the primary graphics slot. To identify a
PCI Express (PCIe)-x16 expansion slot, see the service label on the workstation access panel.
NOTE: For optimal cooling, keep the expansion slot adjacent to the fan free or filled with an
expansion card that does not obstruct the fan inlet of the FX5800 card.
Figure 1 Opening the retainer and removing the slot covers
ENWW Step 1—Preparing for component installation 3
 Loading...
