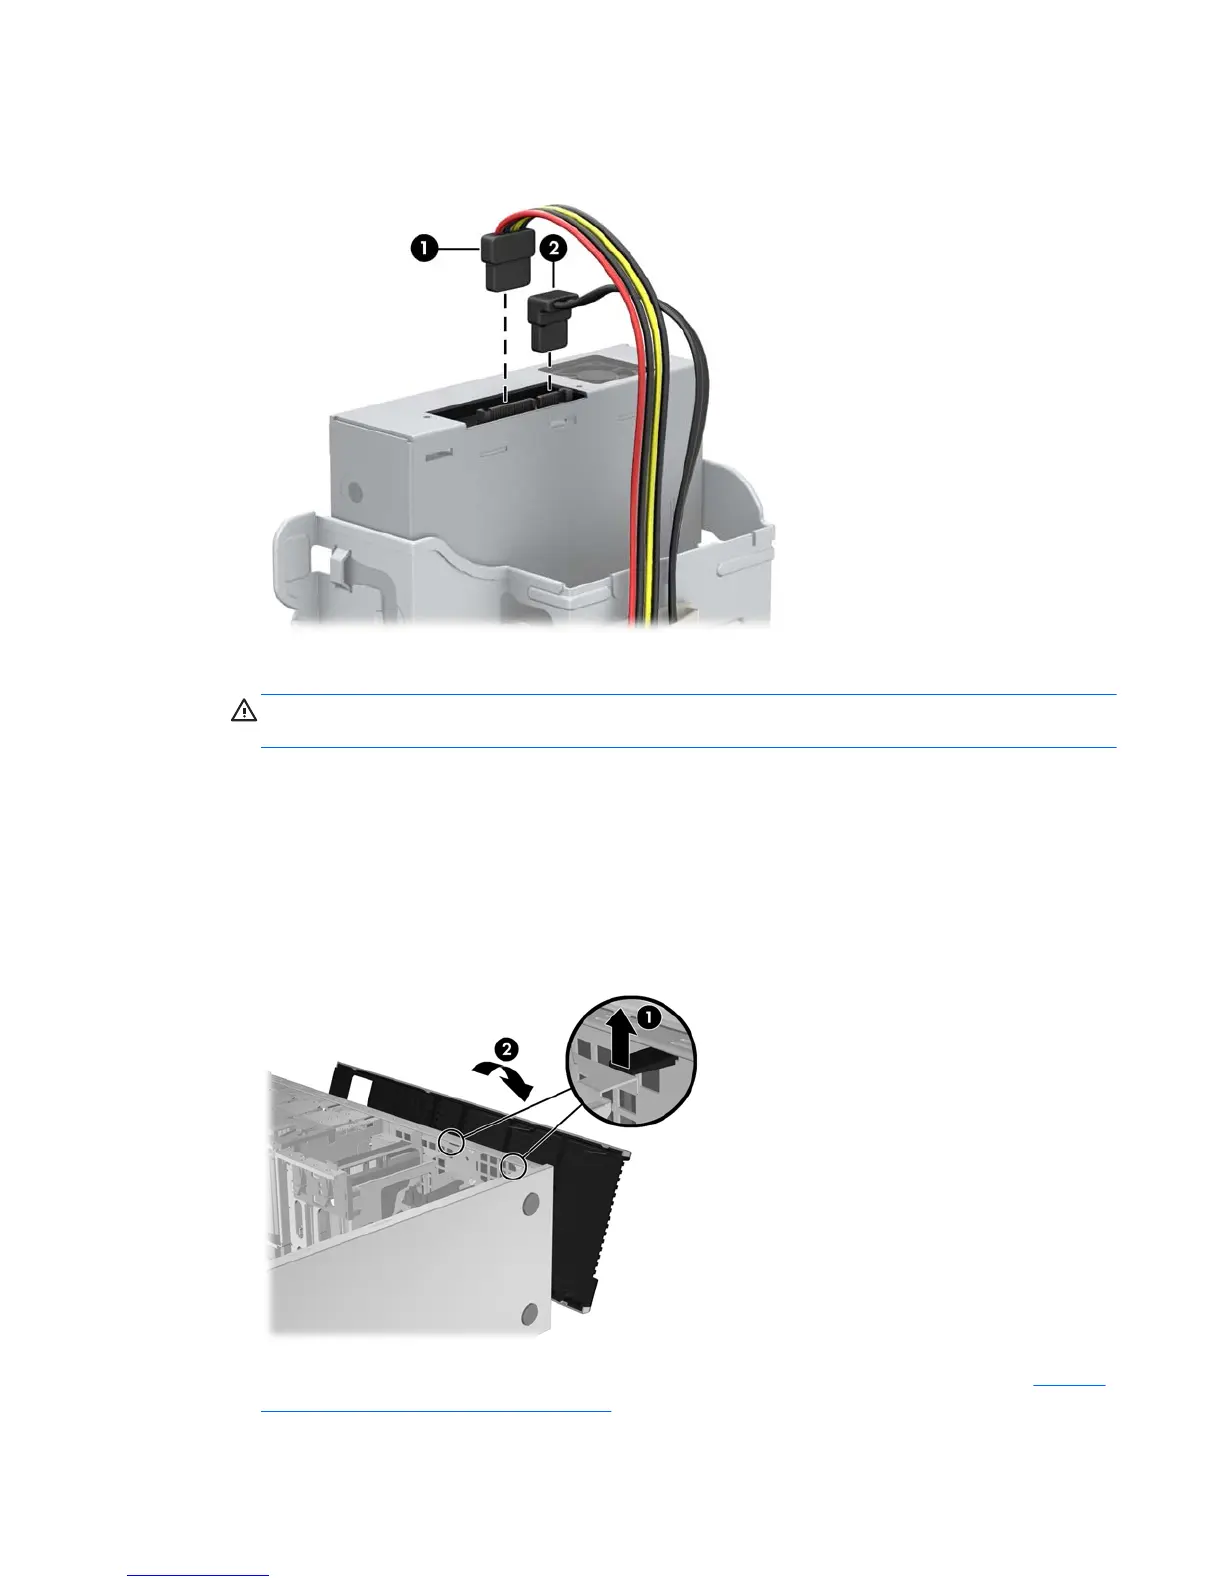
9. Connect the power cable (1) and data cable (2) to the rear of the DX115 case.
Figure 13 Connecting the power and data cables
10. Carefully rotate the drive cage back down to its normal position.
CAUTION: Check clearances on the cables when you rotate the drive cage. The cage may
pinch the cables and damage them if they are not routed correctly.
HP Z200, HP Z210 CMT, HP Z400, and HP xw4000 computers
1. Remove the front bezel from the computer to access the optical bays.
a. Lift the tab (1).
b. Pivot the bezel to disengage the lower edge (2).
Figure 14 Removing the front bezel
2. Remove and discard the counter-sunk shipping screw at the side of the DX115 case. See Figure 8
Removing the shipping screw on page 7.
ENWW
Step 2—Installing the DX115 case into the optical drive bay
9

 Loading...