Page 6
European Community
The product herewith complies with the requirements of Directive 2014/35/EU relating to electrical equipment designed for
use within certain voltage limits, Directive 2014/30/EU relating to electromagnetic compatibility, Directive 2011/65/EU on
the restriction of the use of certain hazardous substances in electrical and electronic equipment and carries the CE marking
accordingly.
Belarus Kazakhstan Russia marking
For manufacturer and local representative information, see Safety and Compliance Information for Server, Storage, Power,
Networking, and Rack Products at http://www.hpe.com/support/Safety-Compliance-EnterpriseProducts
.
Preview of installing an 8325 switch
1. Prepare the installation site.
2. Unpack the switch and verify that you have received the correct parts.
3. Verify that the airflow for the power supplies and fans is correct for your application.
4. Connect power to the switch and observe the switch self-test, then remove power from the switch.
5. Mount the switch.
6. Connect the switch to a power source.
7. (Optional) Install transceivers.
8. Connect the network cables.
9. Configure the switch for network operation.
For related publications, see All product documentation
on page 1.
Documentation feedback
To help improve Aruba documentation, please send documentation suggestions, comments, and notice of any errors to
Documentation Feedback (docsfeedback@hpe.com). When submitting your feedback, include the document title, part
number, edition, and publication date located on the front cover of the document. For online help content, include the
product name, product version, help edition, and publication date located on the legal notices page.
NOTE: For Conducted and Radiated Immunity in accordance with EN55035, the Aruba 8325 switch
products are limited to Performance Criteria A with shielded cable for HPE Smart Rate ports.
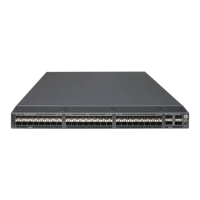
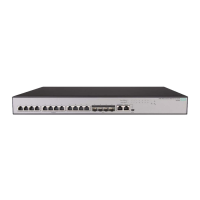
IMPORTANT: This section previews the steps for installing the JL624A, JL625A, JL626A, and JL627A
switches. To find detailed switch installation steps, information on configuration tools, and other instructions
and information, see the Aruba 8325 Switches Installation and Getting Started Guide. To access the latest
edition of this guide, use the URL and instructions included under All product documentation
on page 1.
WARNING: Do not mount the switch on a wall, under a table, or under another horizontal surface.
 Loading...