27
www.htc-oorsystems.com
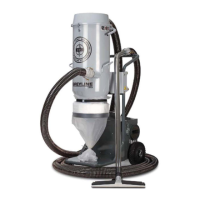
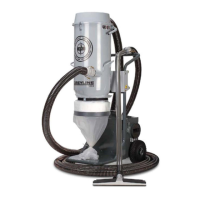
HTC D60
V 1.0
Check point Action
1 The dust bags Check that the bags are intact
2 The lip valves Check that they are not damaged
3 Pre-separator
Plug the inlet and check on the display that a negative pressure
is reached.
Perform the checks with the bypass valve in the open position
and in the closed position
Open the cover and check for wear on the bypass valve and
wear rubber.
4 Inlet valve
Ensure that the dust extractor is off.
Remove the hose from in the inlet valve and visually inspect the
inside of the rubber membrane for wear and holes.
Start the dust extractor and hold in button 1 on the lter clean-
ing valve and after 3 seconds check that a negative pressure of
at least 33mbar is reached.
Switch off the suction system and remove the hose for the ne
lter.
Check for dust on the inside of the 3” hose. If dust is present,
then there is damage to the coarse lter or pilot hoses (Ø 10mm)
which can cause damage to the inlet valve's membrane.
5 Cleaning valve
Perform a normal cleaning cycle and check that the valve is
working distinctly and does not leak.
During normal cleaning, the display shows a max. value of ap-
prox. 280 - 330mbar.
6 Side duct fan
Listen for noise.
Clean the side duct fan.
Dust around and on the fan can cause overheating.
7 Wheels Check for wear. Check the bearings and suspension.
8 Hose connections Check for leaks.
9 Brakes Function checks
10 Lifting points Check for cracks
11 Function of the guides
Check all position locations and check for any wear to suspen-
sion lugs.
12
DURATIQ remote connec-
tion
Check functions
Automatic lter cleaning
Lighting
8.4 Function checks