Do you have a question about the Huawei B683 and is the answer not in the manual?
Describes how computers/Wi-Fi devices connect to the internet via the device.
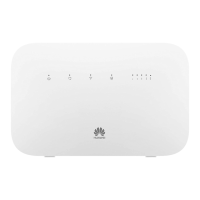
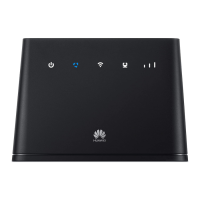
Identifies and describes the numbered components and ports of the device.
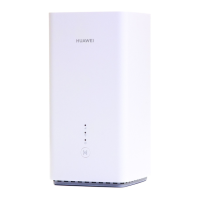
Explains the status (on, off, blinking) and meaning of various device indicators.
Lists recommended CPU, memory, hard disk, OS, resolution, and browser.
Step-by-step instructions for inserting a SIM card into the device.
Provides guidance on positioning the device for optimal signal reception.
Instructions for connecting and configuring an external antenna.
Details how to connect the device to a PC using an Ethernet cable.
Explains how to connect USB storage or printers to the device.
Instructions for connecting the power adapter and initial device power-on.
Describes how to manually turn the device on and off using the power button.
Steps to activate the device's Wi-Fi functionality.
Guides users on connecting a PC to the device's Wi-Fi network.
Instructions for establishing a connection using the WPS feature.
Explains different modes (Auto, Manual, On Demand) for internet access.
Details how to access and use the device's web-based management interface.
Instructions on how to perform a factory reset on the device.
Provides advice on common issues and how to get help.
This document provides a quick start guide for the B683 device, outlining its functions, usage, and maintenance.
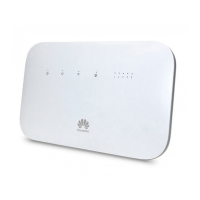
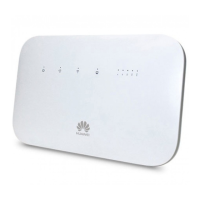
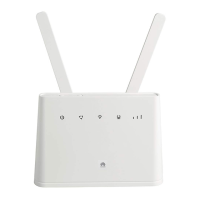
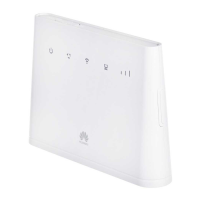
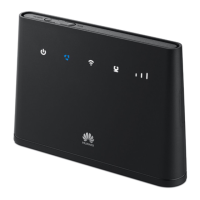
The B683 is a device that allows your computer or Wi-Fi devices to connect to the Internet. It supports various connection scenarios, enabling internet access for smartphones, game machines, and laptops. The device features multiple indicators to show its status, including power, Wi-Fi/WPS, USB, and network status, as well as LAN indicators. It also includes several ports for connectivity, such as an external antenna port, power port, USB port, and multiple LAN ports.
Connecting to the Internet: The device offers three modes for accessing the Internet:
Wi-Fi Connectivity: The device has a Wi-Fi/WPS button and indicator. Wi-Fi is activated by default when the device powers on. You can deactivate Wi-Fi by pressing and holding the Wi-Fi/WPS button for 2 seconds until the Wi-Fi/WPS indicator turns off. To reactivate Wi-Fi, press and hold the button until the Wi-Fi/WPS indicator is steady on.
Establishing a Wi-Fi Connection: To establish a Wi-Fi connection, ensure your computer has a functioning wireless network adapter. Make sure the Wi-Fi/WPS indicator on the device is steady on. Then, view available wireless network connections on your PC and connect to the SSID consistent with your device's label. If the network has security, you will need to enter the correct network key, which is printed on the device label.
WPS Connection (Optional): If your Wi-Fi device supports WPS, a password is generated automatically, eliminating the need for manual entry. To set up a WPS connection, ensure the Wi-Fi/WPS indicator is steady on. Activate WPS on your device by pressing and holding the Wi-Fi/WPS button until the indicator blinks. Then, activate WPS on your client device.
USB Connectivity: The device includes a USB port that allows connection to a USB disk, mobile disk, or USB printer. The USB port provides 500 mA of current. The USB indicator shows the status of the USB storage device: steady on means connected, and off means not connected.
LAN Connectivity: The device has multiple LAN ports for connecting to a PC using an Ethernet cable. The LAN indicators correspond to the LAN ports, with a steady on indicator meaning the network cable is connected, blinking indicating data transfer, and off meaning no network cable is connected. The network cable should not exceed 100 meters (328 feet) in length.
External Antenna (Optional): An external antenna can be connected to the device's external antenna port by screwing it in securely. Before use, the antenna mode must be set to "external" on the management page (http://192.168.1.1). The external antenna is for indoor use only. Note that you cannot switch between internal and external antennas during data transfer.
Placing the Device: The device can be placed horizontally, upright with a table stand, or hung on a wall. For optimal signal reception, place it on a surface well above the floor or near a window. To avoid interference from radio signals, keep the device at least 1 meter (3.28 feet) away from other electrical devices.
Powering On/Off: After connecting the power supply, the device powers on automatically. To power off, press and hold the power button until all indicators turn off. To power on, press and hold the power button until all indicators turn on.
Installing the SIM Card: Before inserting or removing the SIM card, always power off and unplug the device. Remove the card cover, slide the SIM card into the slot with the golden contact facing downward, and then replace the card cover. A red, fast-blinking network status indicator indicates a faulty SIM card (not inserted, malfunctioned, or PIN verification failed).
Accessing the Management Page: You can set and manage device parameters through the management page. Launch a web browser, enter http://192.168.1.1 in the address bar, and then enter the password (default is "admin") and click Login.
Restoring Factory Defaults: If you are unsure about the parameters you have set or changed, you can restore the device to its factory defaults. To do this, use a sharply pointed object to press and hold the RESET button until all indicators (Wi-Fi/WPS, LAN 1-4, and USB) are blinking. The device will automatically restart after the factory defaults are successfully restored. Restoring factory defaults removes all personal configurations and resets all settings on the management page to their default values.
Troubleshooting Tips: If you are unable to use your device normally, you can:
| Device type | Cellular network router |
|---|---|
| Market positioning | Home |
| Data network | EDGE, GPRS, GSM, HSPA+, HSUPA, WCDMA |
| Number of SIM cards | 1 |
| Ethernet LAN data rates | 100 Mbit/s |
| USB 2.0 ports quantity | USB 2.0 ports have a data transmission speed of 480 Mbps, and are backwards compatible with USB 1.1 ports. You can connect all kinds of peripheral devices to them. |
| Ethernet LAN (RJ-45) ports | 4 |
| Web-based management | Yes |
| Input voltage | 100 - 240 V |
| Power consumption (typical) | 10 W |
| Weight | 300 g |
|---|