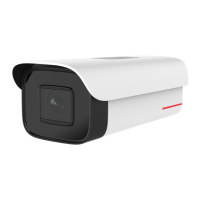
No. Description
2 Dome Drive
3 Micro SD Card Slot
4 Network Cable
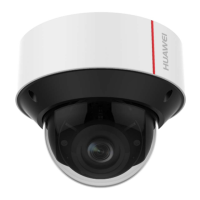
5 Lens
6 IR LED
7 Power Cable(DC12V±10%)
8 Audio/Alarm Cables
10 Serial Port Interface
11 Hex Screw
12 MIC
13 RESET/WPS Button
NOTE
l Press RESET about 10s when the camera is powering on or rebooting to restore the default settings,
including the user name, password, IP address, port No., etc.
l No.8 is the audio/alarm cable interface, of which the "I" mark connects to the alarm input, the "o" mark
connects to the alarm output, the "GND" mark connects the grounding, and the "A" mark connects the
audio output.
3.2 Ceiling Mounting
Step 1 Drill the screw holes and the cable hole in the ceiling according to the supplied drill template.
Figure 3-2 Drill Template
IPC6332-MIR
Quick Start Guide 3 Installation
Issue 02 (2014-12-25) Huawei Proprietary and Confidential
Copyright © Huawei Technologies Co., Ltd.
6