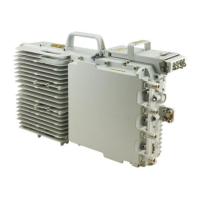
RRU
Hardware Maintenance Guide
Huawei Proprietary and Confidential
Copyright © Huawei Technologies Co., Ltd.
Take proper ESD protection measures, for example, wear ESD gloves, to prevent electrostatic
damage to the boards, modules, or other electronic components.
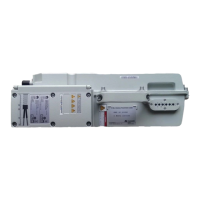
Step 2 Use an M4 Phillips screwdriver to loosen the screws on the cover plate of the RRU cabling
cavity. Then open the cover plate.
Pre-loosen all screws before loosening them. This way, the screws are not damaged, and the
maintenance cavity is easy to be opened.
Step 3 Record cable connections on the panel of a board to be replaced.
Step 4 Disconnect all cables from the cabling cavity and bottom panel in the sequence of power
cables first and ground cabes at last.
Step 5 Use an M4 Phillips screwdriver to loosen the captive screws on the two hoist clamps of the
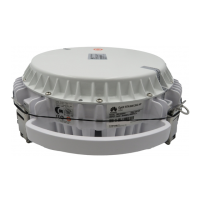
main bracket, as shown in Figure 4-3 and Figure 4-4.
If an RRU is installed in centralized mode, the RRU can be removed without removing the two RRUs on
its right and left sides. The procedure is the same as that for removing a single RRU.
Replacing an RRU Using Mounting Kit A for a Common RRU
Figure 4-3 Loosening captive screws on the main bracket (1)
Replacing an RRU Using Mounting Kit B for a Common RRU

 Loading...