RRU
Hardware Maintenance Guide
Huawei Proprietary and Confidential
Copyright © Huawei Technologies Co., Ltd.
Context
The RRUs and conversion brackets are only for reference.
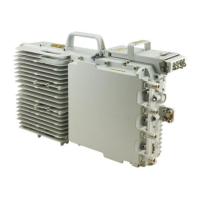
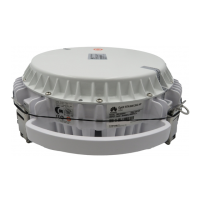
The following figures use the blade RRU and non-blade RRU as an example to illustrate
how to replace the RRU. Specific appearances are subject to site conditions.
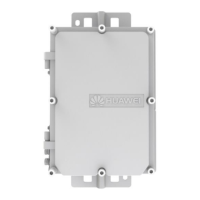
Figure 4-13 shows the appearance of non-assembled mounting kits.
Figure 4-13 Appearance of non-assembled mounting kits
Procedure
Step 1 Wear a pair of ESD gloves.
Step 2 Use an M4 phillips screwdriver for a non-blade RRU or an M5 phillips screwdriver for a
blade RRU to loosen the screws on the cover plate of the cabling cavity and open the RRU
cabling cavity.
Before loosening a screw, pre-loosen all screws. If the screws are damaged, it is difficult to
open the maintenance cavity.
Step 3 Record the position of the RRU cabling cavity and all cable connections at the bottom of the
RRU.
Step 4 Remove all cables in the RRU cabling cavity and at the RRU bottom in the sequence of power
cables first and ground cables at last.
Step 5 Use an M6 hex screwdriver to loosen the captive screw on the holes on the top of the RRU
conversion bracket and main bracket, as shown in Figure 4-14 for the blade RRU and Figure
4-15 for the non-blade RRU.

 Loading...