14
2024 Series Tooling Alcoa Fastening Systems
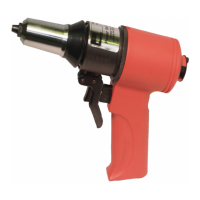
Equipment Required:
- Shop airline with 90 - 100 psi max.
- Air regulator
- Fill bottle, 120337, (supplied with tool).
- Large flat blade screwdriver
- Optional Stall Nut 124090 or 125340
- Nose assembly
- Fasteners (optional)
Preparation:
• Install air regulator in
airline and set
pressure to 20-40 psi.
• Fill bleed bottle
almost full of
DEXRON III ATF or
equivalent.
Caution - Refill using Automatic Transmission Fluid
DEXRON III or equivalent for optimal performance.
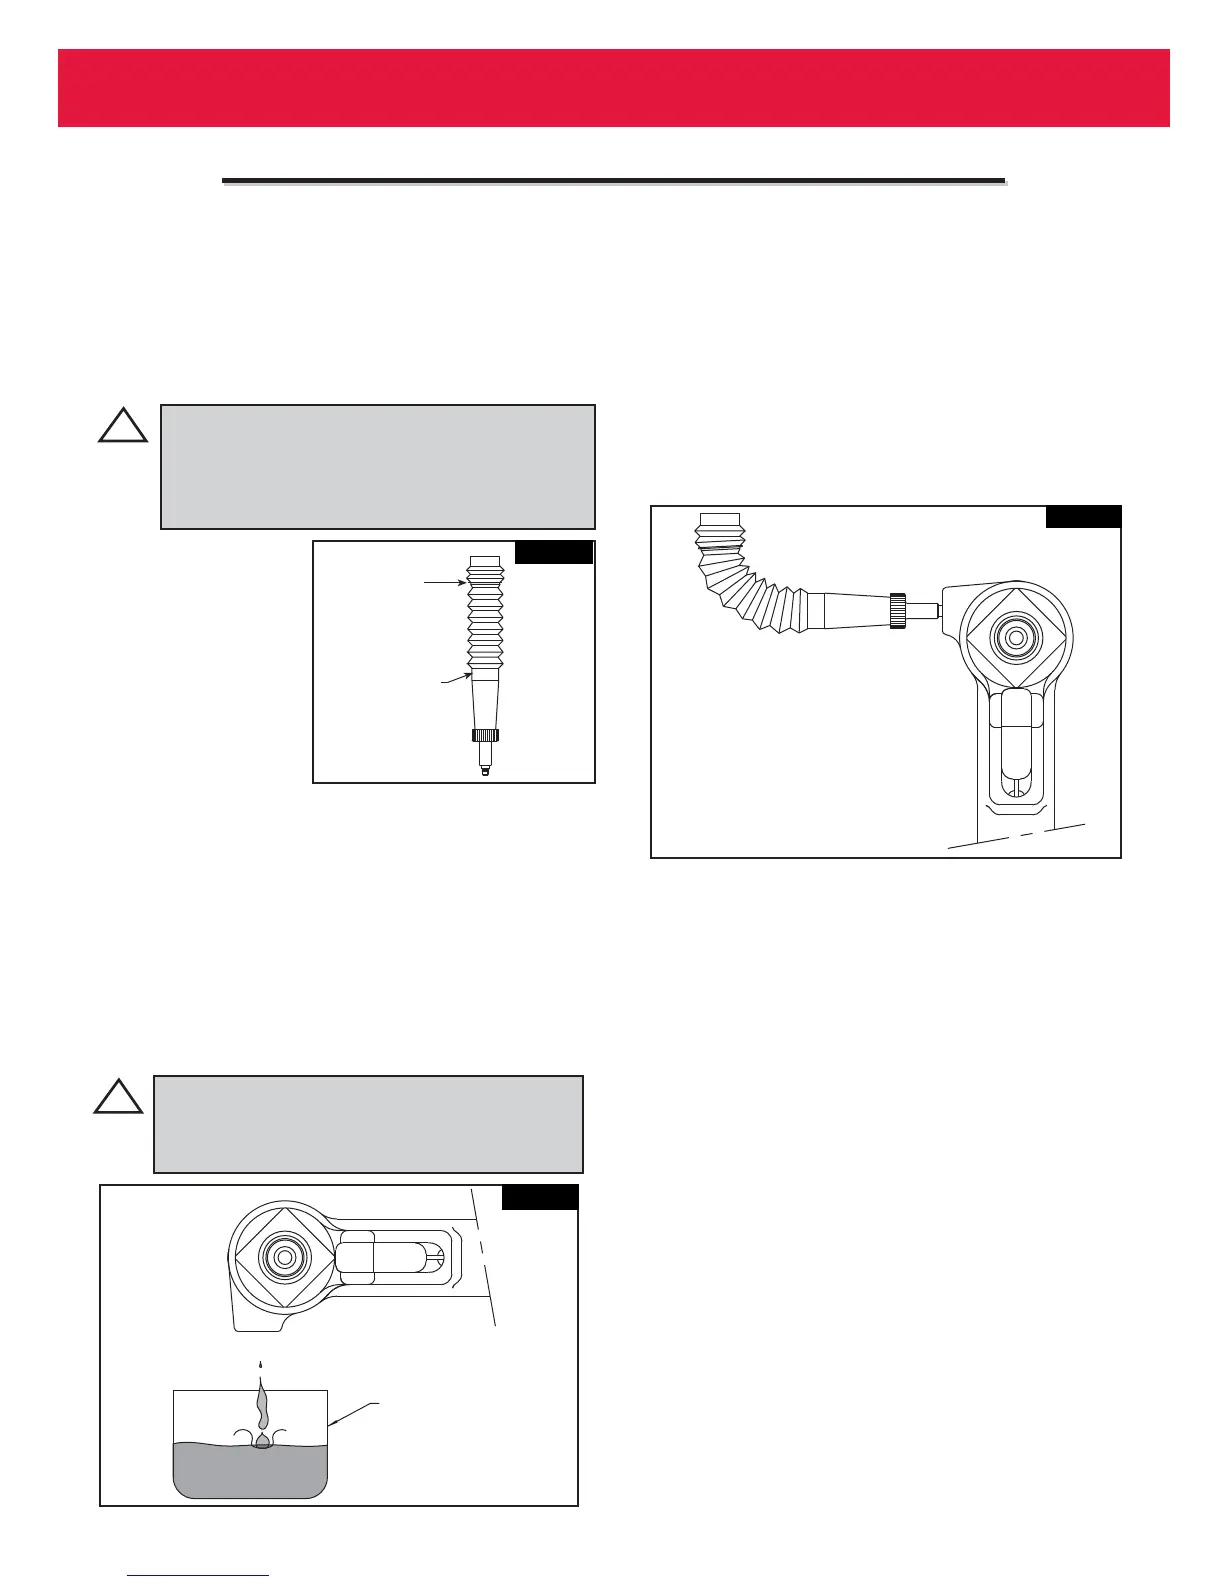
Step 1
With fill port facing up, lay tool on it's side, and remove
bleed plug (55) from bleed port.
Step 2
Connect tool to shop air set at 20 to 40 psi. If fluid is
present, hold tool over suitable container with fill port
facing into container. Cycle tool several times to drain the
old fluid, air and foam (Fig. 10)
Caution - All oil must be purged from tool before Fill
& Bleed process. Tool stroke will be diminished if oil
is aerated.
Step 3
Screw fill bottle (120337) into fillport.
Step 4
Stand tool upright on bench. While triggering tool slowly
(20 - 30 cycles), bend fill bottle at right angles to tool
(Fig. 11) . Air bubbles will accumulate at top of the bottle.
When bubbles stop, cycling may be discontinued.
Step 5
When trigger is released, pull piston returns to idle
position (full forward). Disconnect tool from airline.
Step 6
Lay tool on it's side and remove fill bottle. Top off fluid in
fill port, install bleed plug and tighten.
Step 7
Connect airline to tool and measure the tools stroke, refer
to the Measuring Tool Stroke section. If stroke is less
than specified, remove bleed plug and top off fluid.
Reinstall bleed plug and recheck stroke.
Step 8
Increase air pressure to specifications. Install two
fasteners to check function and installation in a single
stroke, or cycle tool with stall nut fully threaded onto
piston to load up tool. Measure stroke again. Remove
plug and top off fluid. Reinstall plug and cycle and
measure again. Continue this process until stroke meets
minimum requirements.
WARNING: Air pressure MUST be set to 20
to 40 psi to prevent possible injury from high
pressure spray. If plug (55) is removed, fill
bottle must be in place before cycling tool.