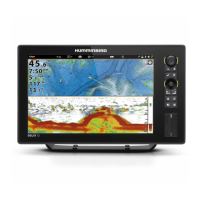
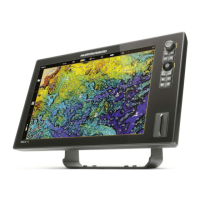
145
Routes
ROUTES
R
outes link two or more waypoints together to create a path for navigation. A route represents your intended navigation and shows
t
he shortest path from each data point to the next. The distance between each waypoint is a route leg. You can save 47 routes (with
5
0 waypoints each) to the control head.
WARNING! You should always be aware of your surroundings and watch for any potential obstacles.
Create a Route and Start Navigation
Use the instructions in this section to connect waypoints and start navigation immediately. To create a route from the Waypoint
Management dialog box, see Manage your Navigation Data.
1. Use the Cursor Control key to move the cursor to a waypoint or position on the chart.
2. Press the GOTO key twice.
3. Repeat steps 1 and 2 to add more waypoints to the route.
Press Twice to
Start Navigation
Move the Cursor
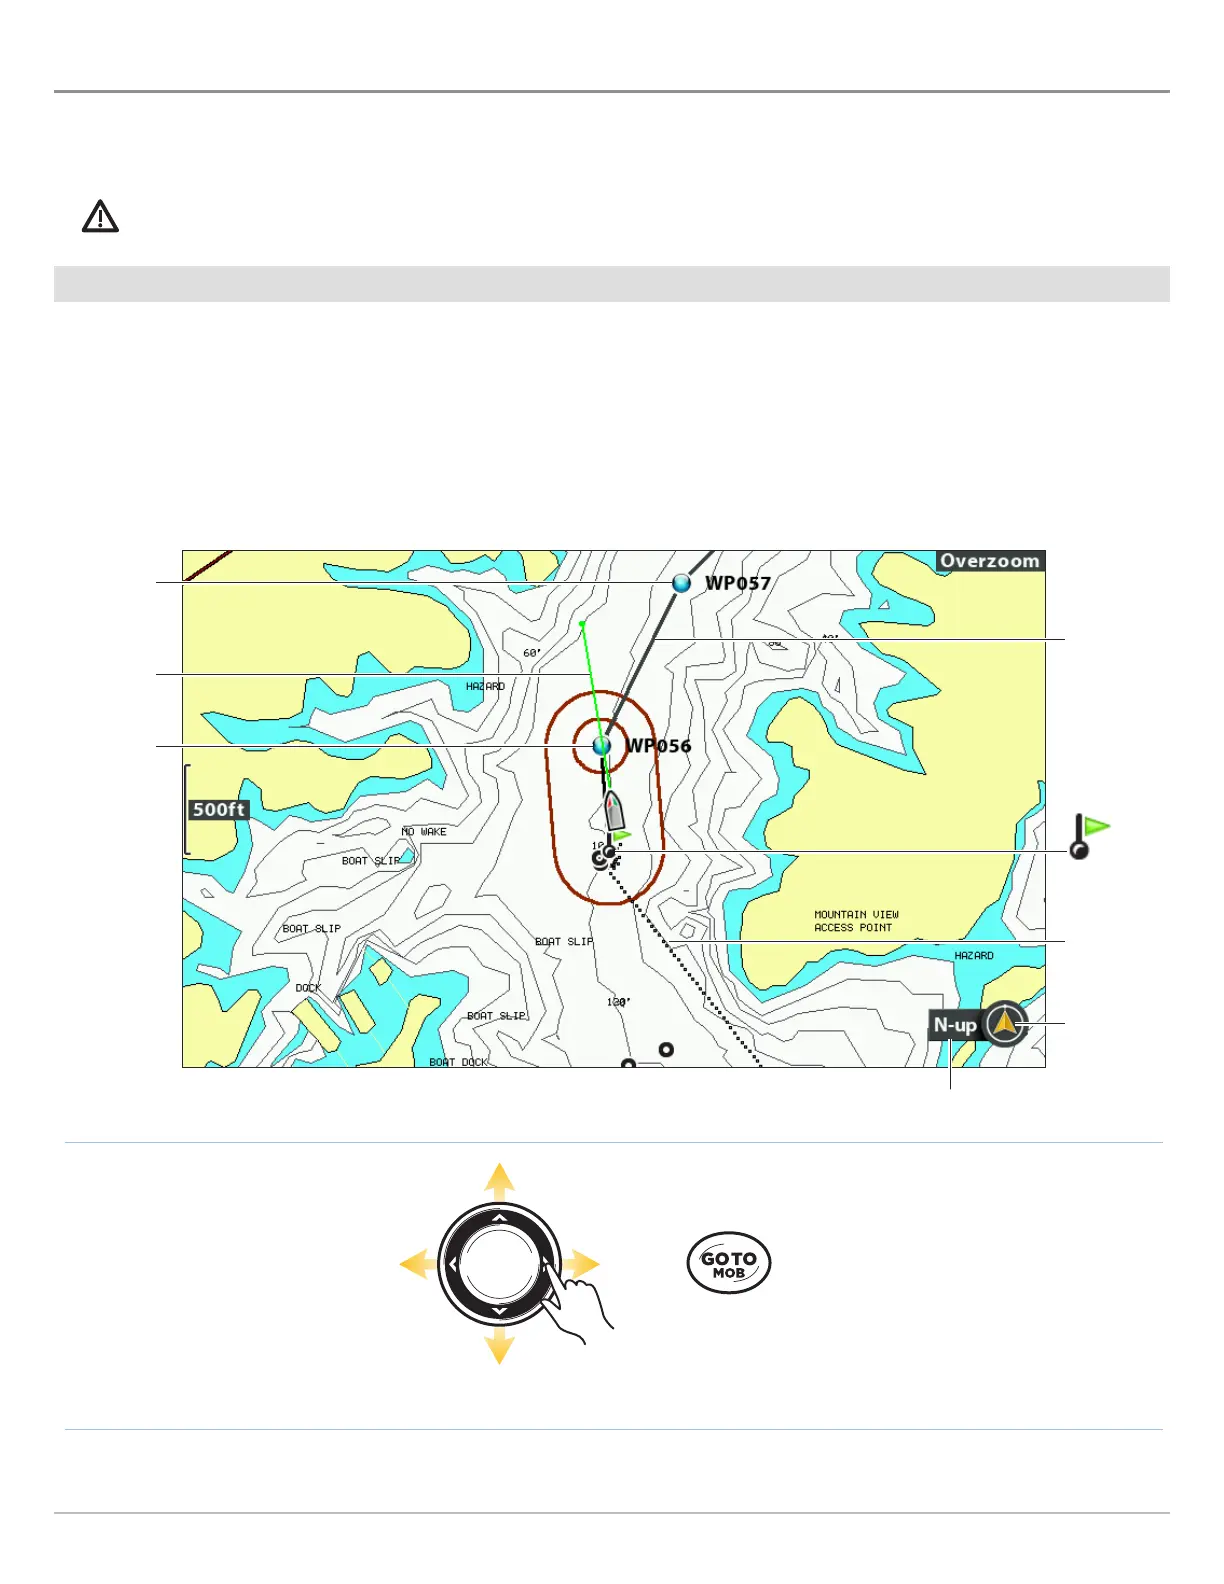
Creating and Navigating a Route
1st waypoint
course
projection
line
2nd waypoint
current
track
north up
indicator
chart orientation
route leg
route start
point
 Loading...