1
532310-3_A
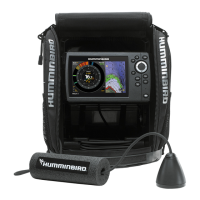
TRANSDUCER Installation Guide
It is important to read the instructions in this transducer guide completely to understand the
mounting guidelines before starting the installation.
NOTE: Due to the wide variety of hulls, only general instructions are presented in this installation
guide. Each boat hull represents a unique set of requirements that should be evaluated prior to
installation. For detailed information about installing transducers on different hull types,
download the Transducer Installation Resource Guide from our Web site at humminbird.com.
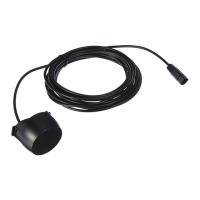
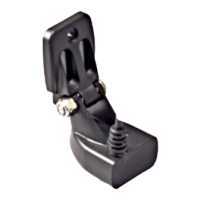
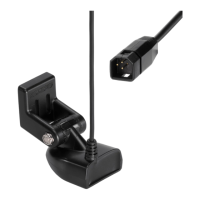
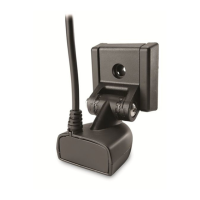
NOTE: Your transducer may not look exactly like the transducer shown in the illustrations, but it
will mount in exactly the same way.
I P
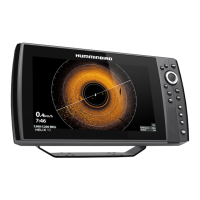
Install the control head before you start the transducer installation. See the control head
installation guide.
Review your boat manufacturer’s owner’s manual for recommended transducer installation
locations and cable routing methods. You will also need your transom angle.
Read and understand your boat’s warranty before starting this installation.
Visit our Web site at humminbird.com for additional information and resources for transducer
installations. Also, visit youtube.com/humminbirdtv for informational videos.
Confirm your boat is level for the installation.
Installation Options: If you cannot find a transom mount location that will work for your
high-speed application, you may consider an Inside the Hull installation. Visit our Web site at
humminbird.com to download instructions.
Supplies: In addition to the supplied hardware, you will need a powered hand drill and various drill
bits, various hand tools, including a ruler or straightedge, a level, a socket driver, marker or pencil,
safety glasses and dust mask, marine-grade silicone sealant, dielectric grease (optional), and a
12" (30.5 cm) plumb line (weighted string or monofilament line) (optional). You may also need
extension cables and hardware for routing the cable to the control head.
T-F M G
It is very important to locate the transducer in an area that is relatively free of turbulent water.
Consider the following to find the best location with the least amount of turbulence:
1 3 4 5 62