5
S
l
i
d
e
c
a
n
o
p
y
o
v
e
r
d
o
w
n
r
o
d
a
n
d
w
i
r
e
s
.
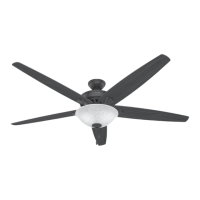
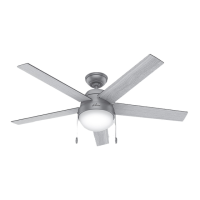
Ceiling Bracket Downrod Hanging Fan Wiring Canopy Blades Light Bulbs/Glass Remote CradleRemote
Place the downrod ball into
the slot in the ceiling bracket.
To prevent damage to fan,
ALWAYS lift holding either the
fan housing or the downrod.
Follow below if you are using the downrod
that came pre-assembled in your box.
Need to install a longer or shorter down-
rod? Check out the guide at the end of this
manual.
8”
3/8”
C
U
T
&
S
T
R
I
P
(not to scale)
Pass all wires to one side of horizontal
bar in downrod assembly. Hand tighten
the downrod (at least 4–5 full turns)
until it stops. Trim the wires coming
from the fan so that 8-inches remain
coming from the top of the downrod.
Tighten the setscrew
with pliers. DO NOT
HAND TIGHTEN.
K
E
E
P
!
2
3
1
STEP
STEP
STEP
Hunter Pro Tip:
The ground wire attached to the
downrod is approximately 8 inches.
FAN FALL HAZARD
To prevent SERIOUS INJURY or DEATH:
• ALWAYS tighten setscrew with pliers.
• DO NOT hand tighten setscrew.
• CHECK the setscrew is tight using pliers
each time you change fan direction.
Remove the pre-installed
setscrew so that the
downrod can be inserted.
Installing the Secondary Hanging System
Hook the looped end of the cable over the
lag bolt so that the cable is between the
plastic washer and the outlet box.
Tighten the loop then tighten the lag bolt using
a hex head ratchet socket wrench. Coil up the
excess cable.
If you have a different conguration
than shown or have a downrod
accessory, consult a qualied
installer and/or electrician.