Do you have a question about the Hunter 99123 and is the answer not in the manual?
Connect receiver wires (blue to blue/black, yellow to black) using wire connectors. Consult electrician if uncertain.
Connect receiver and fan wires to the ceiling outlet box wires (black to black, white to white) and re-install canopy.
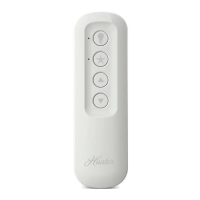
Pair the remote within 3 minutes of restoring power by pressing 'Fan Off' and 'High' buttons for 4 seconds for successful syncing.
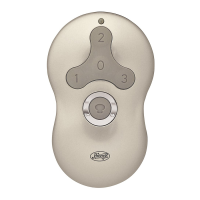
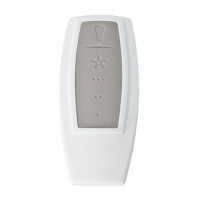
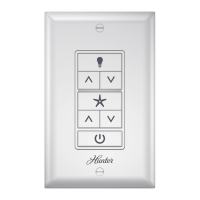
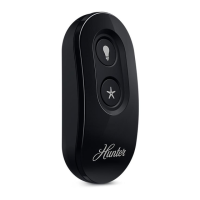
Use 'Fan Off' to turn off the fan. Press speed buttons (1, 2, 3) to turn on. Hold 'Light' for dimming.
This document describes the Hunter Universal 3 Speed Ceiling Fan Remote, models 99122 and 99123, providing instructions for installation, operation, maintenance, and troubleshooting.
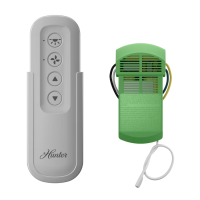
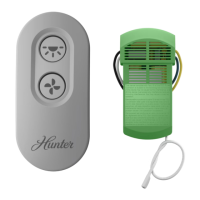
The Hunter Universal 3 Speed Ceiling Fan Remote is designed to provide wireless control over a ceiling fan's speed and light functions. It allows users to turn the fan on and off, adjust its speed to high, medium, or low, and control the fan's light, including dimming capabilities. The remote system consists of a transmitter (the handheld remote) and a receiver that is installed within the fan's canopy or ceiling bracket. This remote control system is compatible with various Hunter ceiling fan hanging systems, including those for low-profile fans.
The product conforms to UL Standard 507. It complies with Part 15 of the FCC Rules and RSS-210 of Industry Canada, ensuring it meets standards for radio frequency interference. The remote uses a CR2032 battery, which should be installed with the positive (+) side up. The system is designed for 3-speed ceiling fans.
Before installing the Universal Remote Control Receiver, it is crucial to turn off power at the circuit breaker. The fan's pull chains should be set to HIGH speed and the light to ON. The fan's canopy must be removed to access the wiring. If uncertain about canopy removal, the fan's owner's manual should be consulted. It's recommended to note existing wire connections or take a photo before disconnecting wires from the outlet box, leaving grounding wires connected.
The receiver installation varies depending on the fan's hanging system. The manual illustrates three common installation methods:
When installing, any excess lead wire from the fan should be cut, leaving a minimum of 8 inches, and then re-stripped by 1/2 inch. The remaining excess wire should be placed into the ceiling electrical box. It is critical that the bracket and fan remain properly grounded. For angled ceilings, specific installation issues may arise, and assistance can be sought by calling 1-888-830-1326.
Wiring involves connecting the receiver to the fan and then connecting the receiver and fan to the outlet box wires using orange wire connectors.
After all wires are connected and secured, the canopy can be re-installed. The splices should be pushed carefully back through the hanger bracket into the outlet box, with grounded wires on one side and ungrounded wires on the other.
Hunter Fan Company offers a one-year limited warranty to the original purchaser, covering defects in material and workmanship. The warranty is void if the original purchaser ceases to own the control. It excludes malfunctions caused by unauthorized repairs, mishandling, improper installation, modifications, damage while in possession, unreasonable use, or faulty batteries. To obtain a replacement, return the control postage prepaid with proof of purchase to Hunter Fan Company Service Department at 7130 Goodlett Farms Pkwy., Memphis, TN 38016. The warranty limits liability for consequential or incidental damages. Some states may not allow limitations on implied warranties or exclusions of damages.
| Brand | Hunter |
|---|---|
| Model | 99123 |
| Category | Remote Control |
| Language | English |