6
Ceiling Bracket Downrod Hanging Fan Wiring CanopyBlades Light Bulbs Remote
Turn the motor assembly
right side up and place it
in one of the holes in the
packaging.
Turn the fan assembly
upside down and place
it in one of the holes in
the packaging.
Attach the nial to the
threaded post of the light
kit by screwing the nial
clockwise.
Repeat x4
Repeat x4
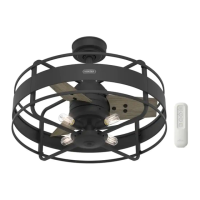
Align the screw holes of the
cage assembly arms with the
screw holes of the top of the
motor housing.
Secure cage assembly arms to motor
housing with cage arm assembly
screws found in the hardware bag
( ). Do not tighten until all cage
assembly components are assembled.
Align the holes of the cage assembly
arm with the female end of the cage
assembly section and the male end of the
consecutive cage assembly section while
making sure that the female and male
ends of each section are engaged.
Place cage assembly
cap over the threaded
post of the light kit as
well as the four cage
assembly arms.
Attach the cage
assembly cap to the
cage assembly arms
with the cage assembly
cap screws found in the
hardware bag ( ).
Secure with cage assembly
screws found in hardware
bag ( ), by using supplied
allen wrench. Repeat for each
consecutive cage assembly
section. Do not tighten until all
cage assembly components are
assembled.
BAG
BAG
2 of 8
8 of 8
Cage Arm
Assembly
Screw
Cage
Assembly
Cap Screw
BAG
3 of 12
Cage Assembly
Screw
S
l
i
d
e
c
a
n
o
p
y
o
v
e
r
d
o
w
n
r
o
d
a
n
d
w
i
r
e
s
.
Place the downrod ball into
the slot in the ceiling bracket.
To prevent damage to fan,
ALWAYS lift holding either the
fan housing or the downrod.
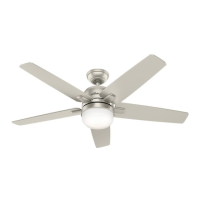
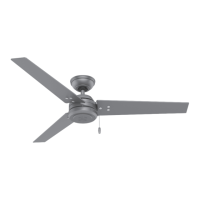
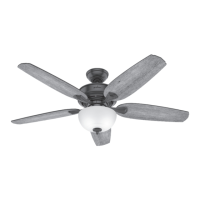
Fan style may vary.
Note:
Tighten all
cage assembly
component
screws.
Hunter Pro Tip:
Alignment and installation of
the cage panels is easier with
two people