2
Do not discard the hardware bags or mix parts from
different bags. Make note of the symbol printed on
each hardware bag. The symbols can be used to
identify the appropriate hardware for each step.
We recommend that you pull everything out of the box and lay it out. We have
grouped the drawn components below with the hardware you’ll need for those
parts. The screws below are drawn to scale to make it easier to identify what
piece of hardware is needed to install each component.
x4
x1
x2
x2
x3
x3
x1
For installing the hanger bracket and wiring the fan
For installing the blades
For installing the canopy
For installing the light kit
Bulb
Upper Light Kit Hood
Motor
Lower Light Kit Hood
Switch Housing Assembly
Blade
Canopy
Canopy
Screw
Top Housing
Screw
Grounding
Screw
Ceiling Bracket
Canopy Trim Ring
Wood Screw
Wire Nut
Washer
bag
Hunter Pro Tip:
Find a part that is missing or damaged?
Don’t take it back to the store. Let us make it right. Visit us at HunterFan.com or call us at 1.888.830.1326.
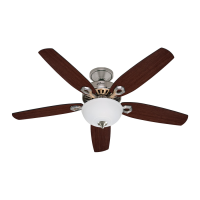
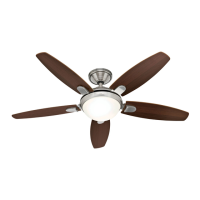
Here is what comes in your box:
bag
x4
x12
bag
Blade Screw
x12
bag
Blade Washers
x3
Light Kit Screw
bag
M3741-01 r040919
Spare Parts
For your convenience,
you may receive extra fasteners.
bag
Remote Components
Remote Control
Remote Receiver
Remote Cradle
Upper Motor Housing
 Loading...
