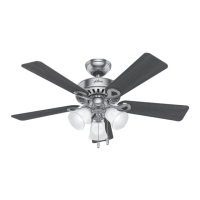
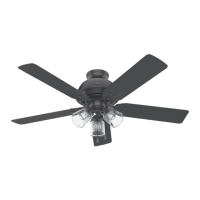
8
Ceiling Bracket Downrod Hanging Fan Wiring Canopy Blades Control Troubleshooting
Off
Fan
Speed
Dial
LED
(Low)
(High)
Remove battery door. Change the
dip switch settings if they match a
previously installed remote transmitter.
Install A23 or MN21 alkaline battery
in the proper polarity and replace the
battery door.
To select fan speed press one of the
numbers on the Fan Speed Dial. To
calibrate the fan speed, run the fan on
“6” for 90 seconds after each AC power
reset. The LED light ashes to indicate a
signal has been sent to the fan. To reverse
the air ow direction, press the Reverse
button while fan is running.
Preparing the Wall Control
Ensure the power is OFF at the outlet box
and wall switch location before proceeding
with installation.
Turn Power
OFF
1
Turning off the power
2
ON ECE
1 2 3 4
SET
Battery
Door
Battery
3
Wiring the Wall Control
Connect the grounding wire from the wall
control to the ground control from the
switch box using the provided wire nuts.
Connect the “LIVE IN” from the switch
box to the “~VAC” from the wall control
using the provided wire nuts.
Connect the “LIVE OUT” from the switch
box to the “FAN” out from the wall control
using the provided wire nuts.
Push all wires into the switch box.
4
Installing the Wall Control
Install the longer screws through the
slots in the wall control into the switch
box screw holes.
ON
Turn Power
Turning on the power
6
5
Installing the Wall Plate
Install the shorter screws through the
wall control plate and into the screw
holes in the wall control.
Set
Reverse
Power On/Off