■ Be sure to tighten the terminal screws securely, otherwise a loose wire could cause operational
problems with your system or thermostat.
■ Push excess wire back into hole to prevent interference with mounting of the thermostat cover.
■ Make sure the Function Switch is set at OFF, and the FAN-AUTO Switch is in AUTO.
■ Insert the bottom tab on the thermostat body into the slot at the bottom of the wallplate.
Press top of the thermostat body to snap it into the wallplate. (NOTE: Do not force the
thermostat onto the wallplate, as the terminal pins may be damaged. If it does not
snap properly, the thermostat may not work.)
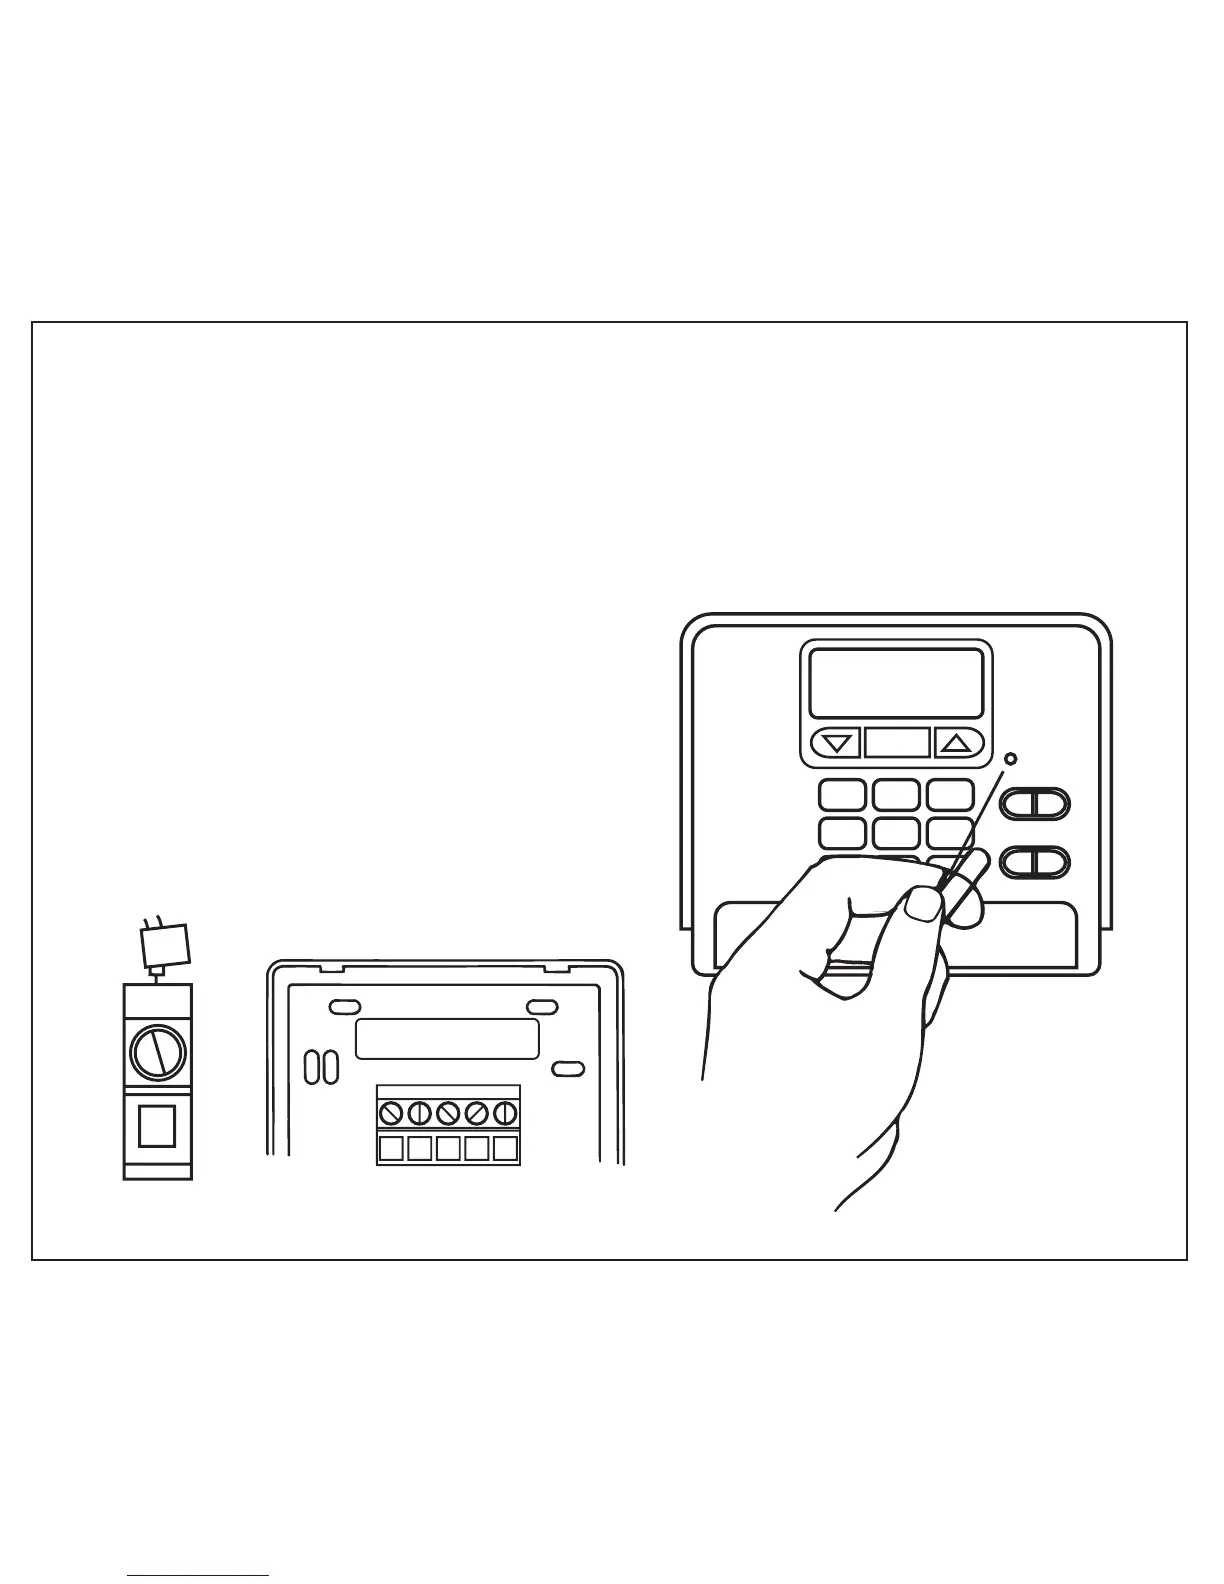
■ Insert the two AA size batteries, observing the
polarity marked on the unit.
■ Switch on the main power. Press the reset button.
(See Figure 5.)
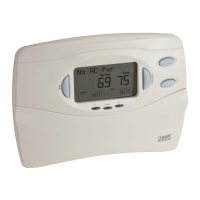
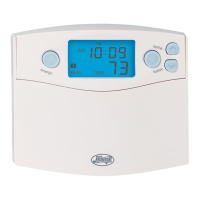
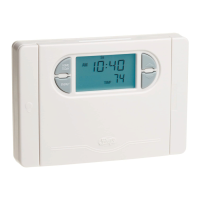
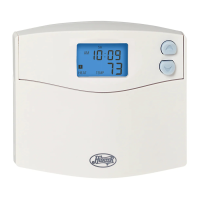
■ The LCD display indicates the current room
temperature of your house. If it shows random
numbers or partial digits, press the reset button
once again.
■ The installation is now complete. Continue reading
Owner’s Manual for complete operating instructions.
FIGURE 3
FIGURE 4
 Loading...